The Greatest Architect of All Time

There has been a lot going on at the house lately, but before I get into that I want to tell you how the greatest architect of all time impacted the design of our house. After almost a year of design and a couple months into construction we thought our plans were set. That’s when God, AKA the greatest architect, showed us that he had different plans for our family and our home.

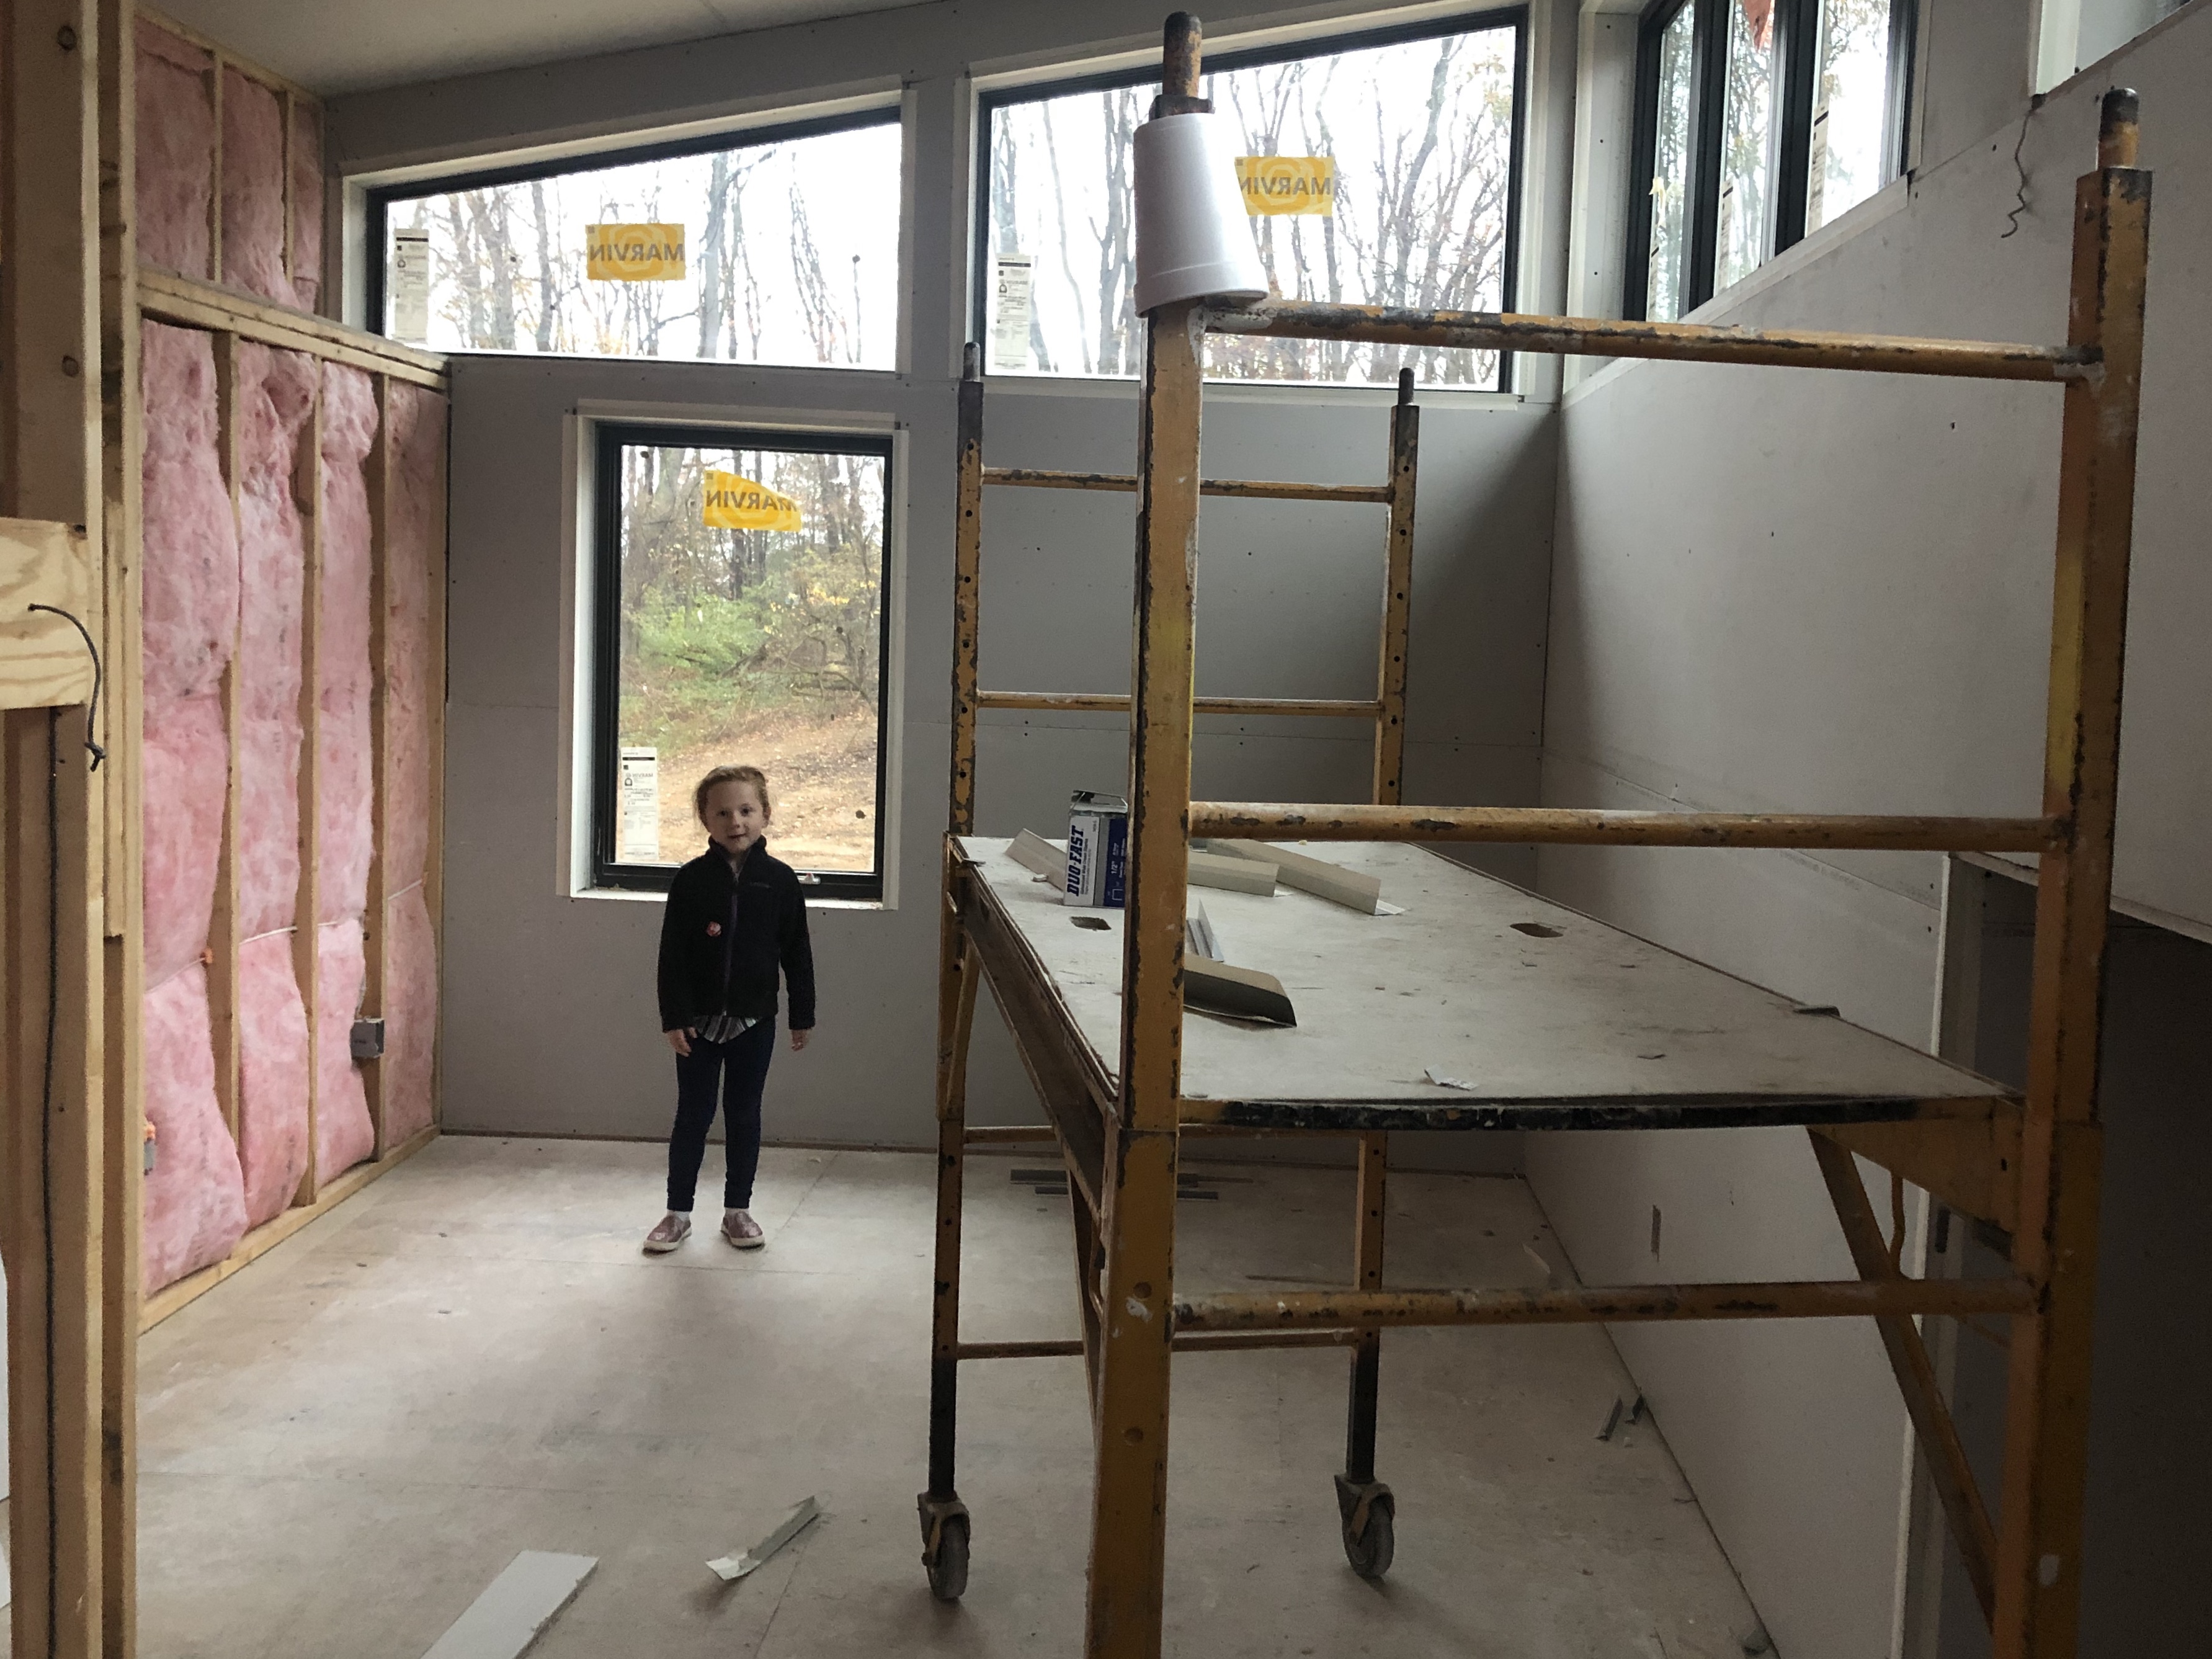
It was July 4th and we were getting ready for a weekend trip with our friends when we found out that despite utilizing what was supposed to be the most effective form of contraception, I was pregnant. This came as quite a shock to us as our ‘plan’ did not include having another child. After a couple weeks of doctors appointments they had removed my IUD and the baby seemed fine so we started to get really excited for the unexpected addition to the family. Luckily this happened just before the contractors moved up to frame the second floor so I redesigned the floor plan to turn two bedrooms and a bathroom into three bedrooms and a bathroom. It was really amazing timing! Had we found out one week later, it would have been too late. Of course, kids can share a room but when you are building your own house you don’t expect it to be short a bedroom before it’s even done!

We shared our exciting news with close family and friends over the next month as our shock continued to turn into excitement. Then in August we experienced the devastating loss of our ‘miracle baby’. My heart and prayers go out to all those that have gone through this experience before or that will go through it in the future. It is a trauma like none other and we only got through it together and with the help of God. I didn’t even want to go out to the new house for quite a while and when I did it always ended in tears when I saw that third bedroom sitting there.

By this point the rough in of mechanical and plumbing was already underway and the emotions were too raw to make any further changes to the house plan so we left it as it was as they continued their work. It’s a good thing that we did because 5 weeks later we found out that we were pregnant again! We are happy to say that the girls will be getting a baby brother. I am currently 19 weeks pregnant, due in May 2020.

I’m not sure how to transition from that story into a construction update but here it goes. Last post the contractors were just wrapping up drywall. They finished the first floor first and we spent an entire weekend and also took a day off work to get it primed and painted. We definitely underestimated the process and time involved in painting a new house. There’s a lot of wiping down and sanding that isn’t usually required when painting an existing home. But without flooring or trim to worry about, some things were easier! We used a sprayer for all the primer and to paint the ceilings. We back rolled it all to make sure that it was even. For the wall paint we just used brushes and rollers.
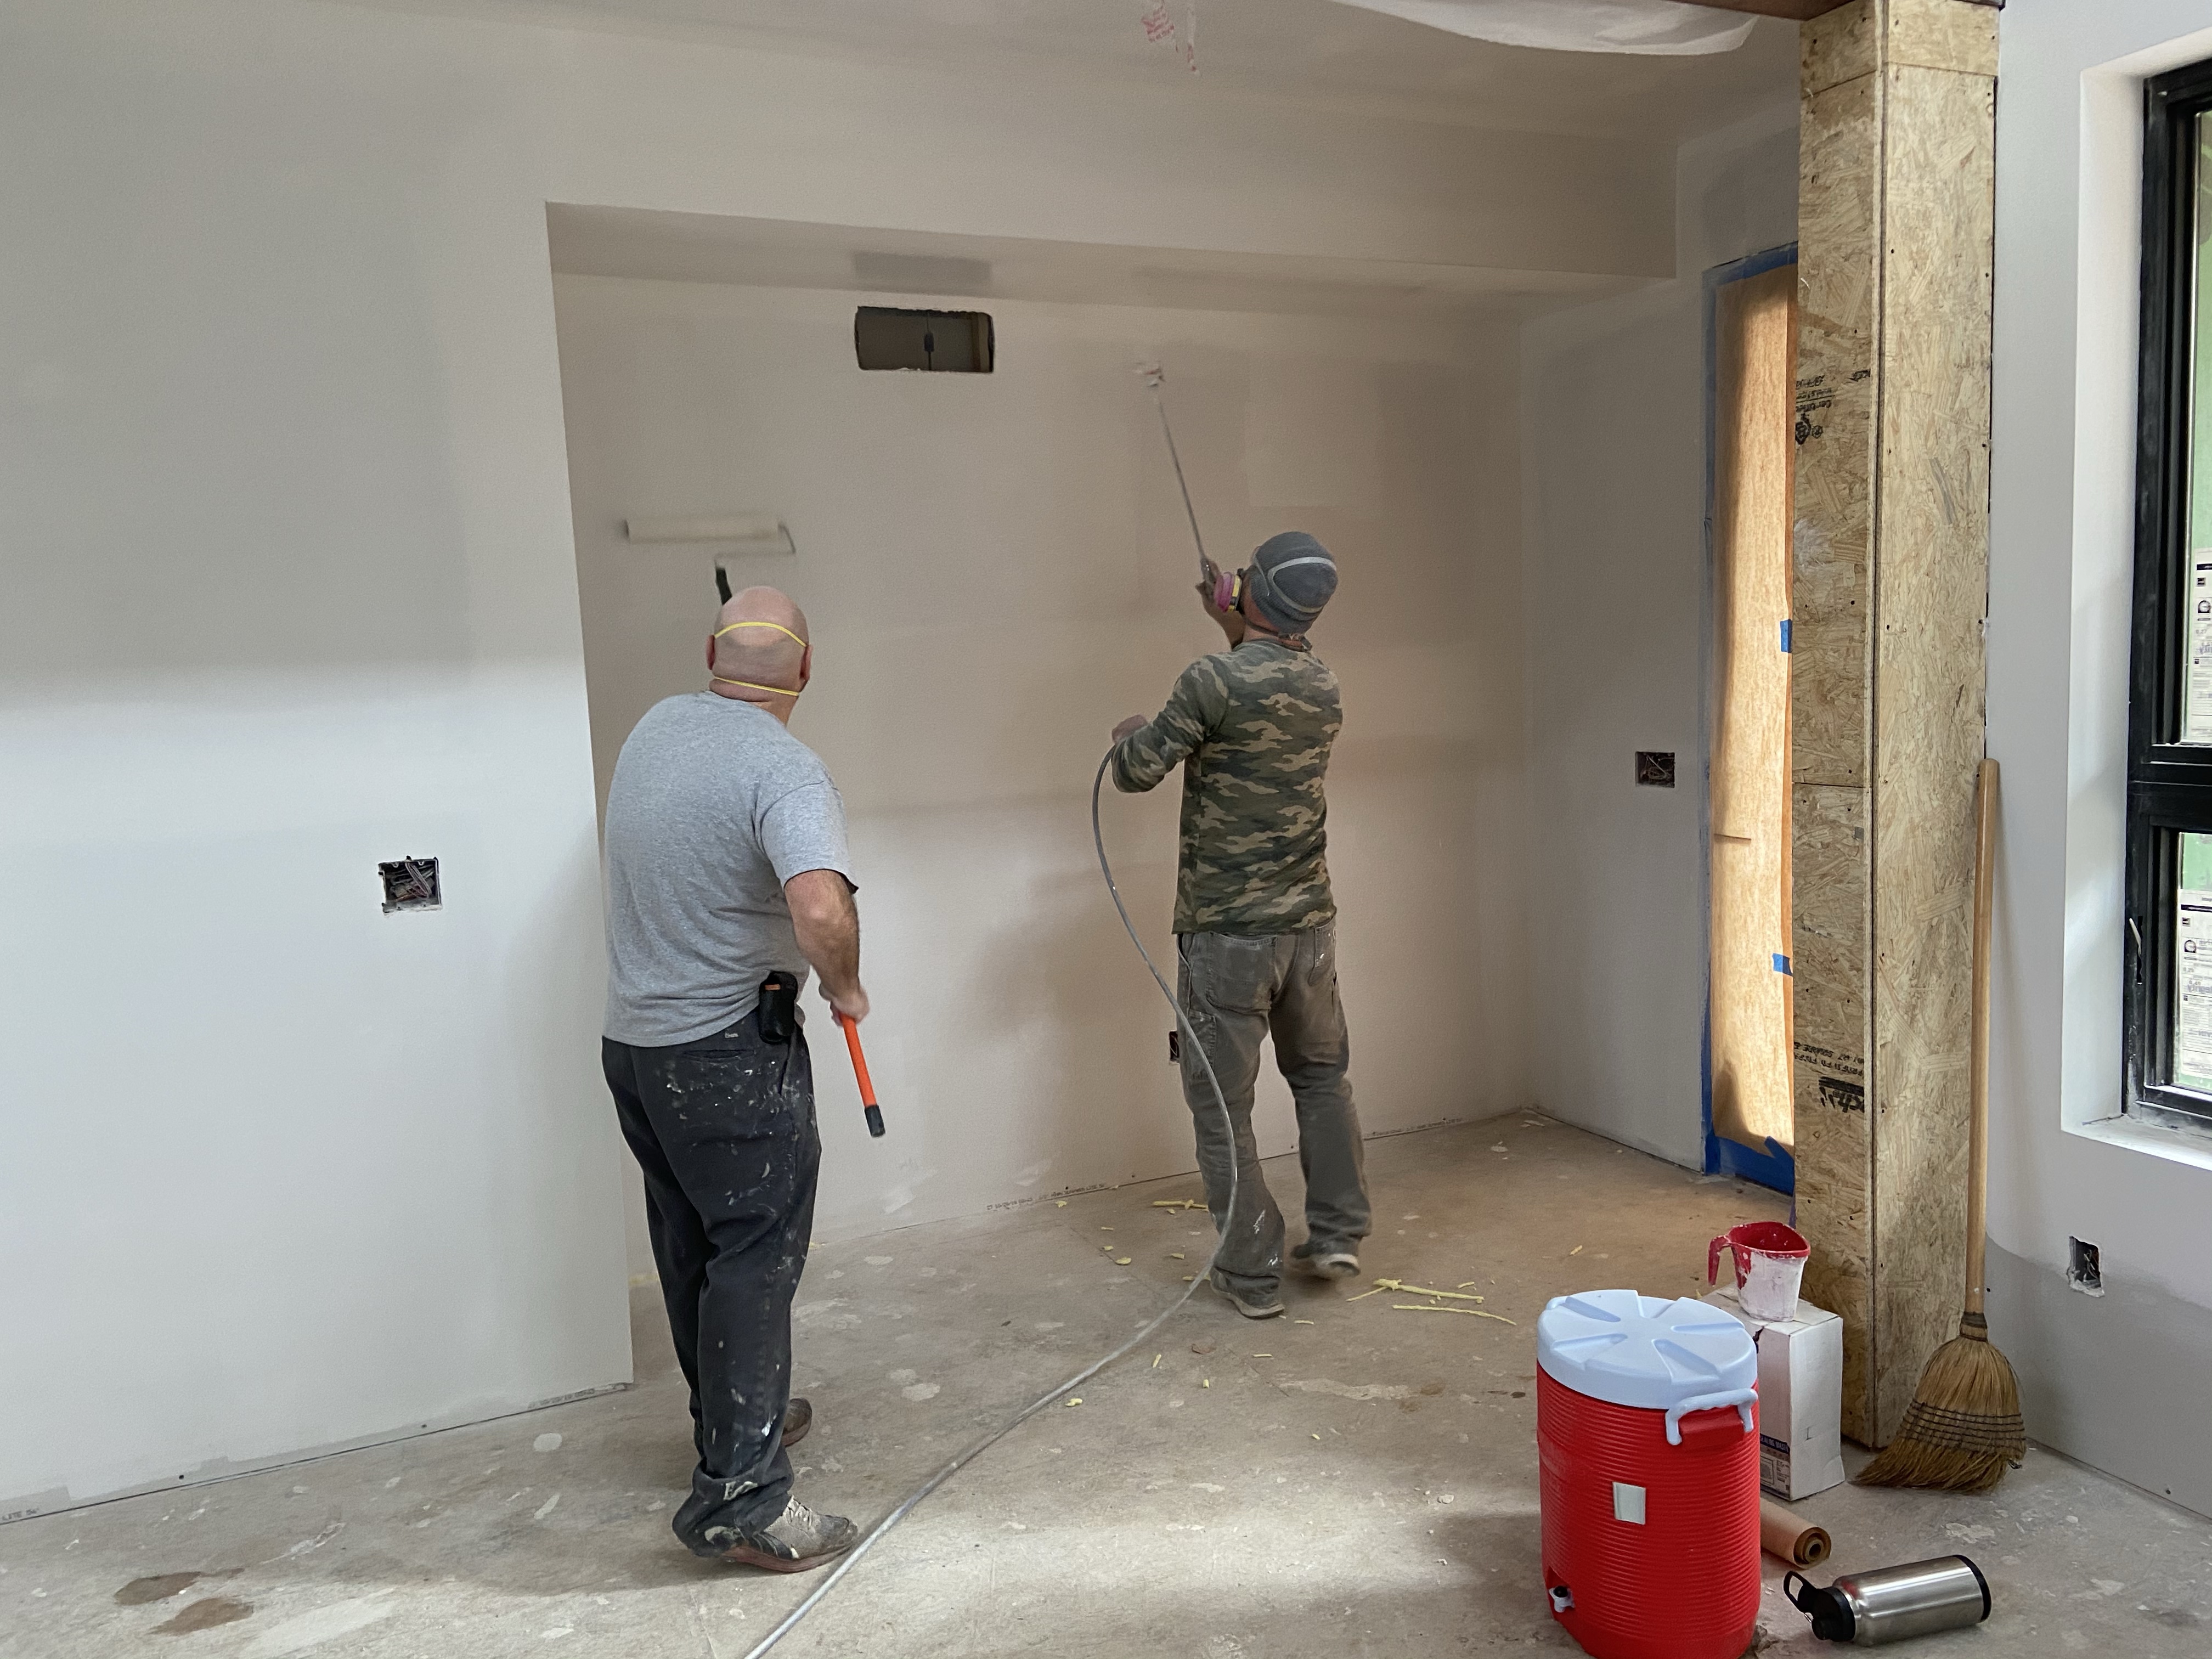
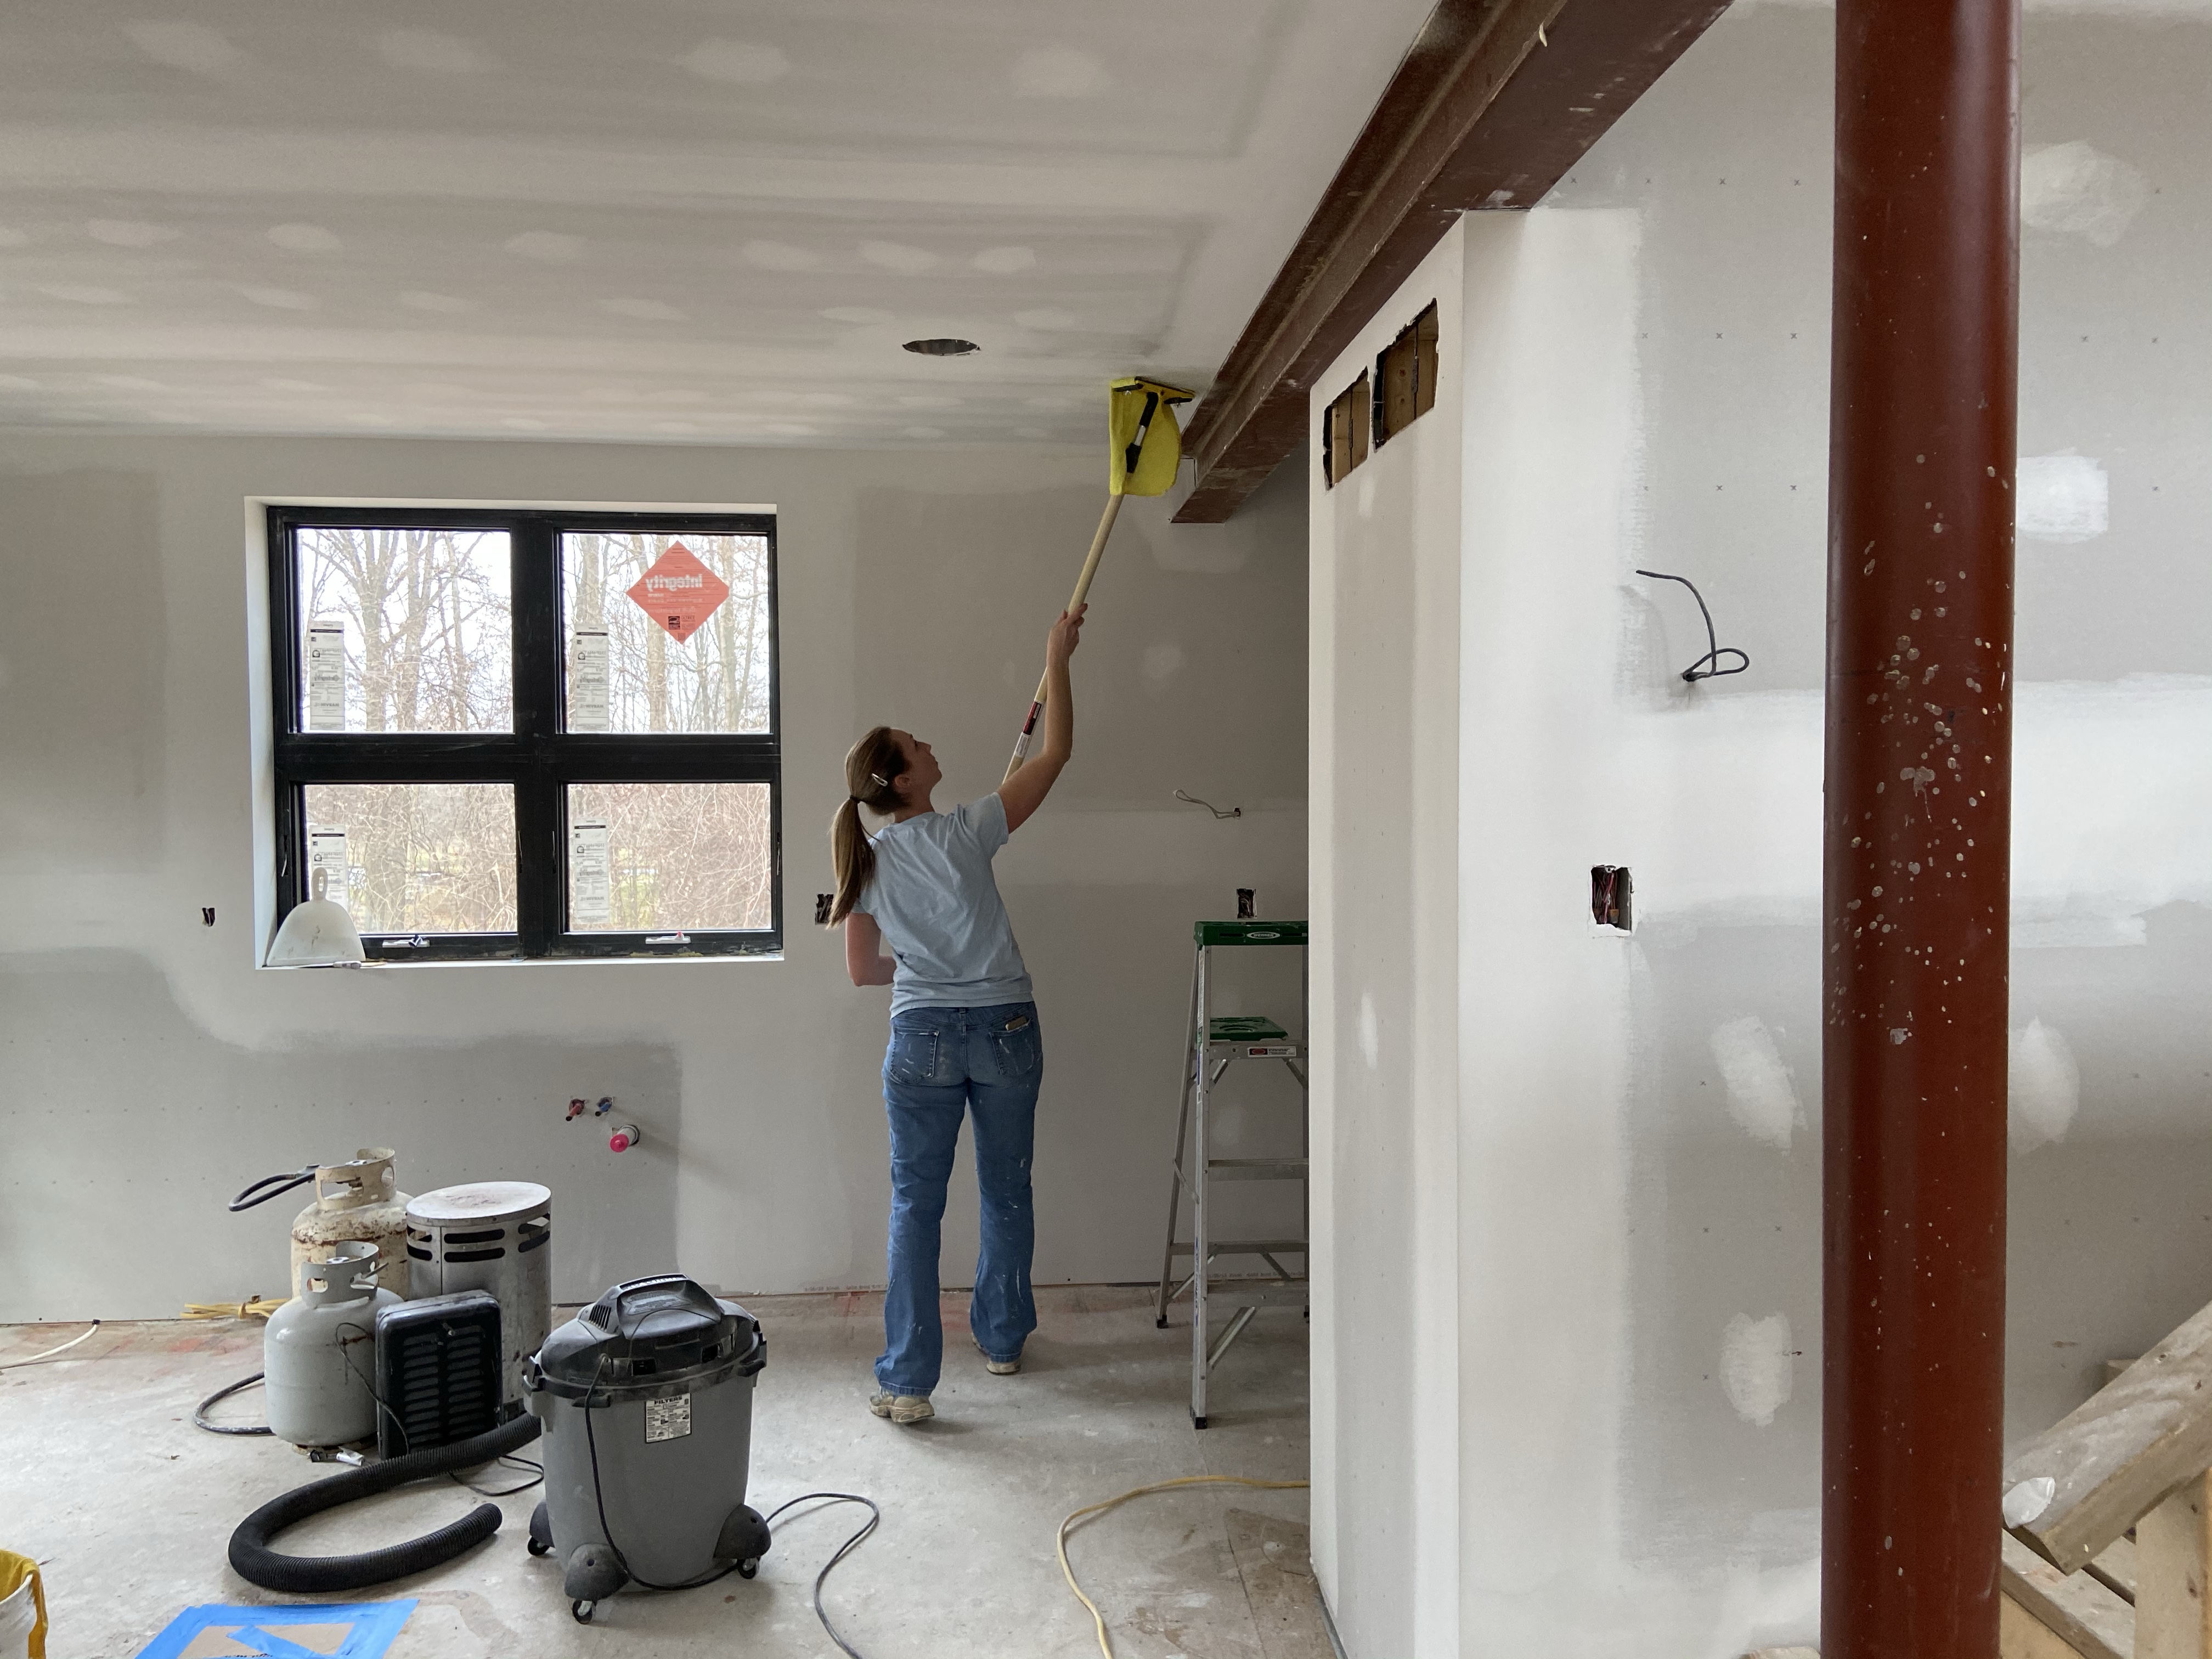
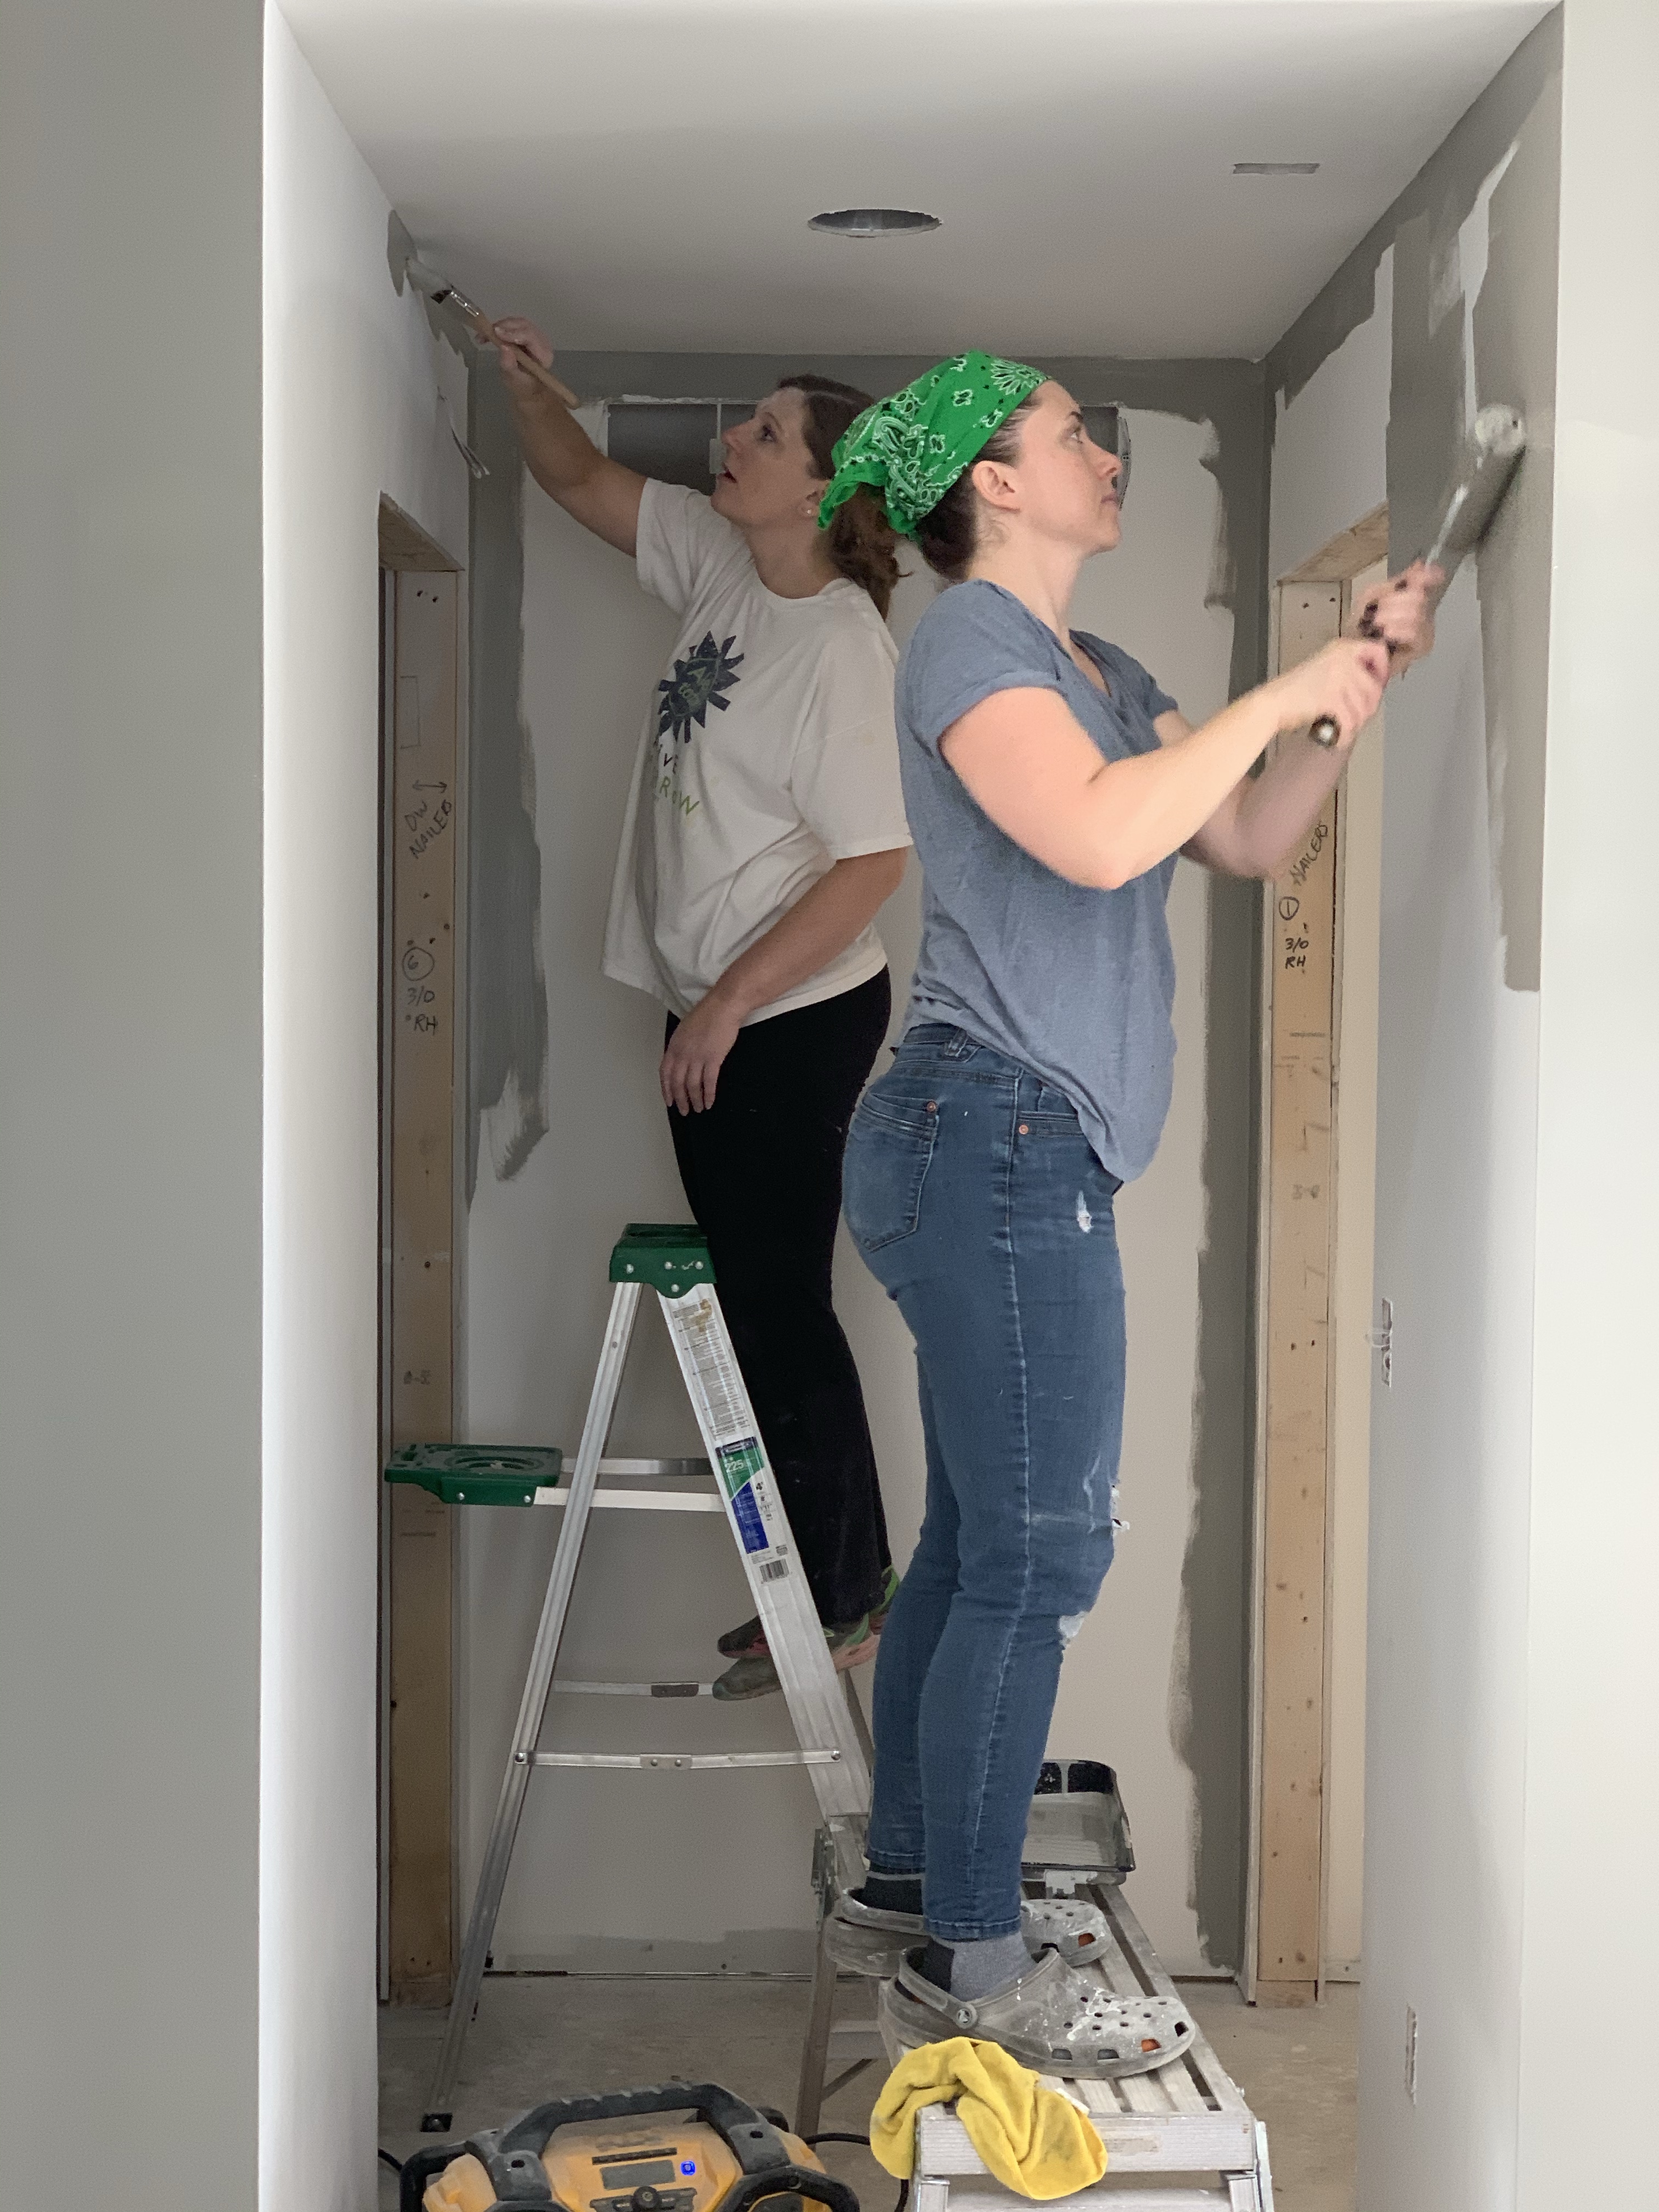
The second floor was ready the following weekend which took us two more entire weekends to paint! I’ve got to give a shout out to all those that helped us paint and helped us with the kids! Cousins Donald & Steph, my Mom, my awesome friend Jenn, my sister-in-law Lisa, Gma Patty, Aunt Ellen, and our good friend Mark. Thank you all so much. We seriously couldn’t have done it without you!
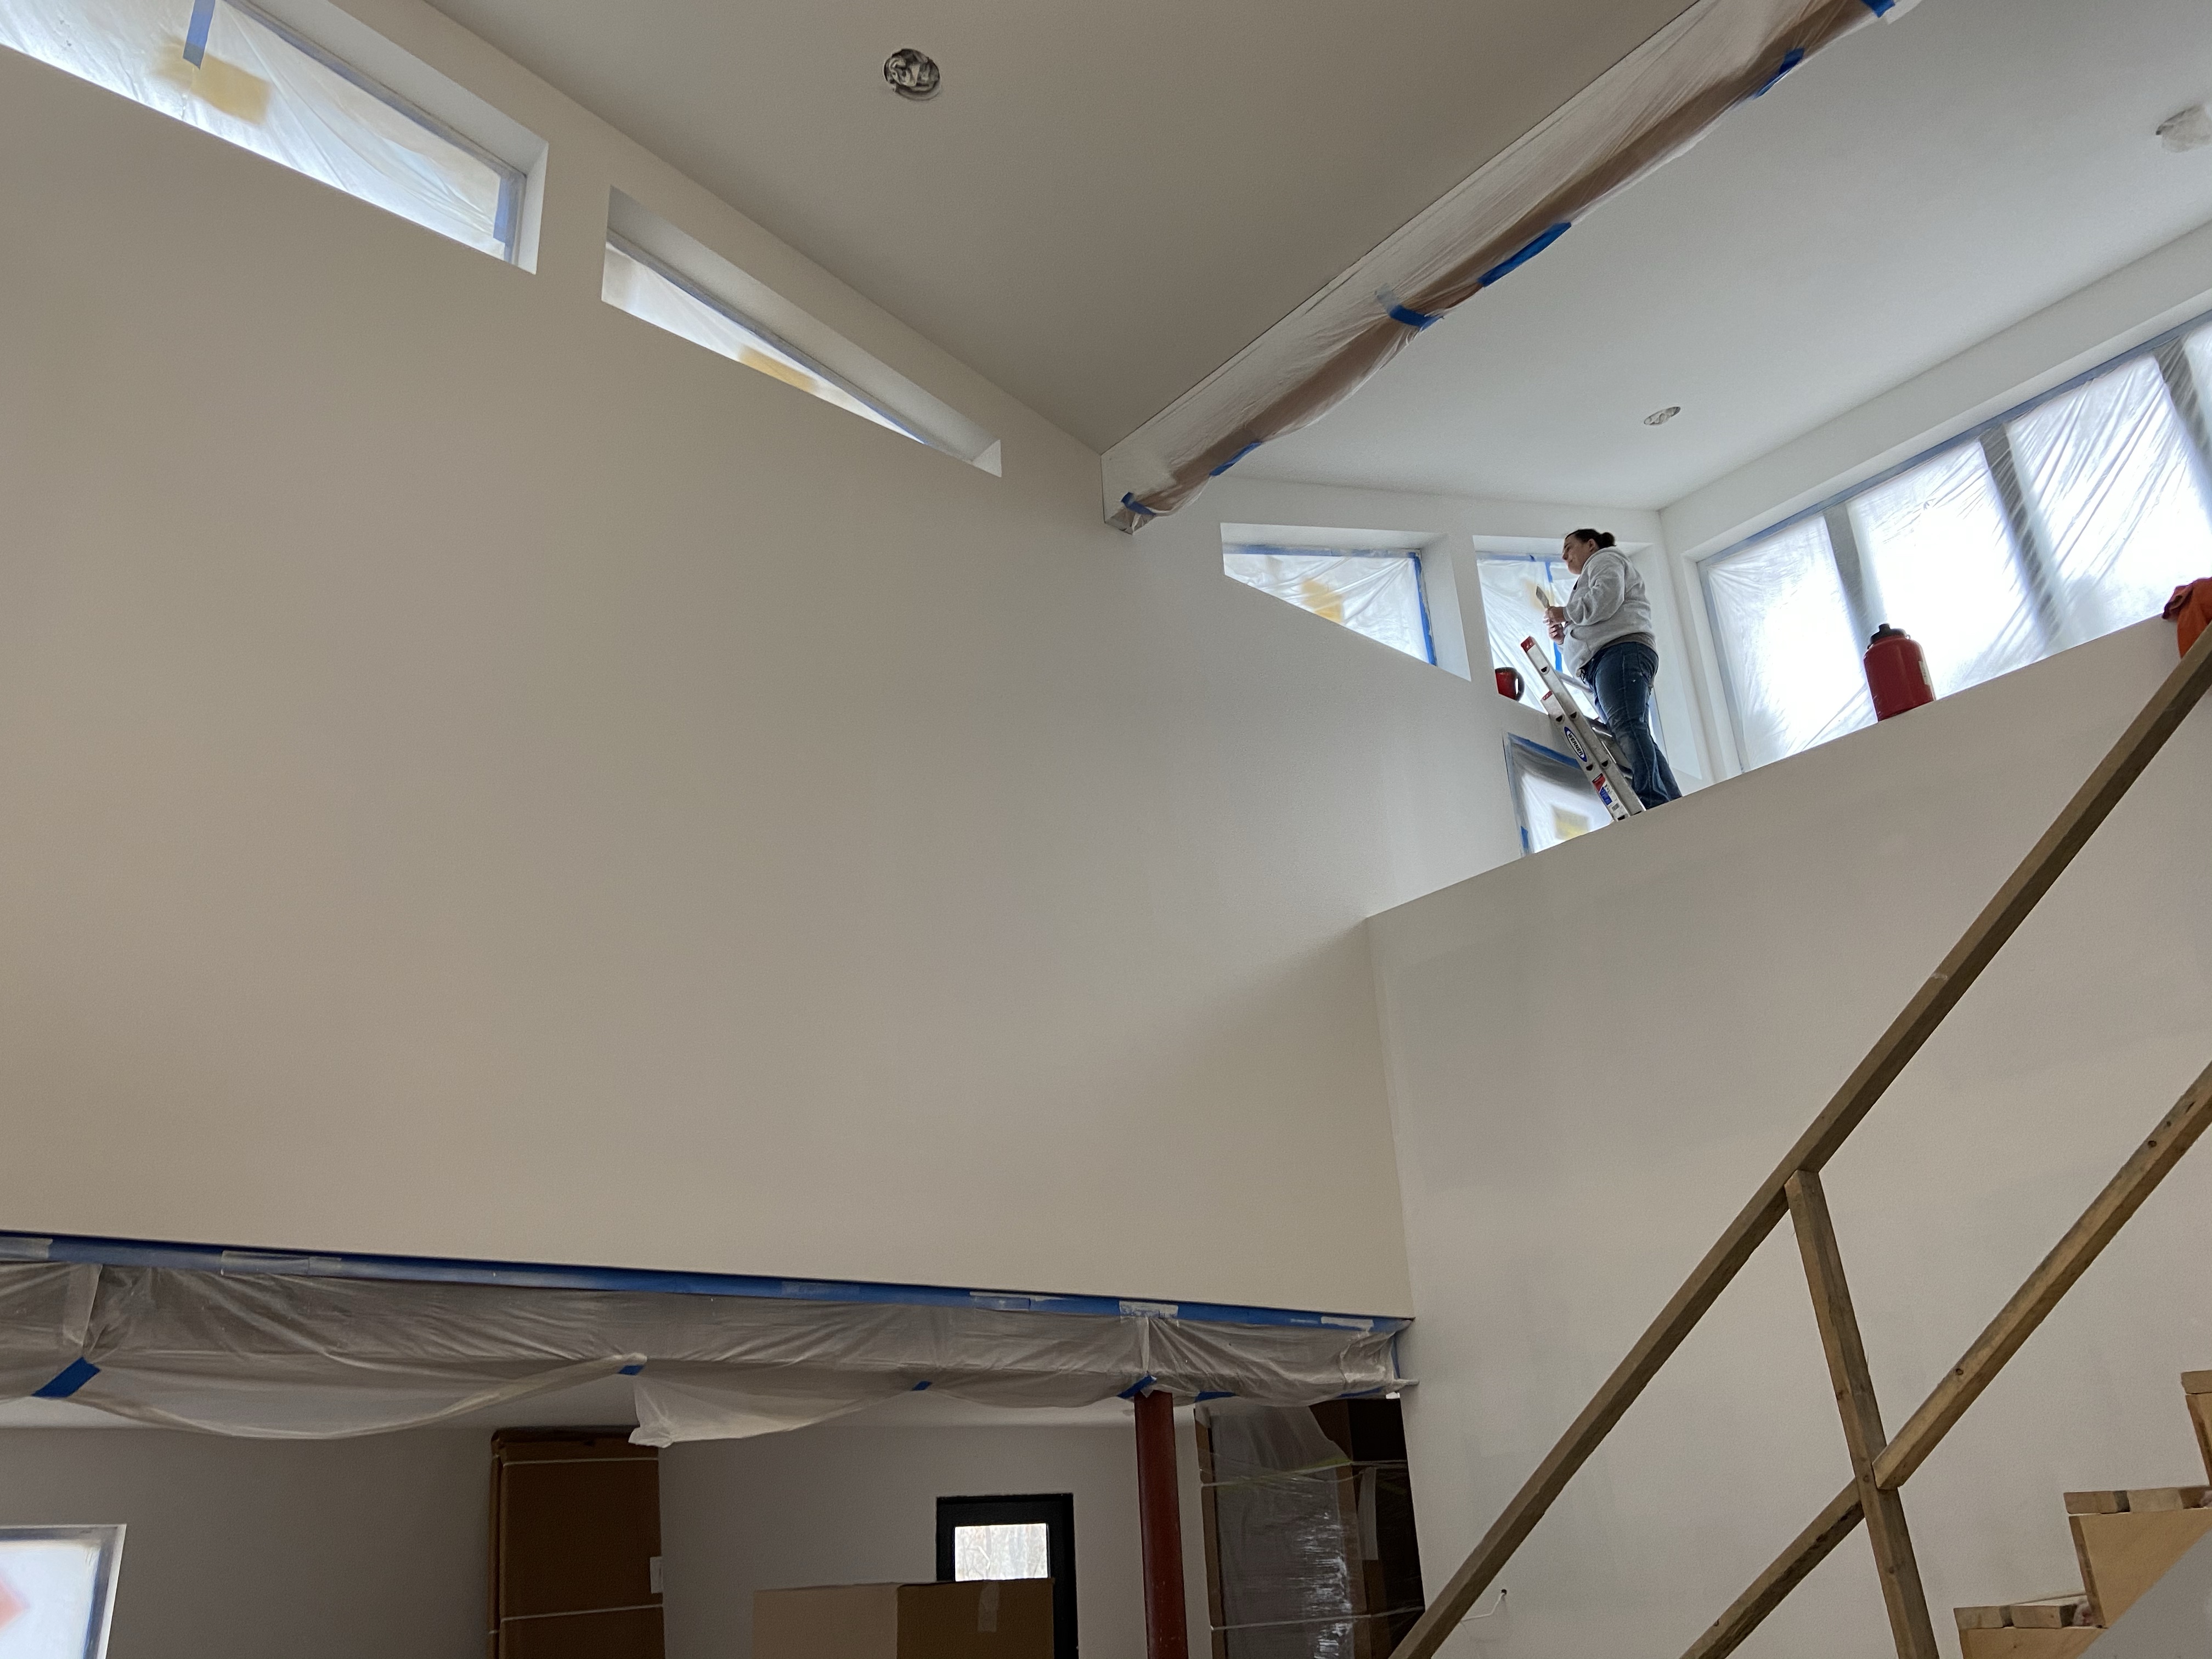
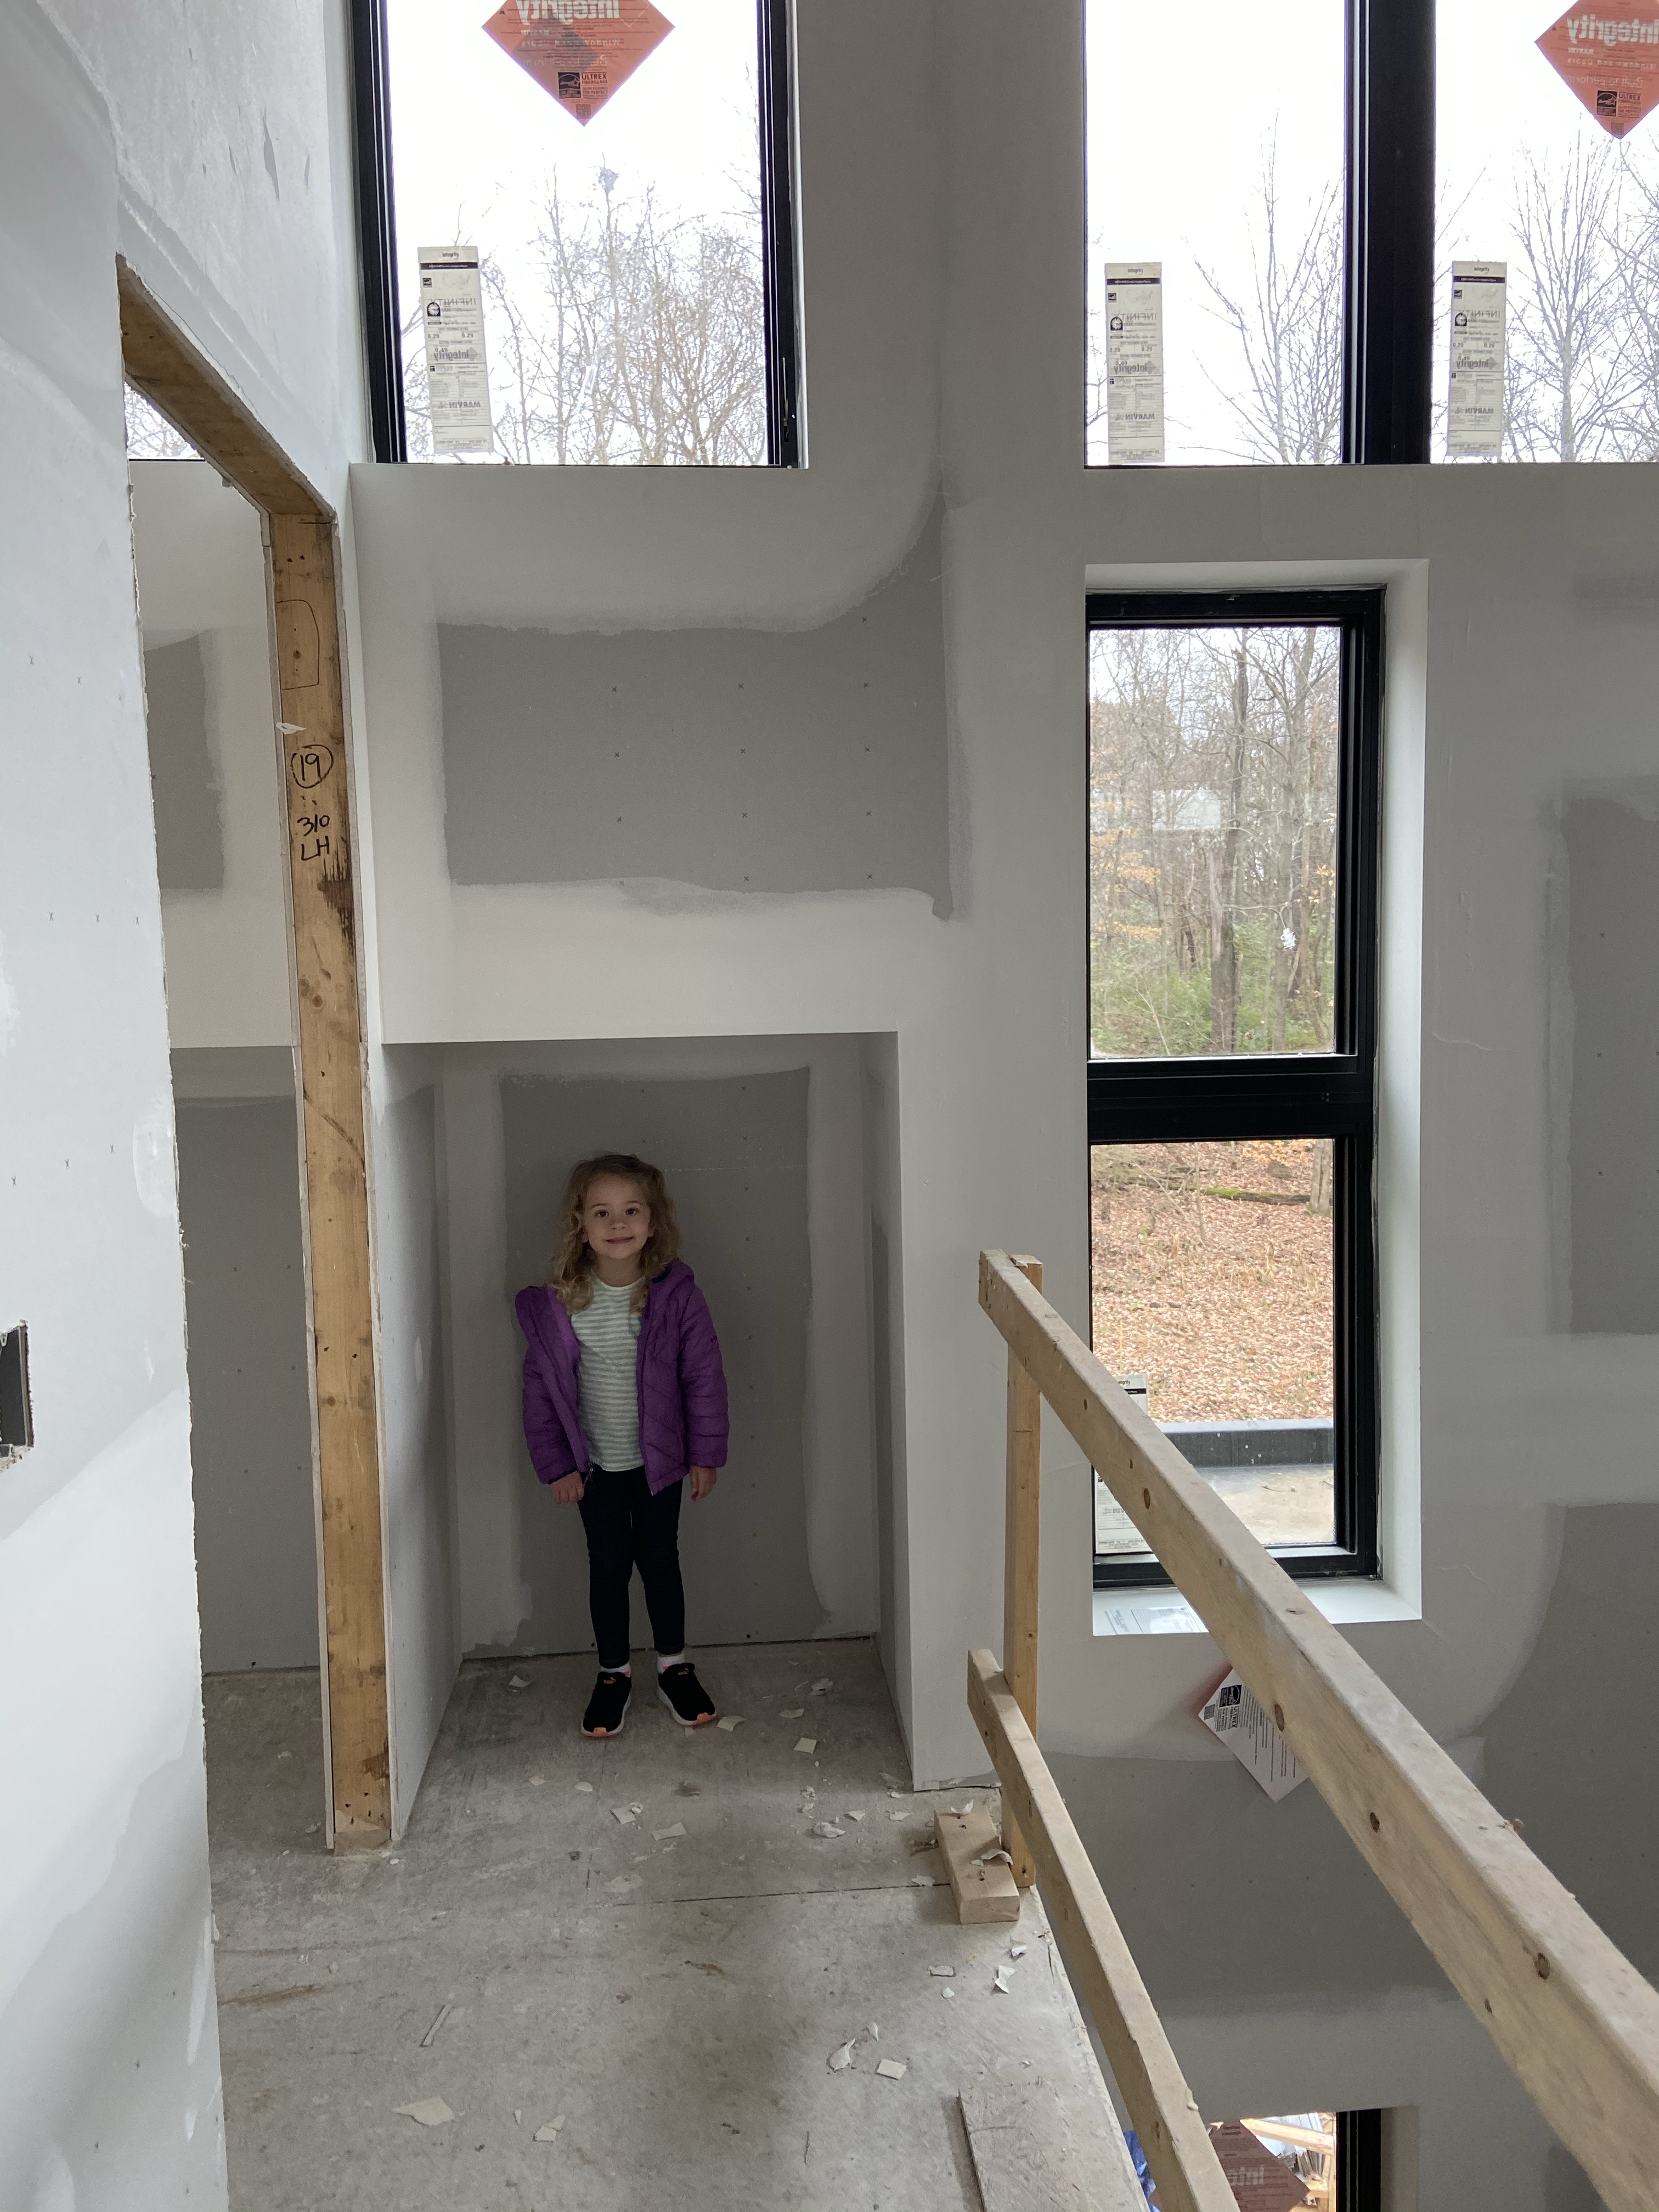
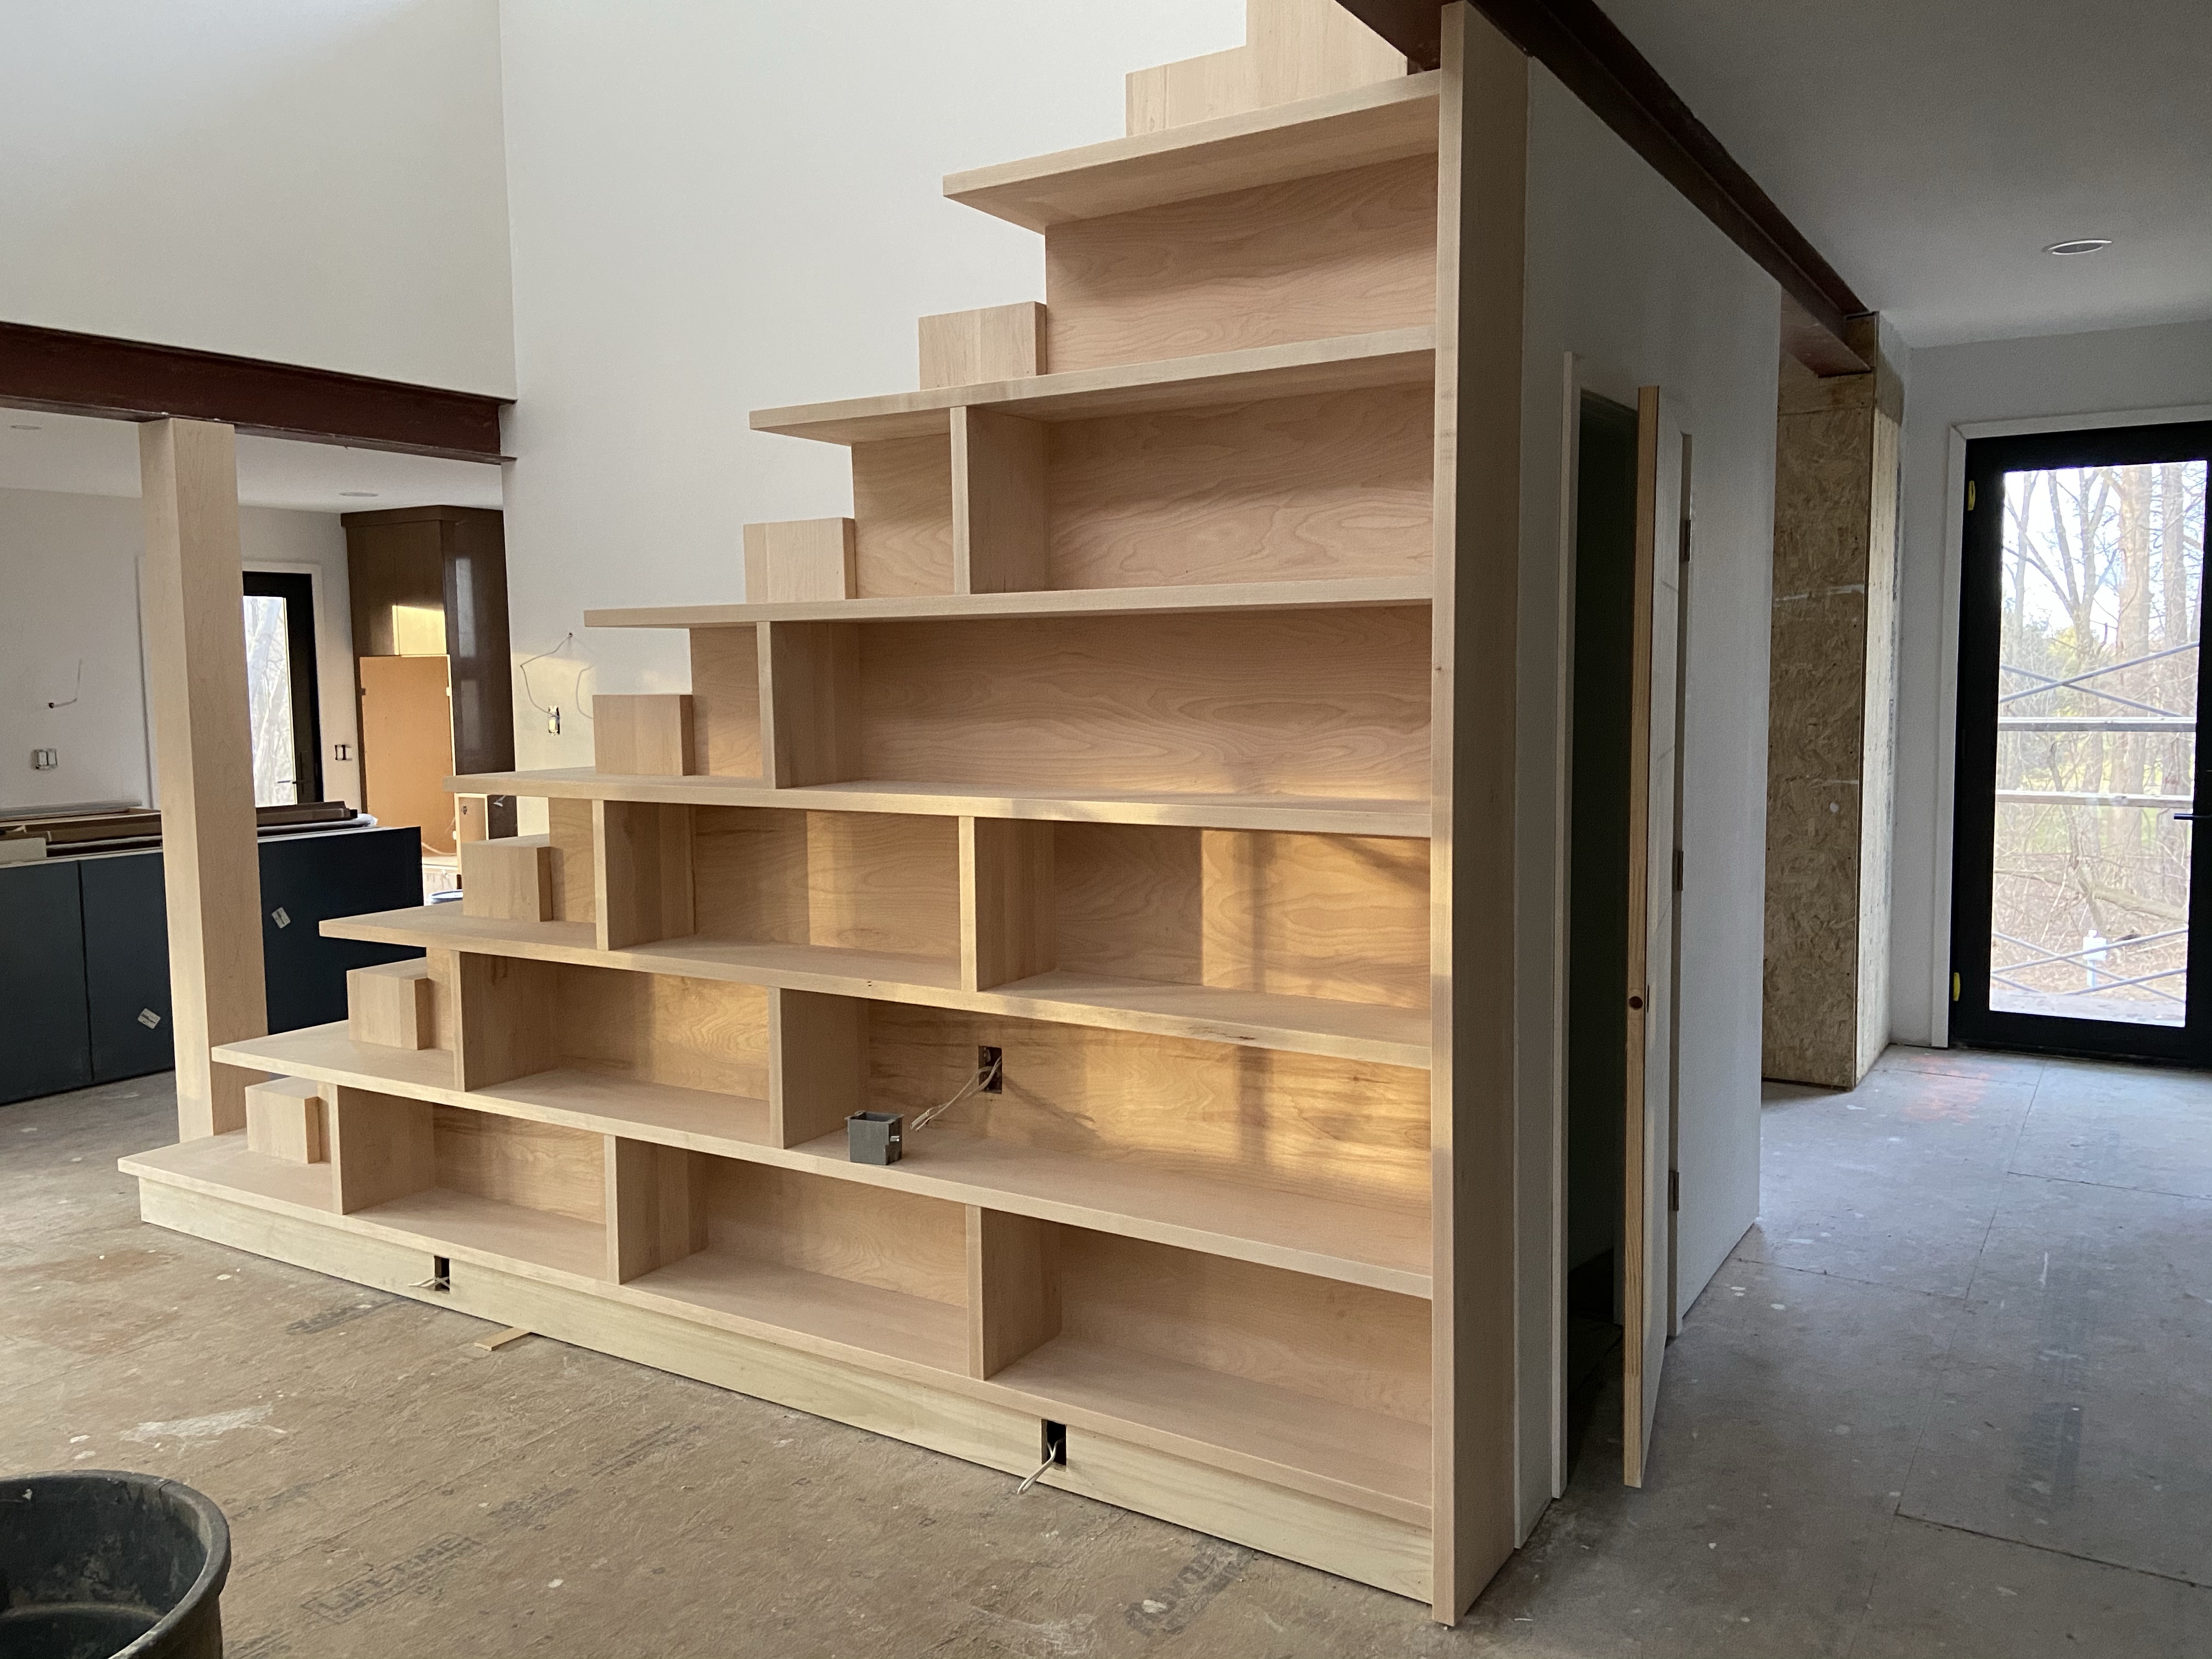
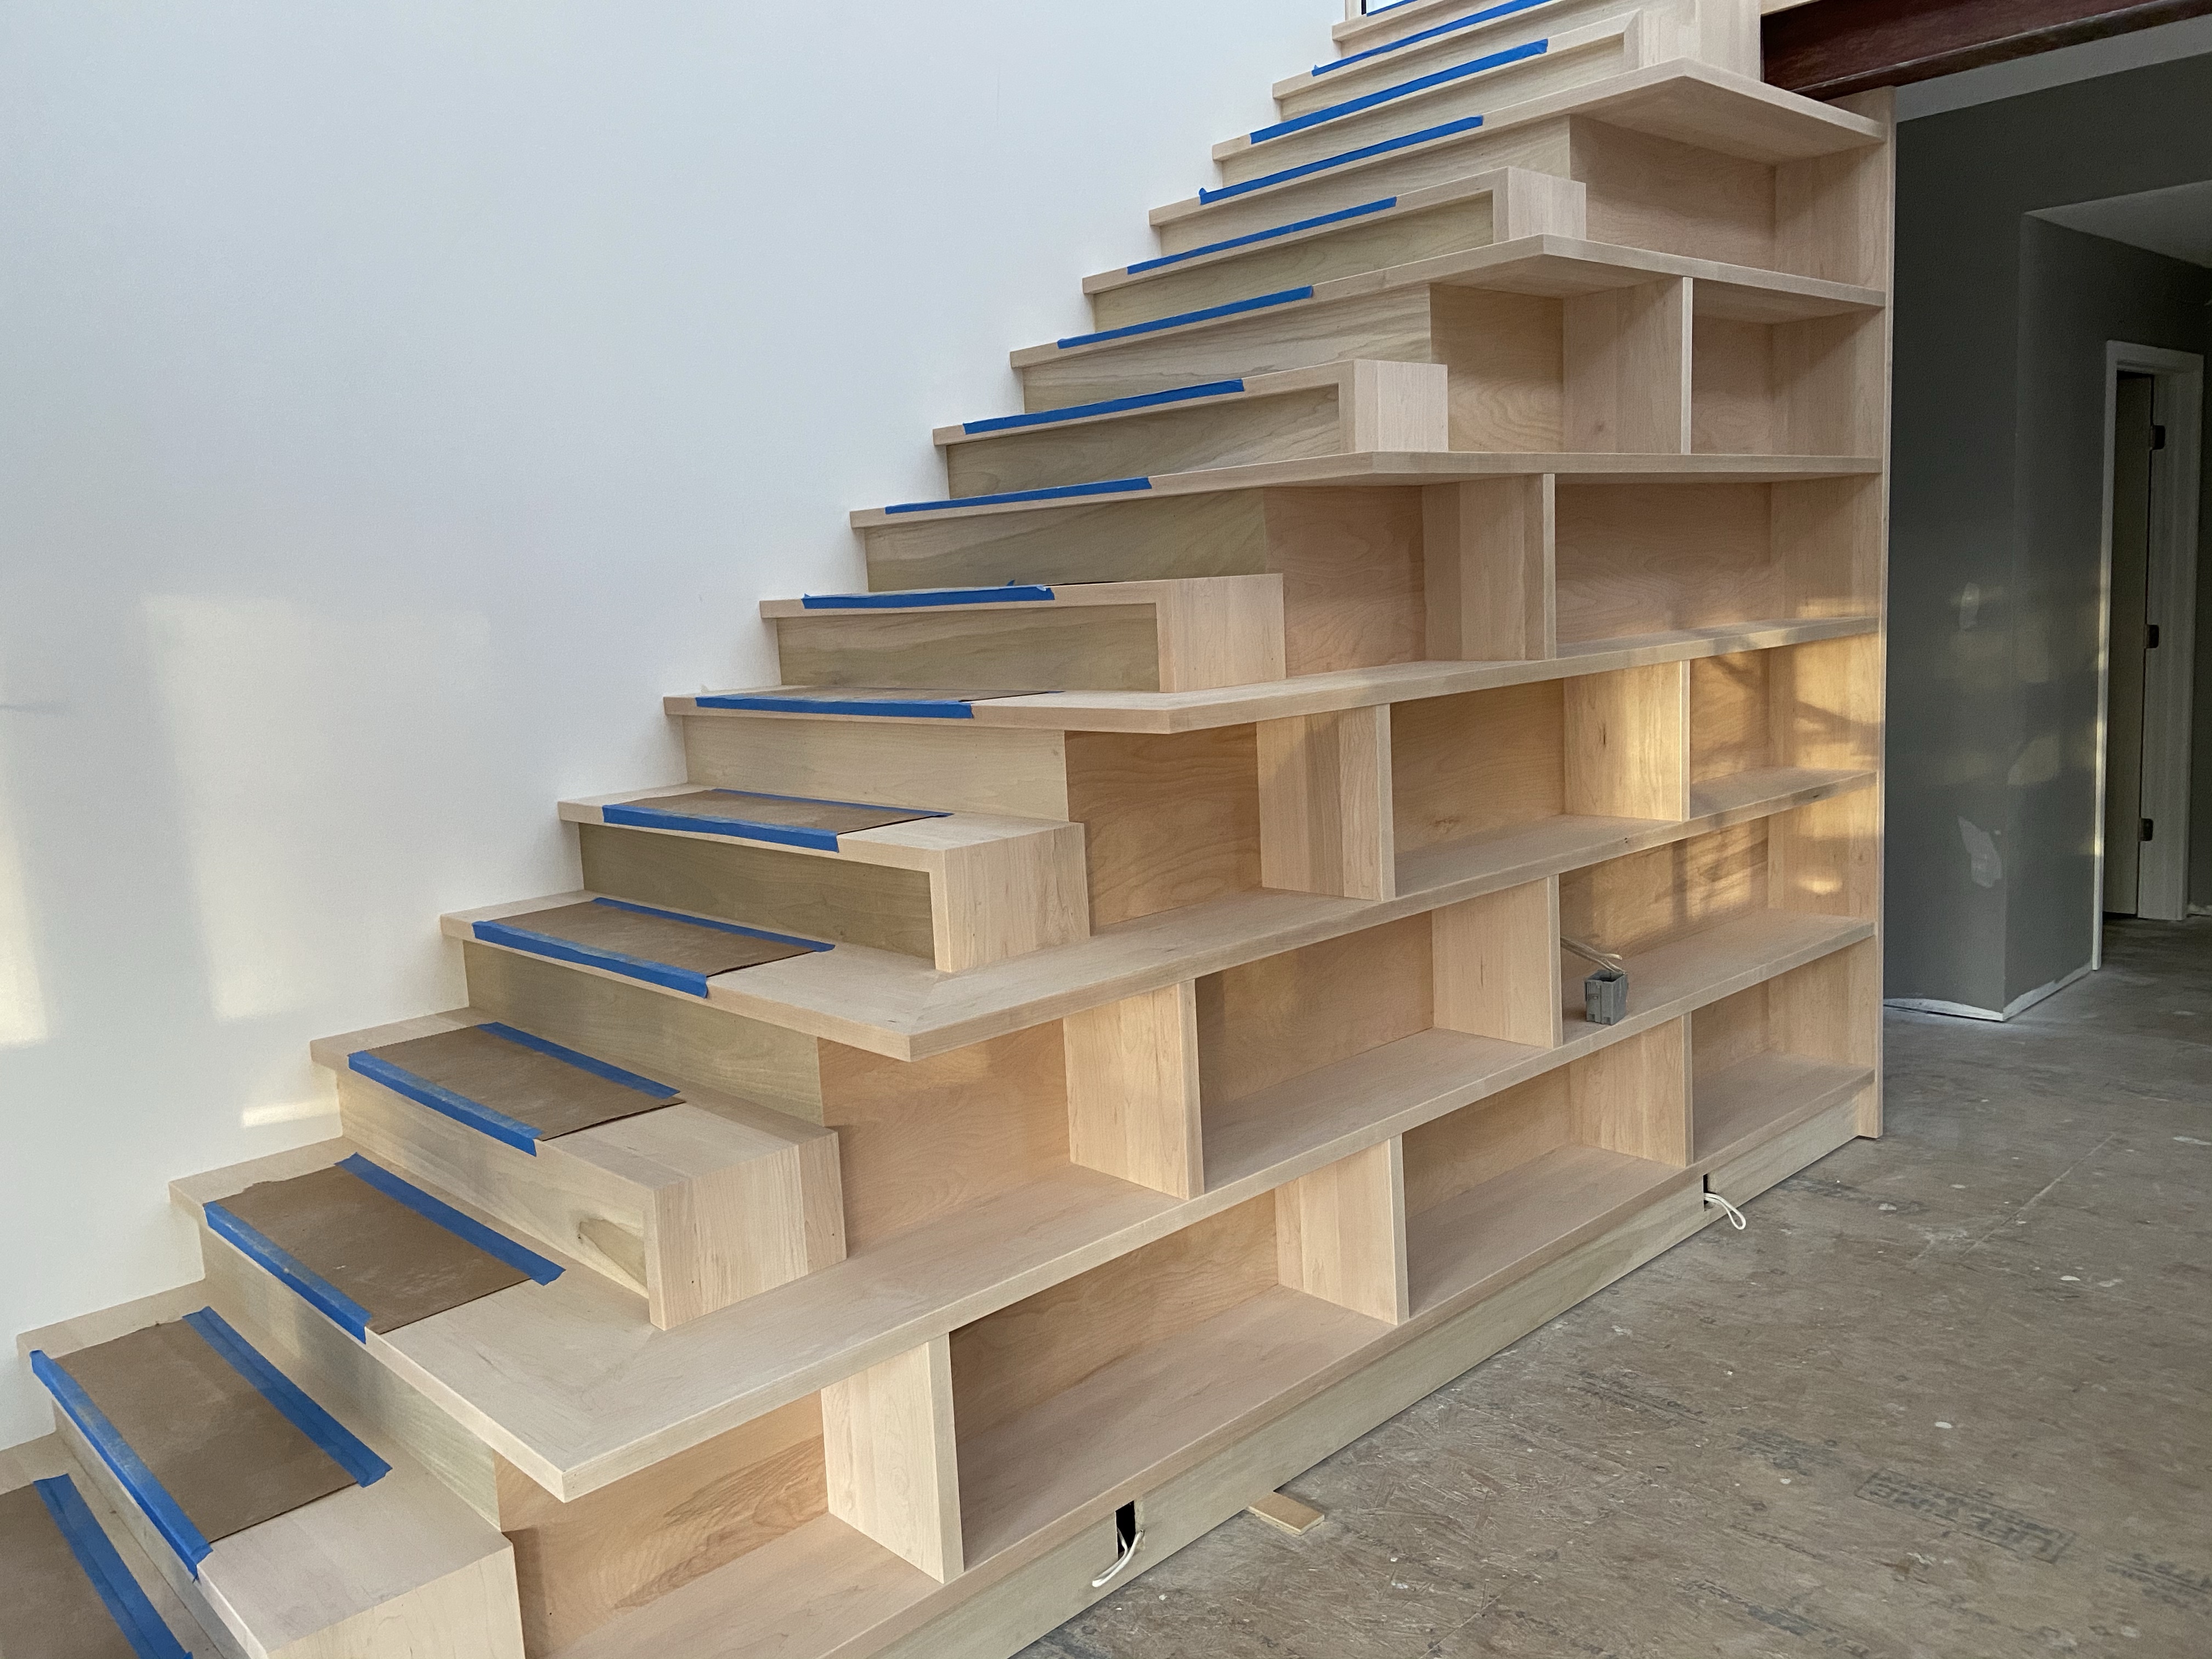
We wrapped up painting on December 8th and the trim carpenters have been working on setting doors, cabinets, trim, and some custom built-ins since then. I was extremely happy with how the custom stair / bookshelf that I designed turned out!
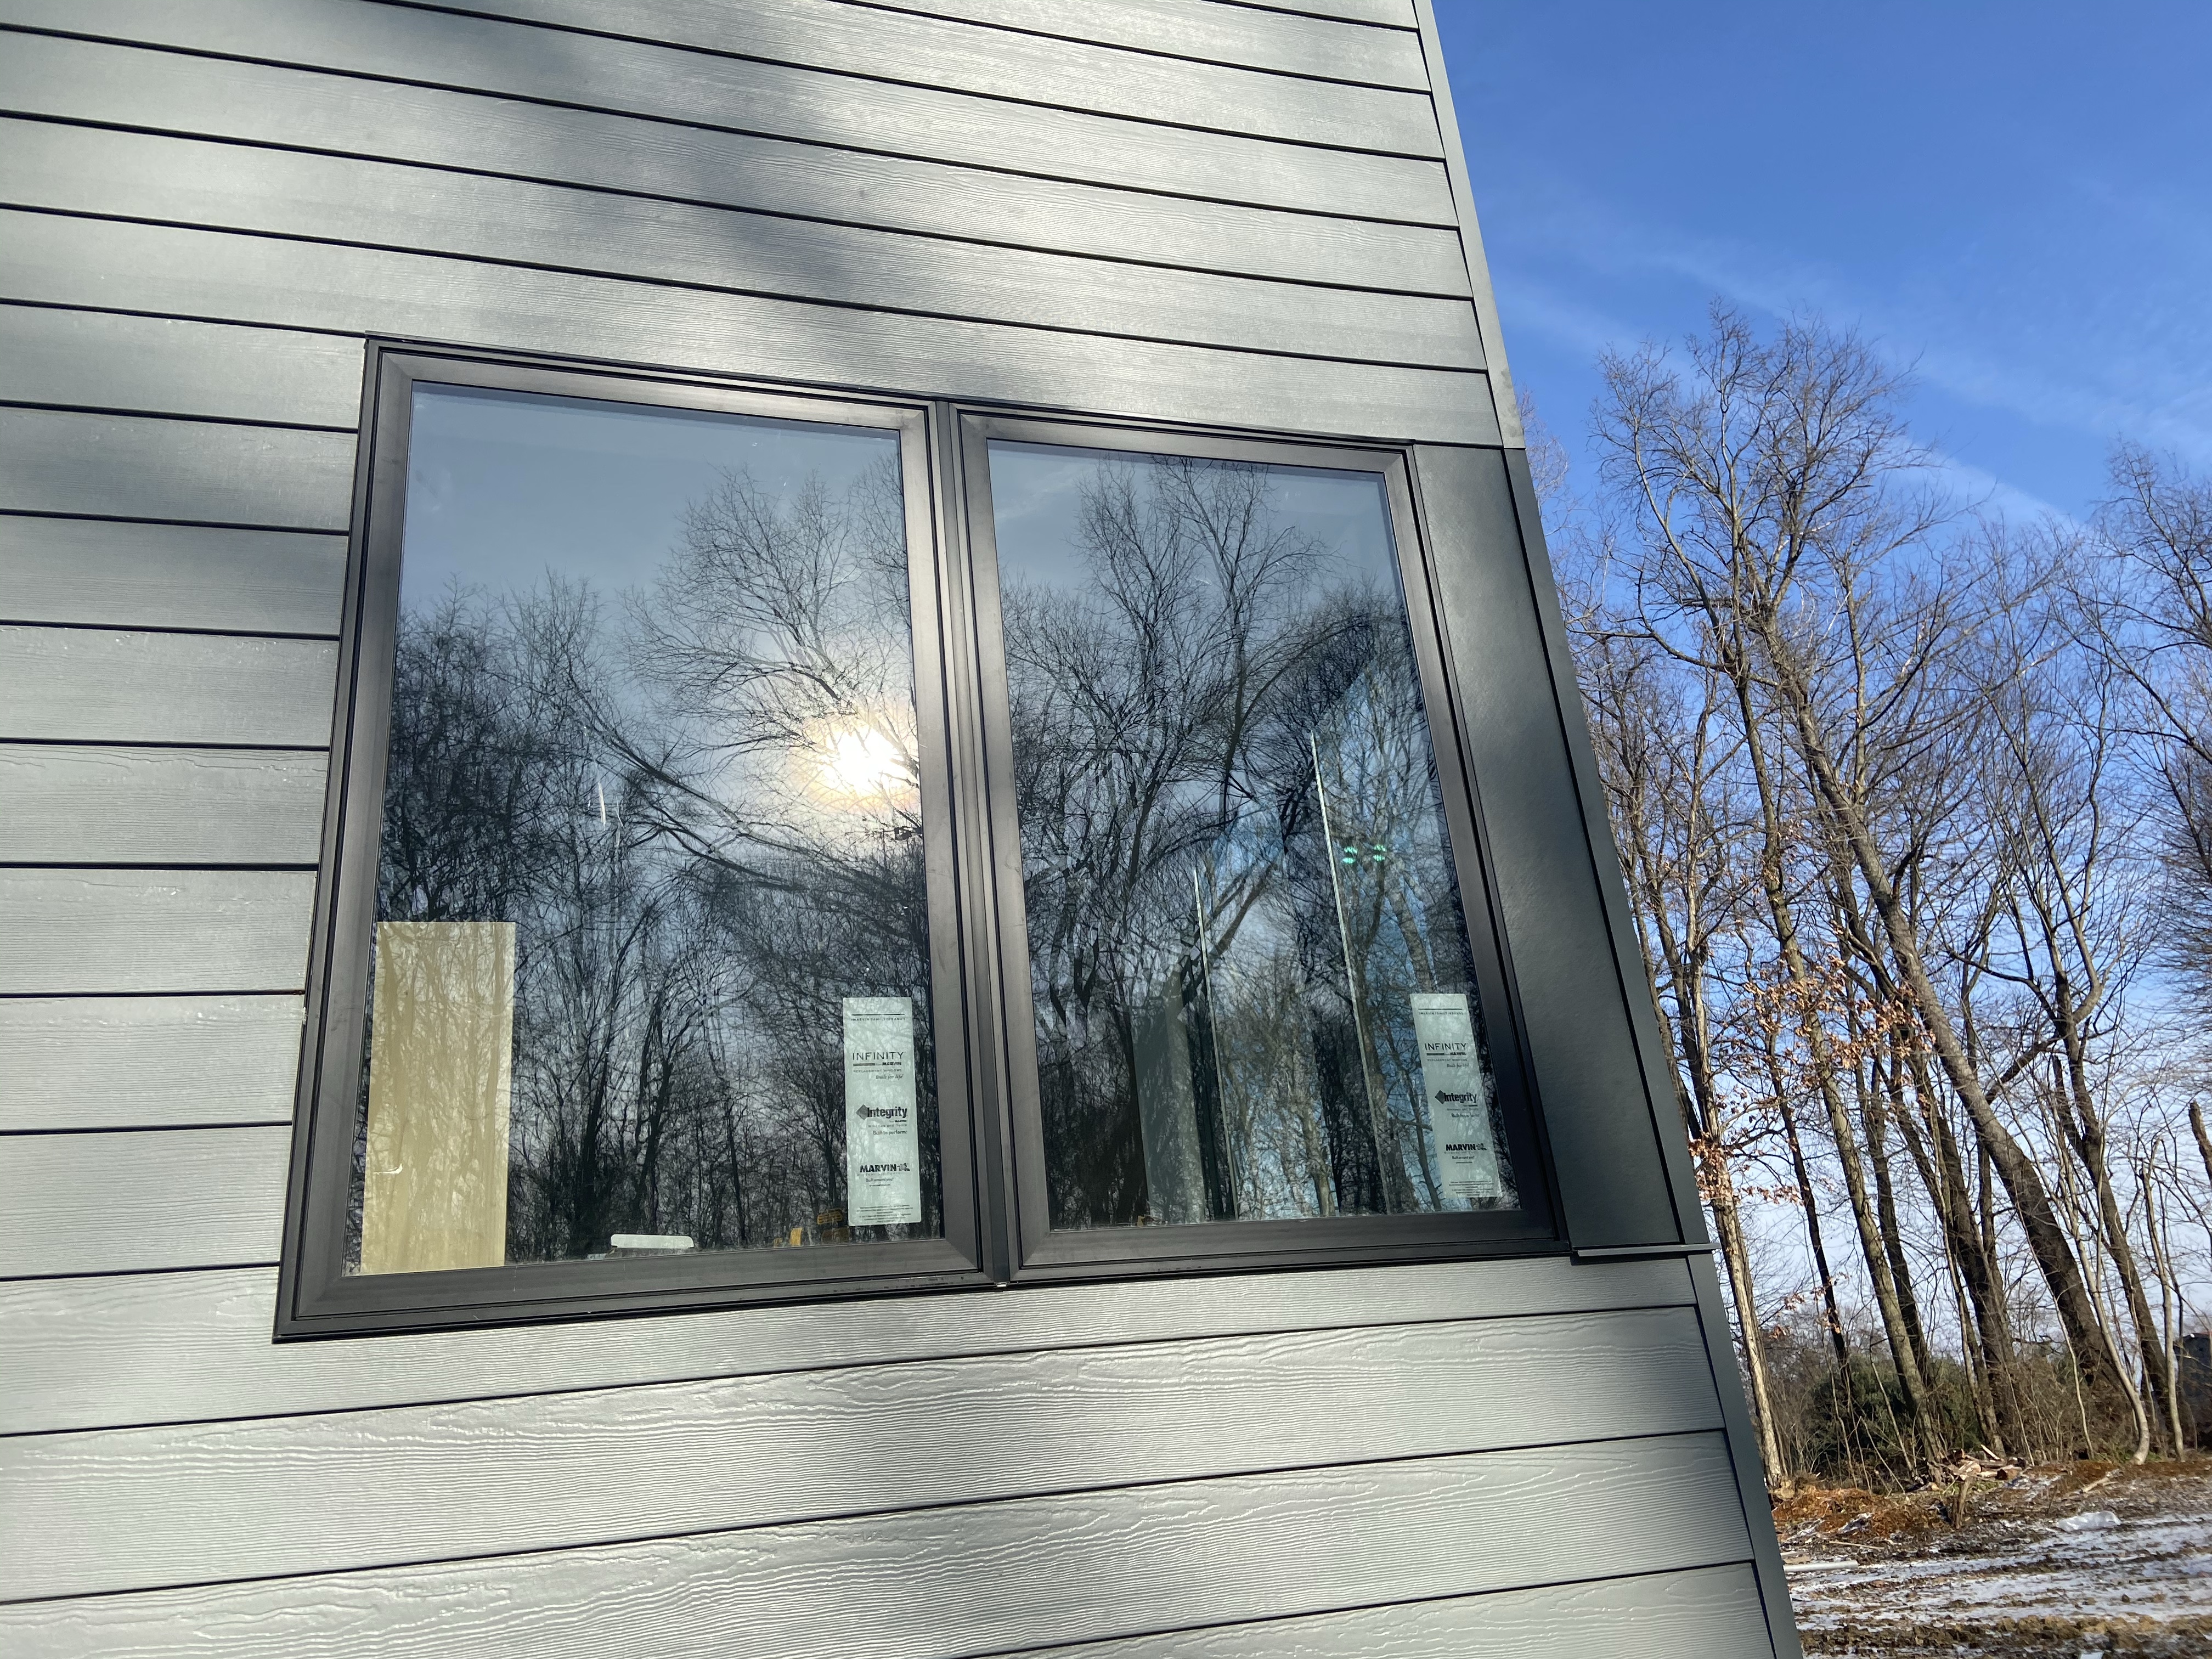
We have also seen a transformation on the exterior of the house the past few weeks. The girls were excited to see the green zip sheathing finally get covered up with siding! After saving money in a couple other areas we decided to go with Hardie cement board siding after all. We used the 8.25″ cedar plank lap siding (light gray) for most of the house and smooth panels (dark gray) up around the clearstory windows and as accents. We also used color matched aluminum trim (Easytrim) at all of the corners and transitions to pull off the modern detailing of the house. I am so happy with the end result and so so so glad we didn’t end up using vinyl!
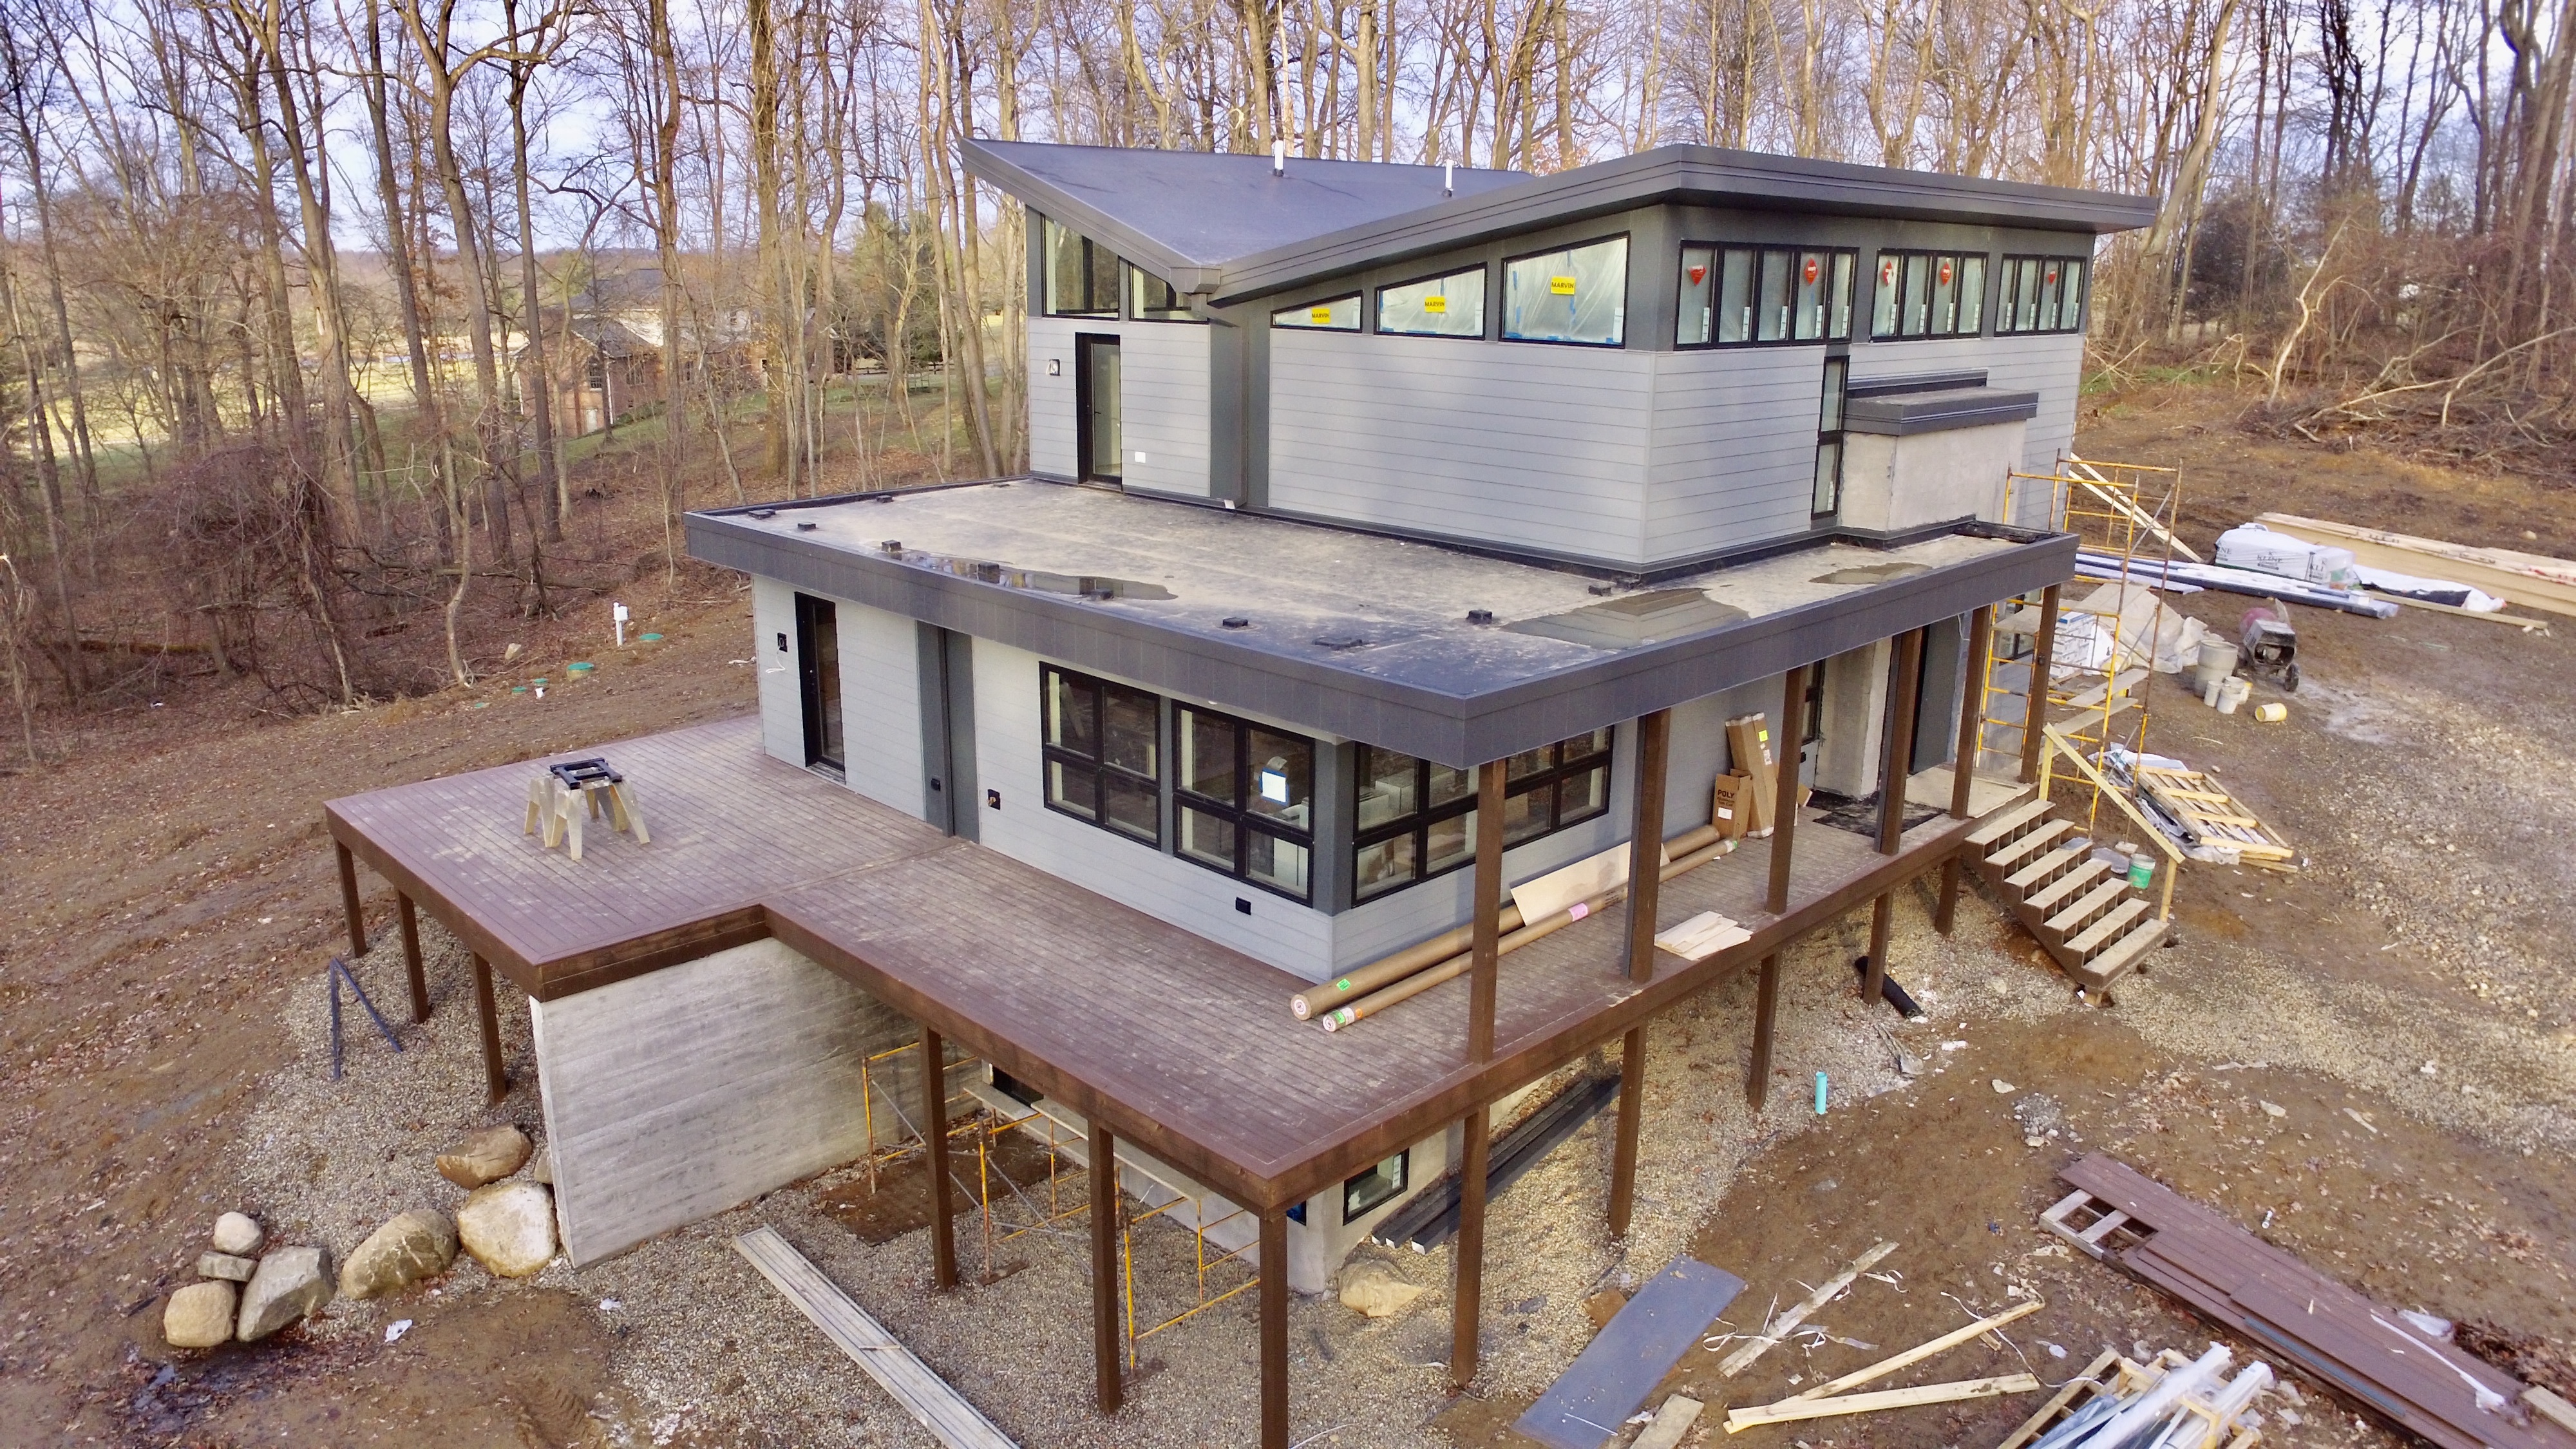
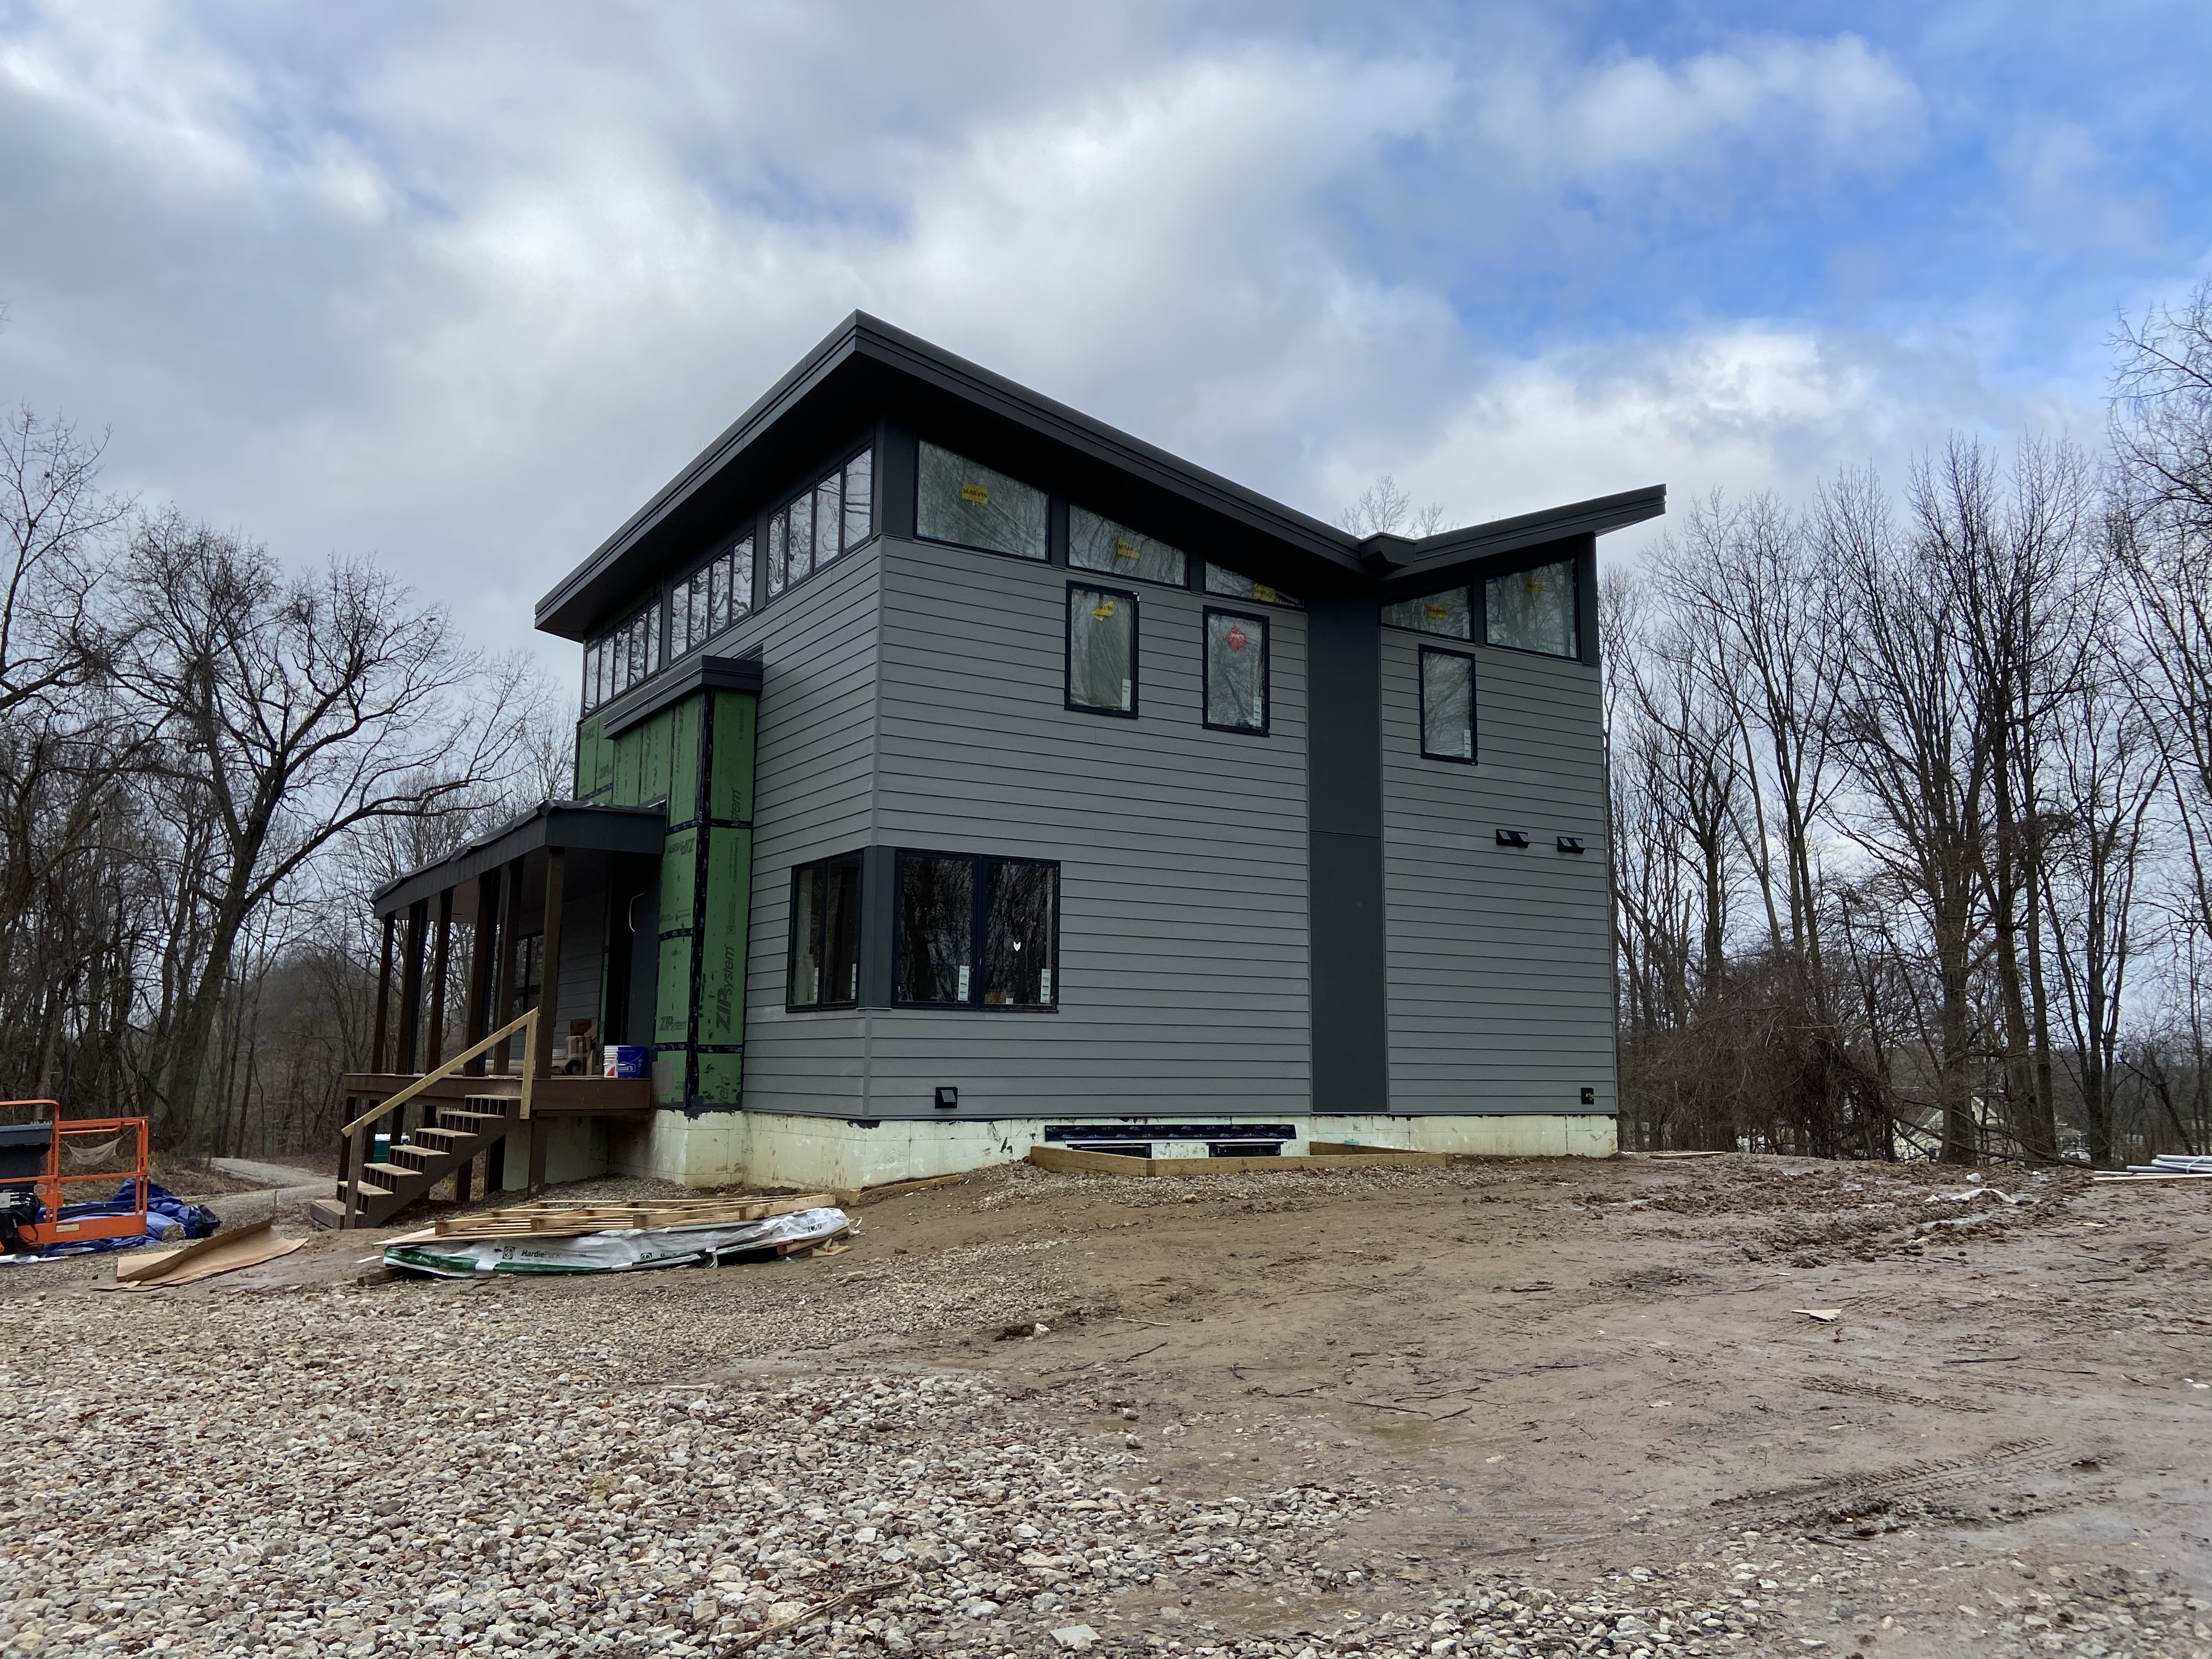
The metal guys also finished all the fascia, soffits, gutters, and downspouts which Joe says is his favorite part of the exterior. He says it is because you don’t see metal on many homes. My favorite part is still the roof shape and upper windows! (And now the extra bedroom ❤️)

Stay tuned! Many of the finishes will be going on throughout January.
Insulation and Drywall

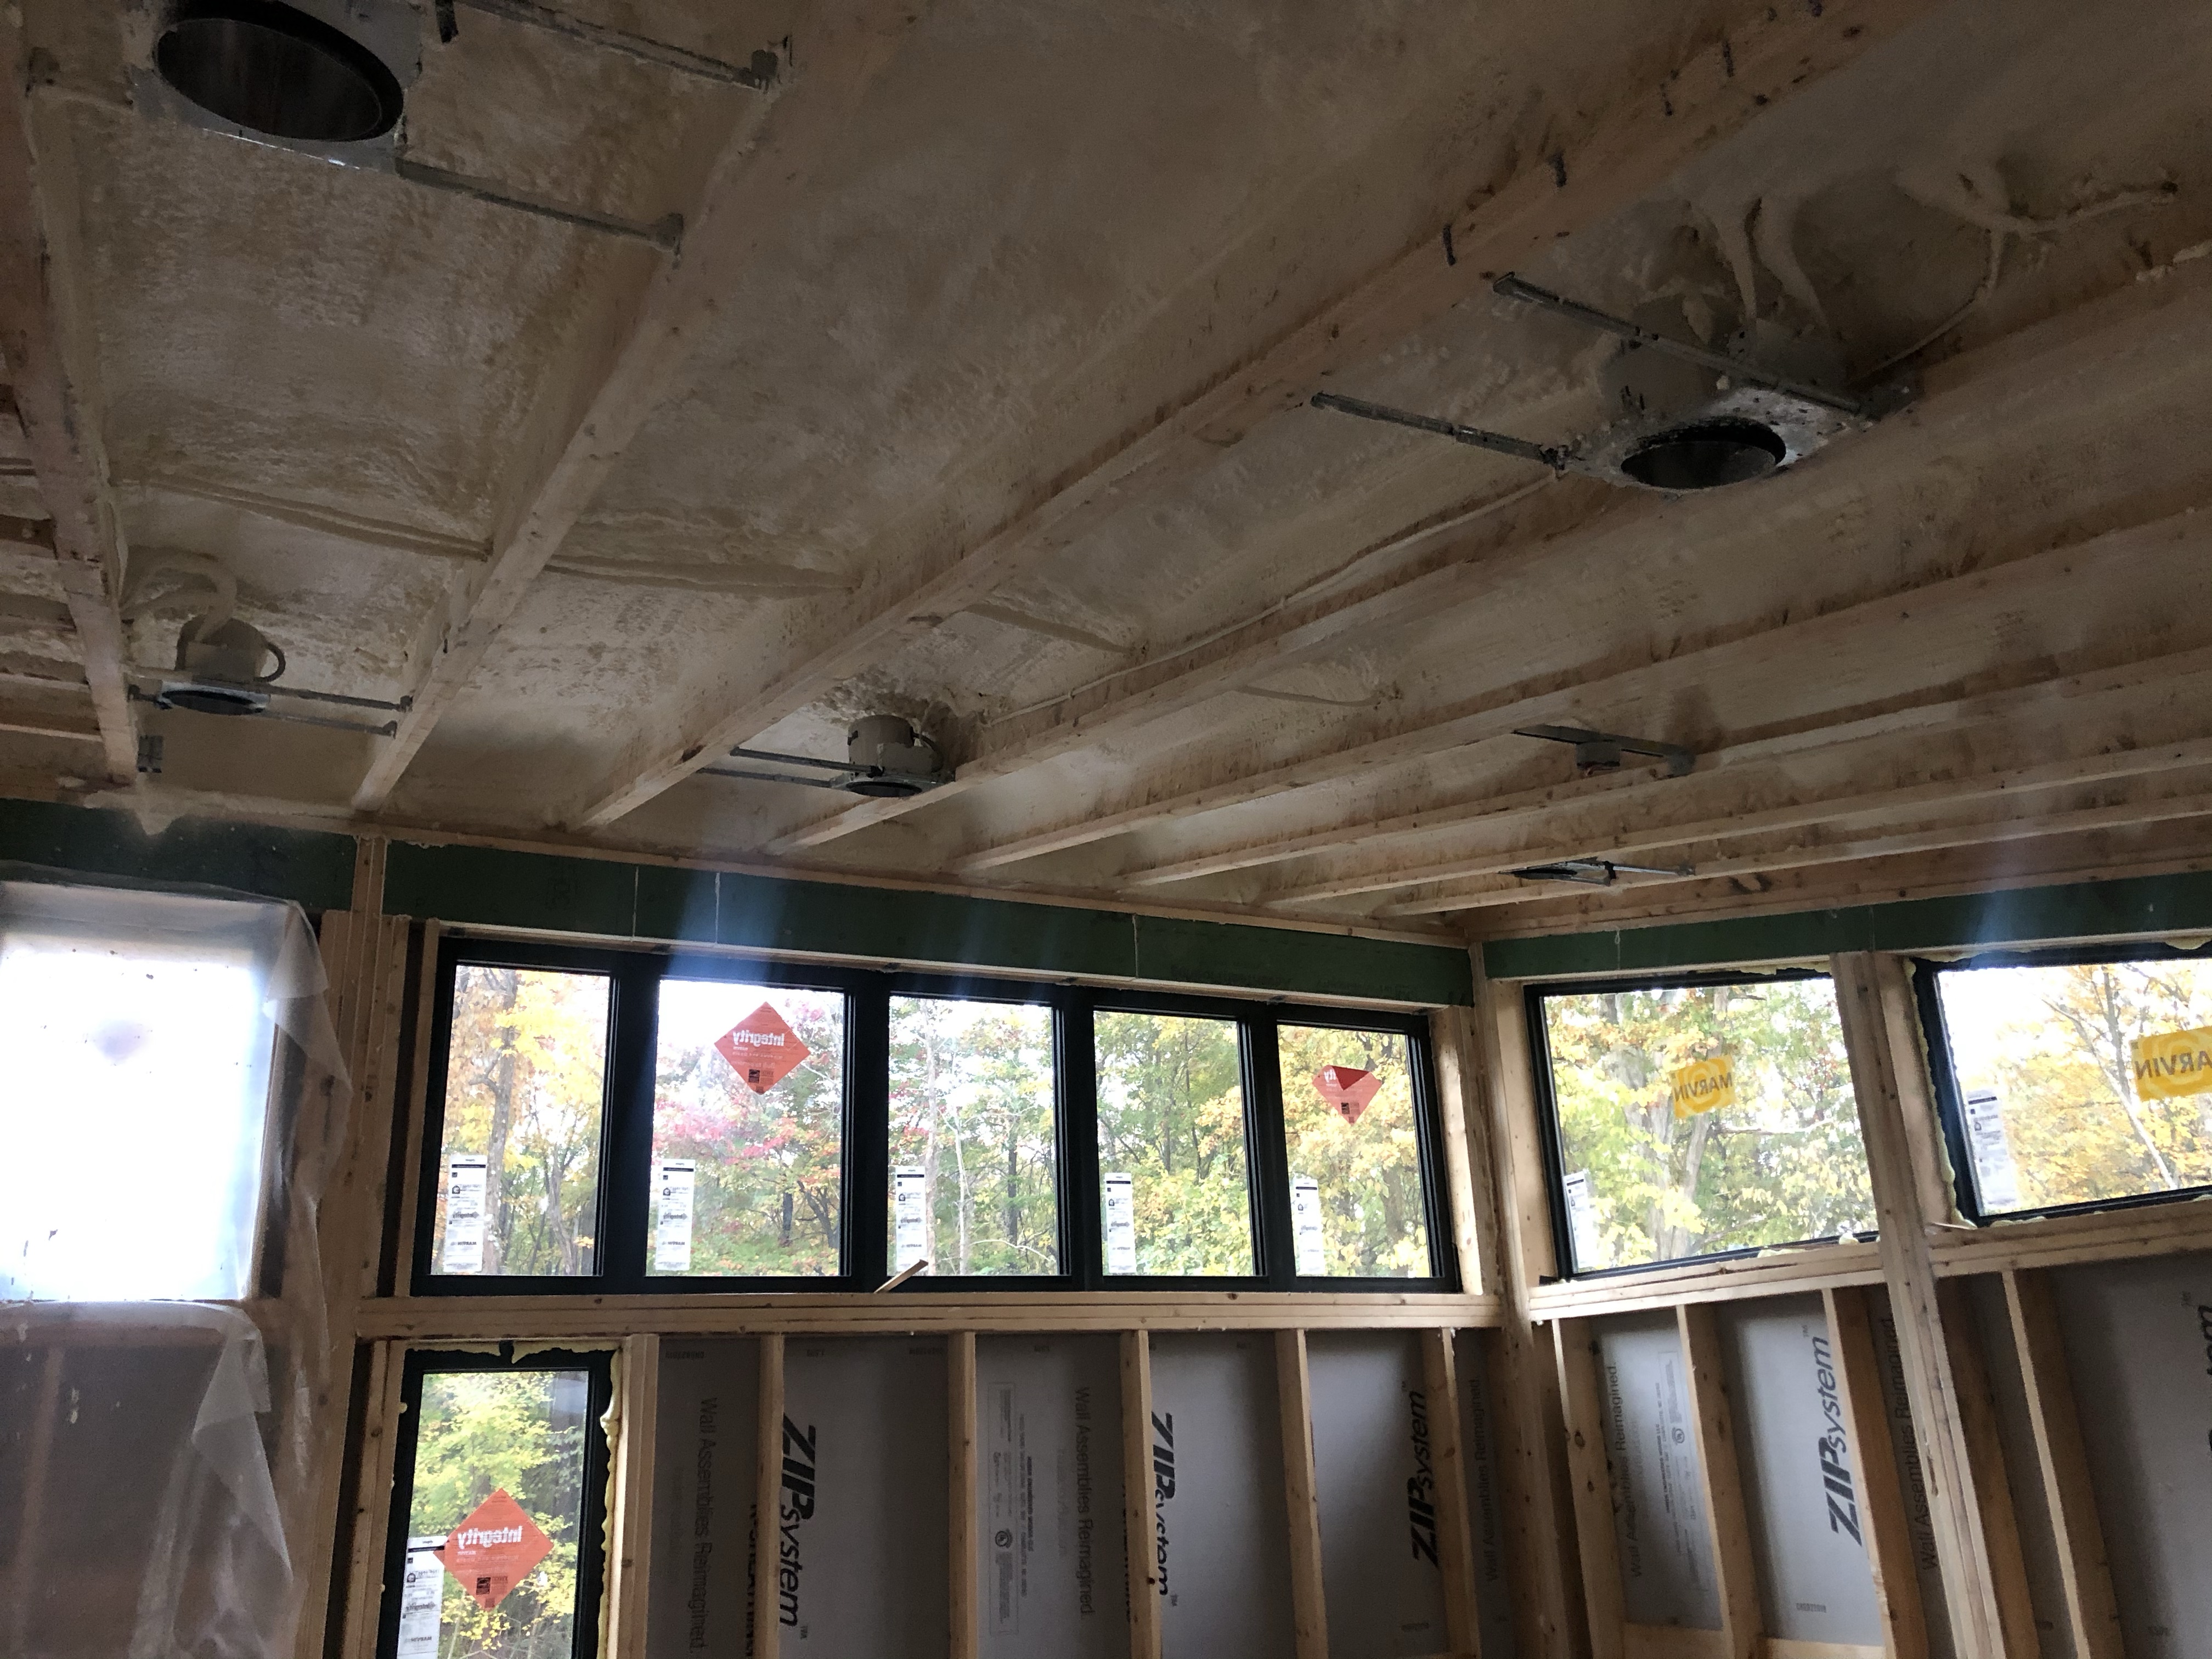
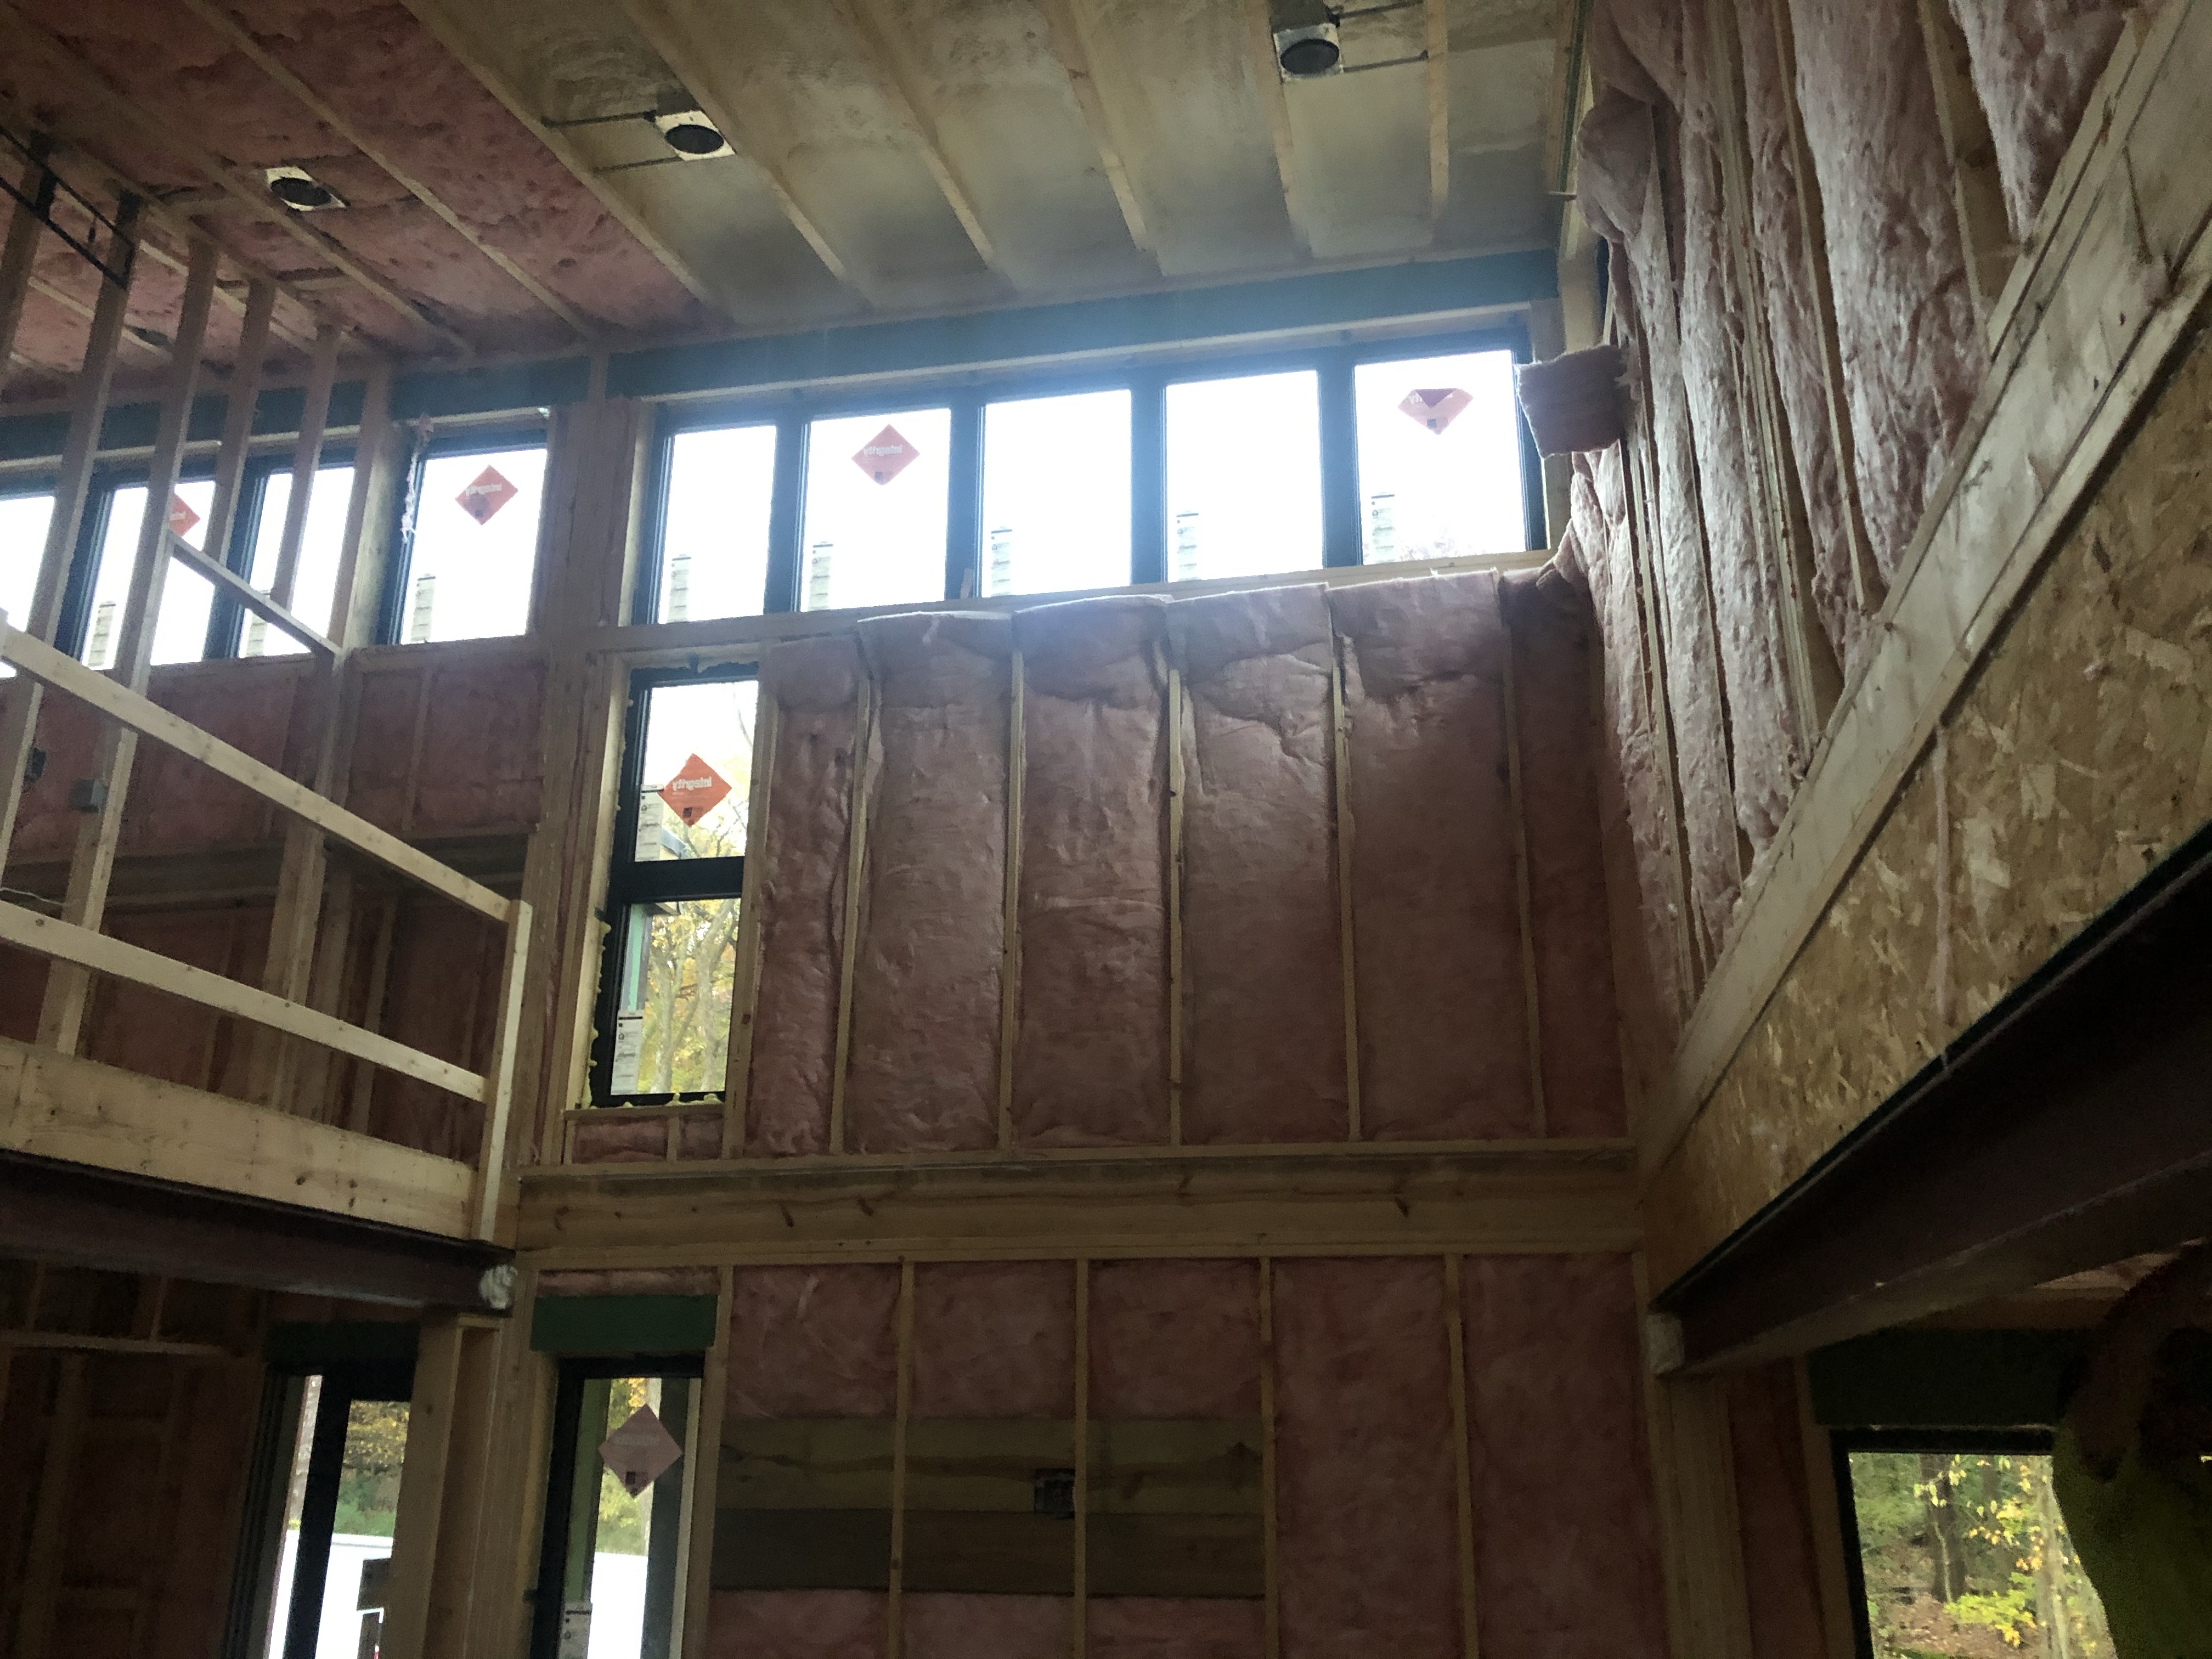
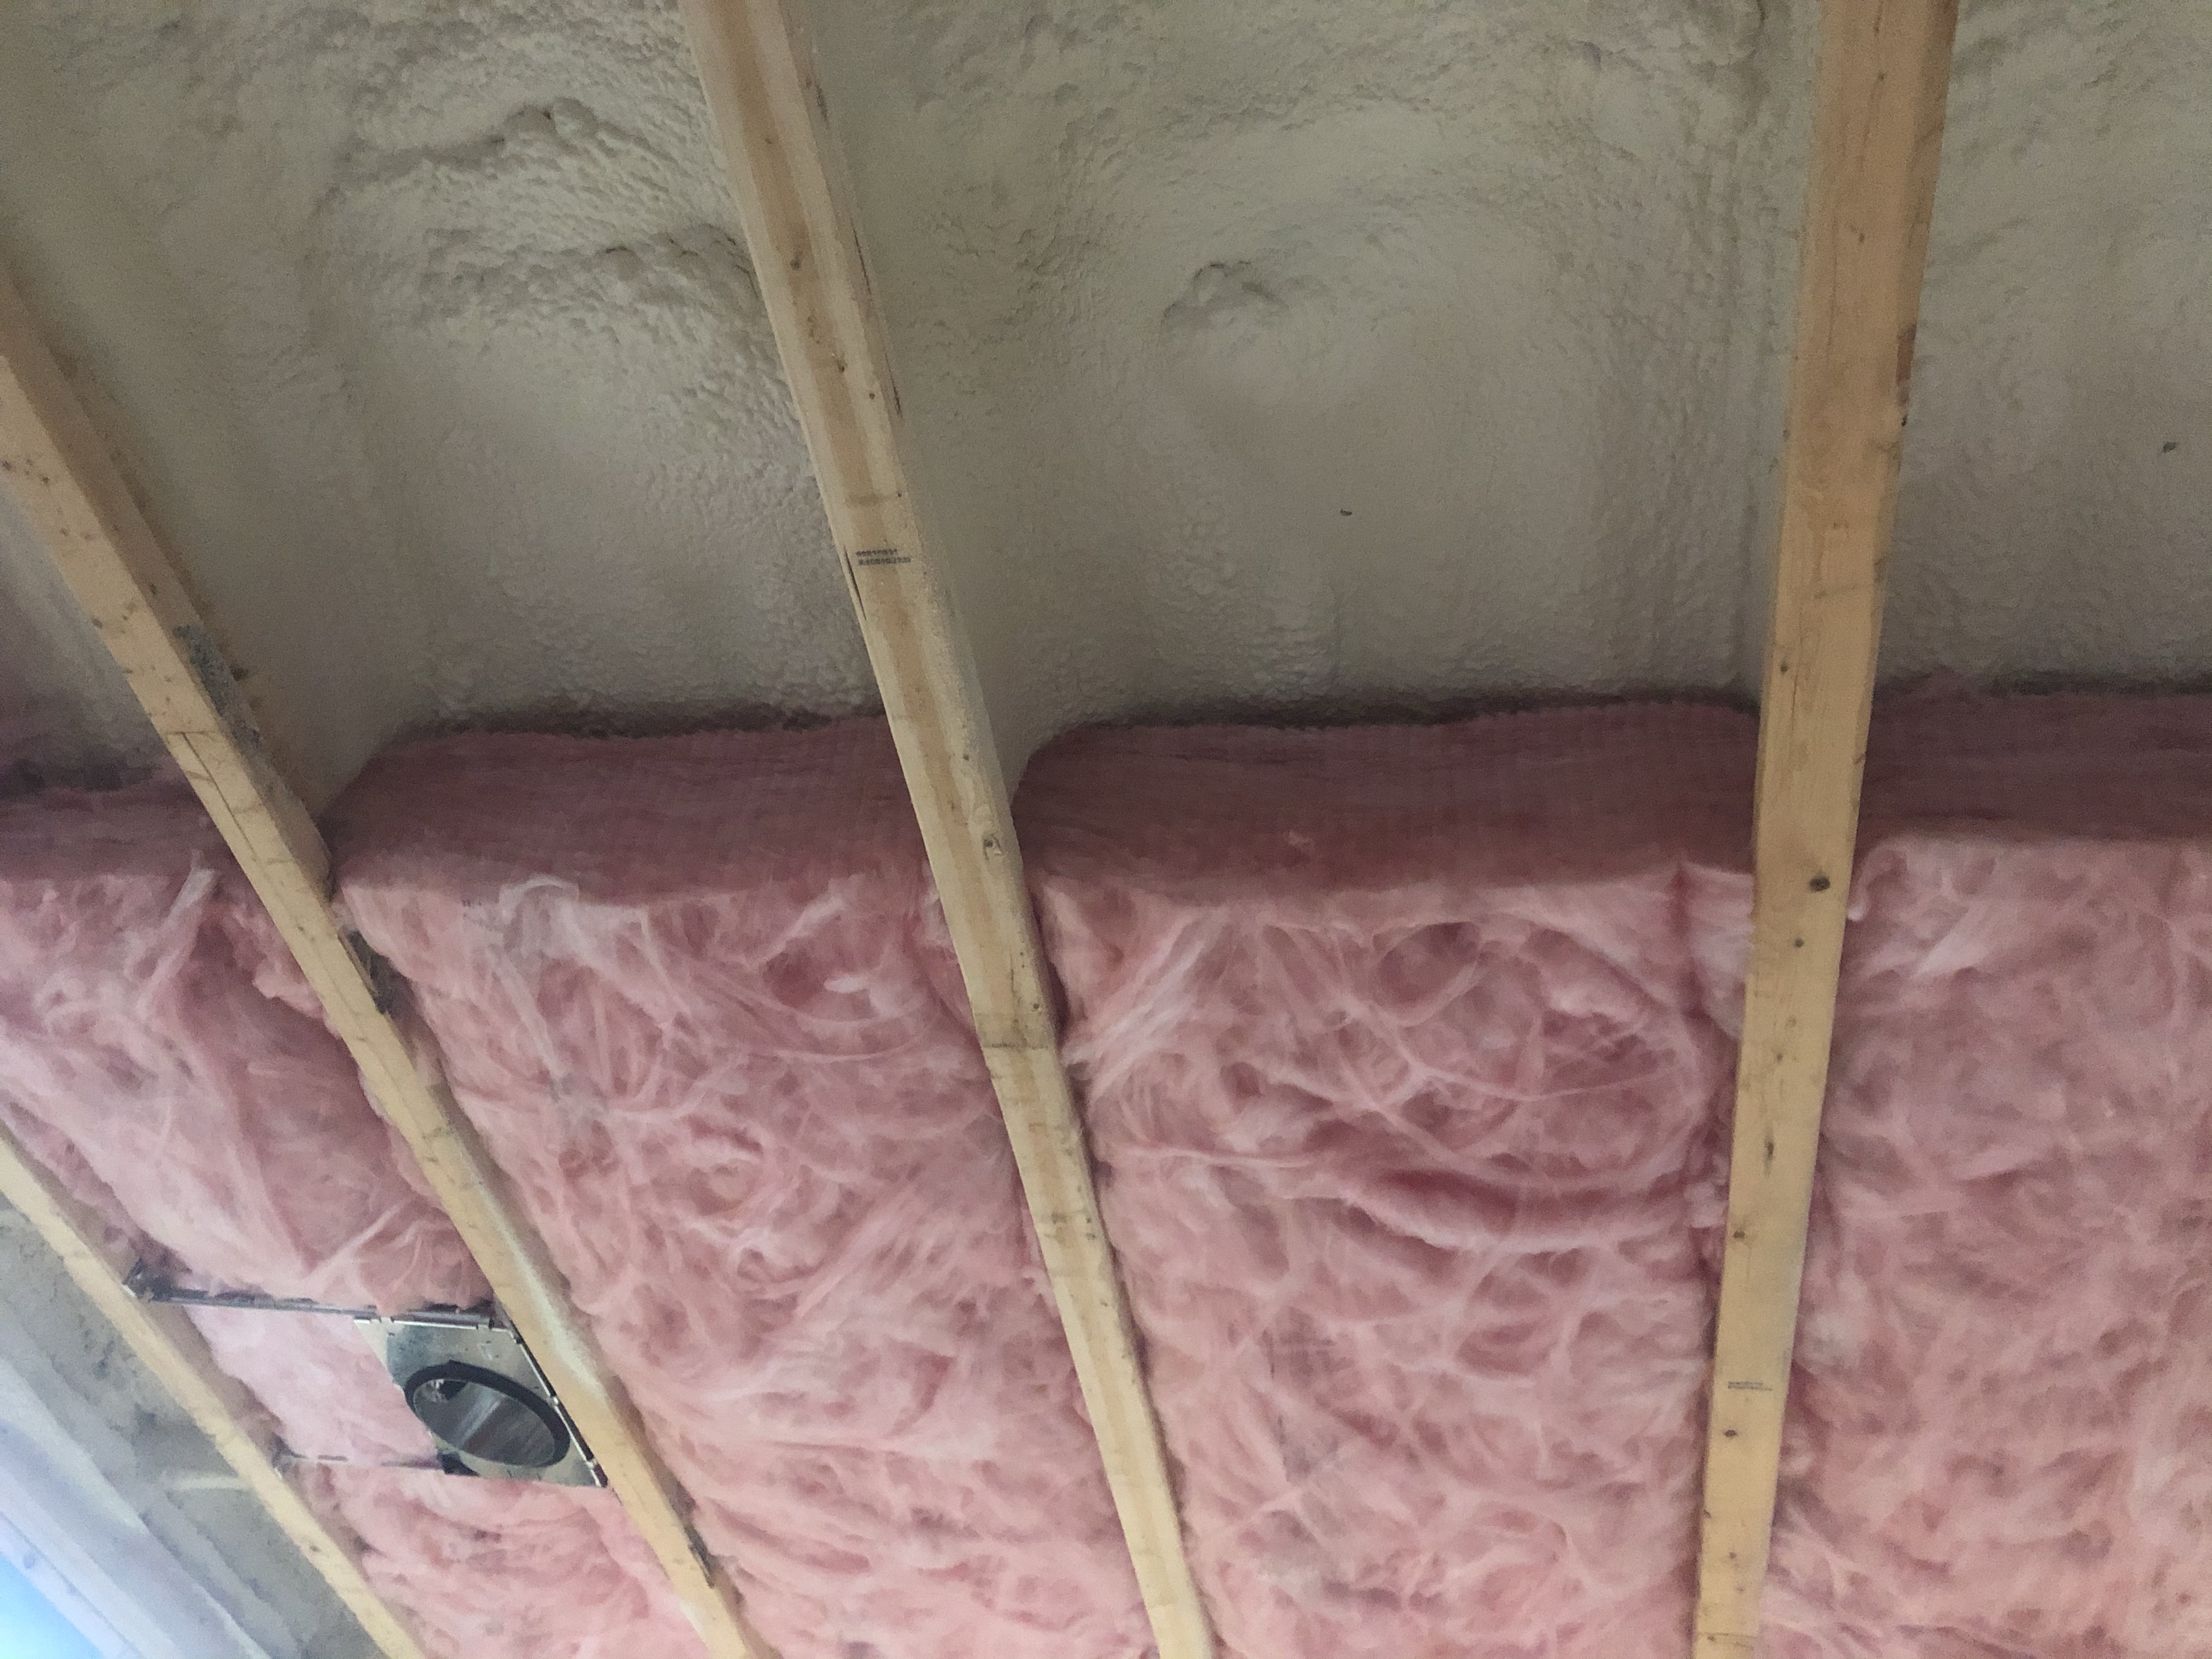
Insulation and Drywall. These two materials have transformed what was just a shell of a house into something that looks very close to a livable space. The insulation started with spray foam and caulk. We called for 3″ of spray foam on the underside of the roof sheathing. This is to get enough R value to keep any sort of condensation from wanting to form up in the joist space. Basically it ensures that the dew point (temperature where water condenses) falls within the spray foam and since vapor can’t permeate the spray foam it avoids any potential for moisture to accumulate in the joist space. The insulators also caulked any joint between two pieces of wood. This is to ensure that there is no air leakage at these joints. I found this entirely unnecessary since we did the zip r-panel outside all of the studs but they did it anyway…

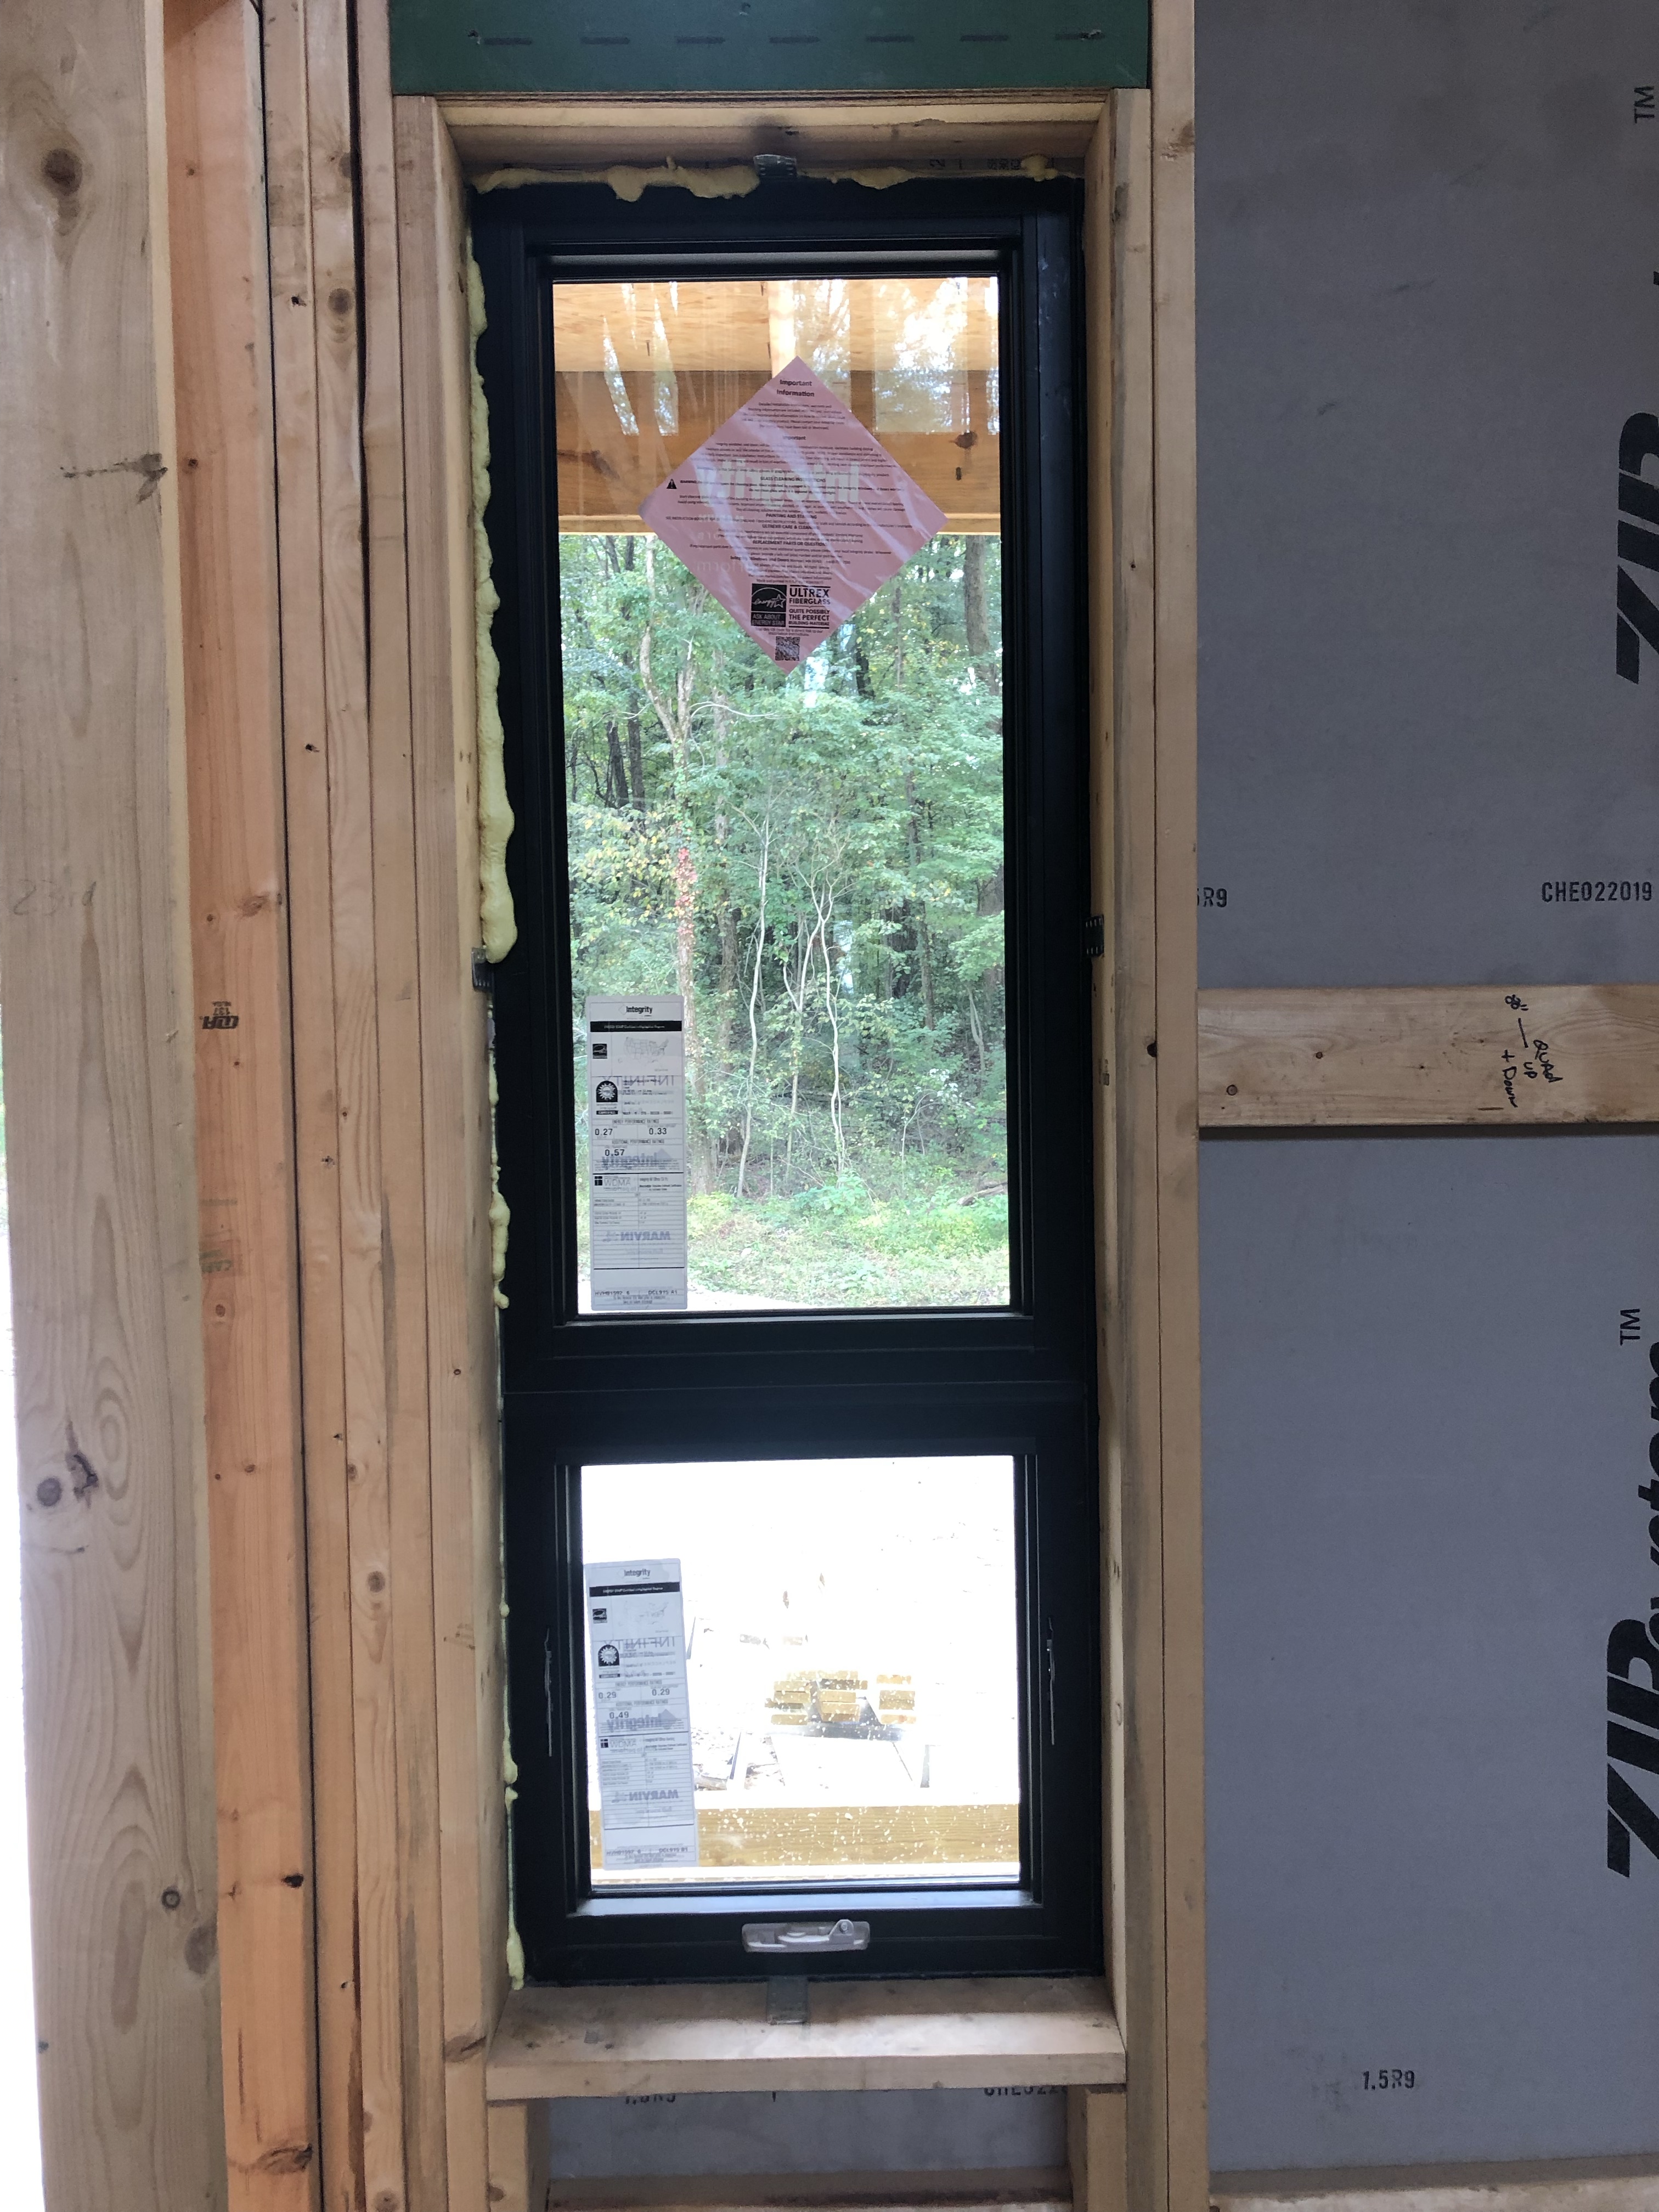
We also helped spray foam all the voids around the windows. This is one of the weakest points in many homes so I volunteered to tackle this to be sure that it got done the way I wanted.

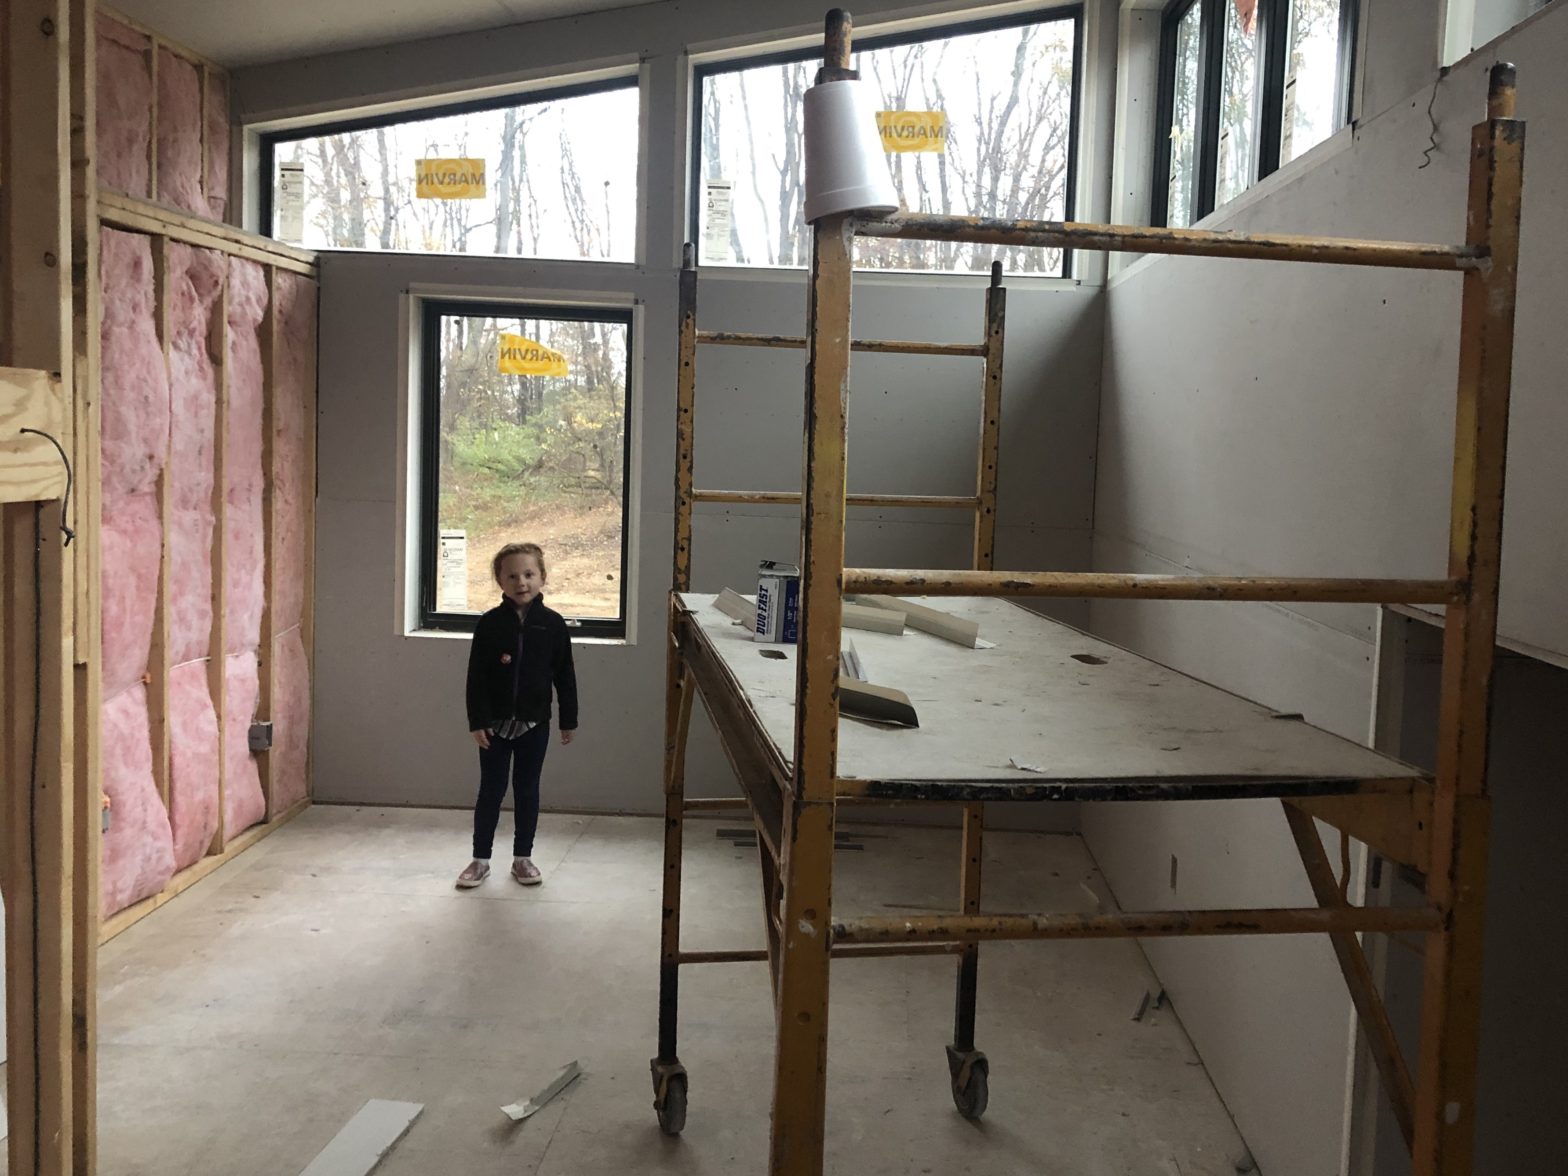
Once all the spray foam and caulk were complete they installed fiberglass batt insulation in the wall stud and roof joist cavities. Some of you may be surprised that I used ‘standard fiberglass’ but keep in mind it’s paired with spray foam at the roof and zip r-panel at the walls. Sure, there are other types of cavity insulation that are considered ‘better’ than fiberglass batt but it is only better when you start expecting it to do more than just insulate. Both dense pack cellulose and blown in fiberglass are better at stopping air movement but I already had that covered with the other materials so what I was looking for is the highest r-value per inch at the best cost. And you can’t beat fiberglass for that.

In addition to insulating the exterior envelope for thermal purposes, we also installed fiberglass batt in all of the interior wall and ceiling cavities for sound.

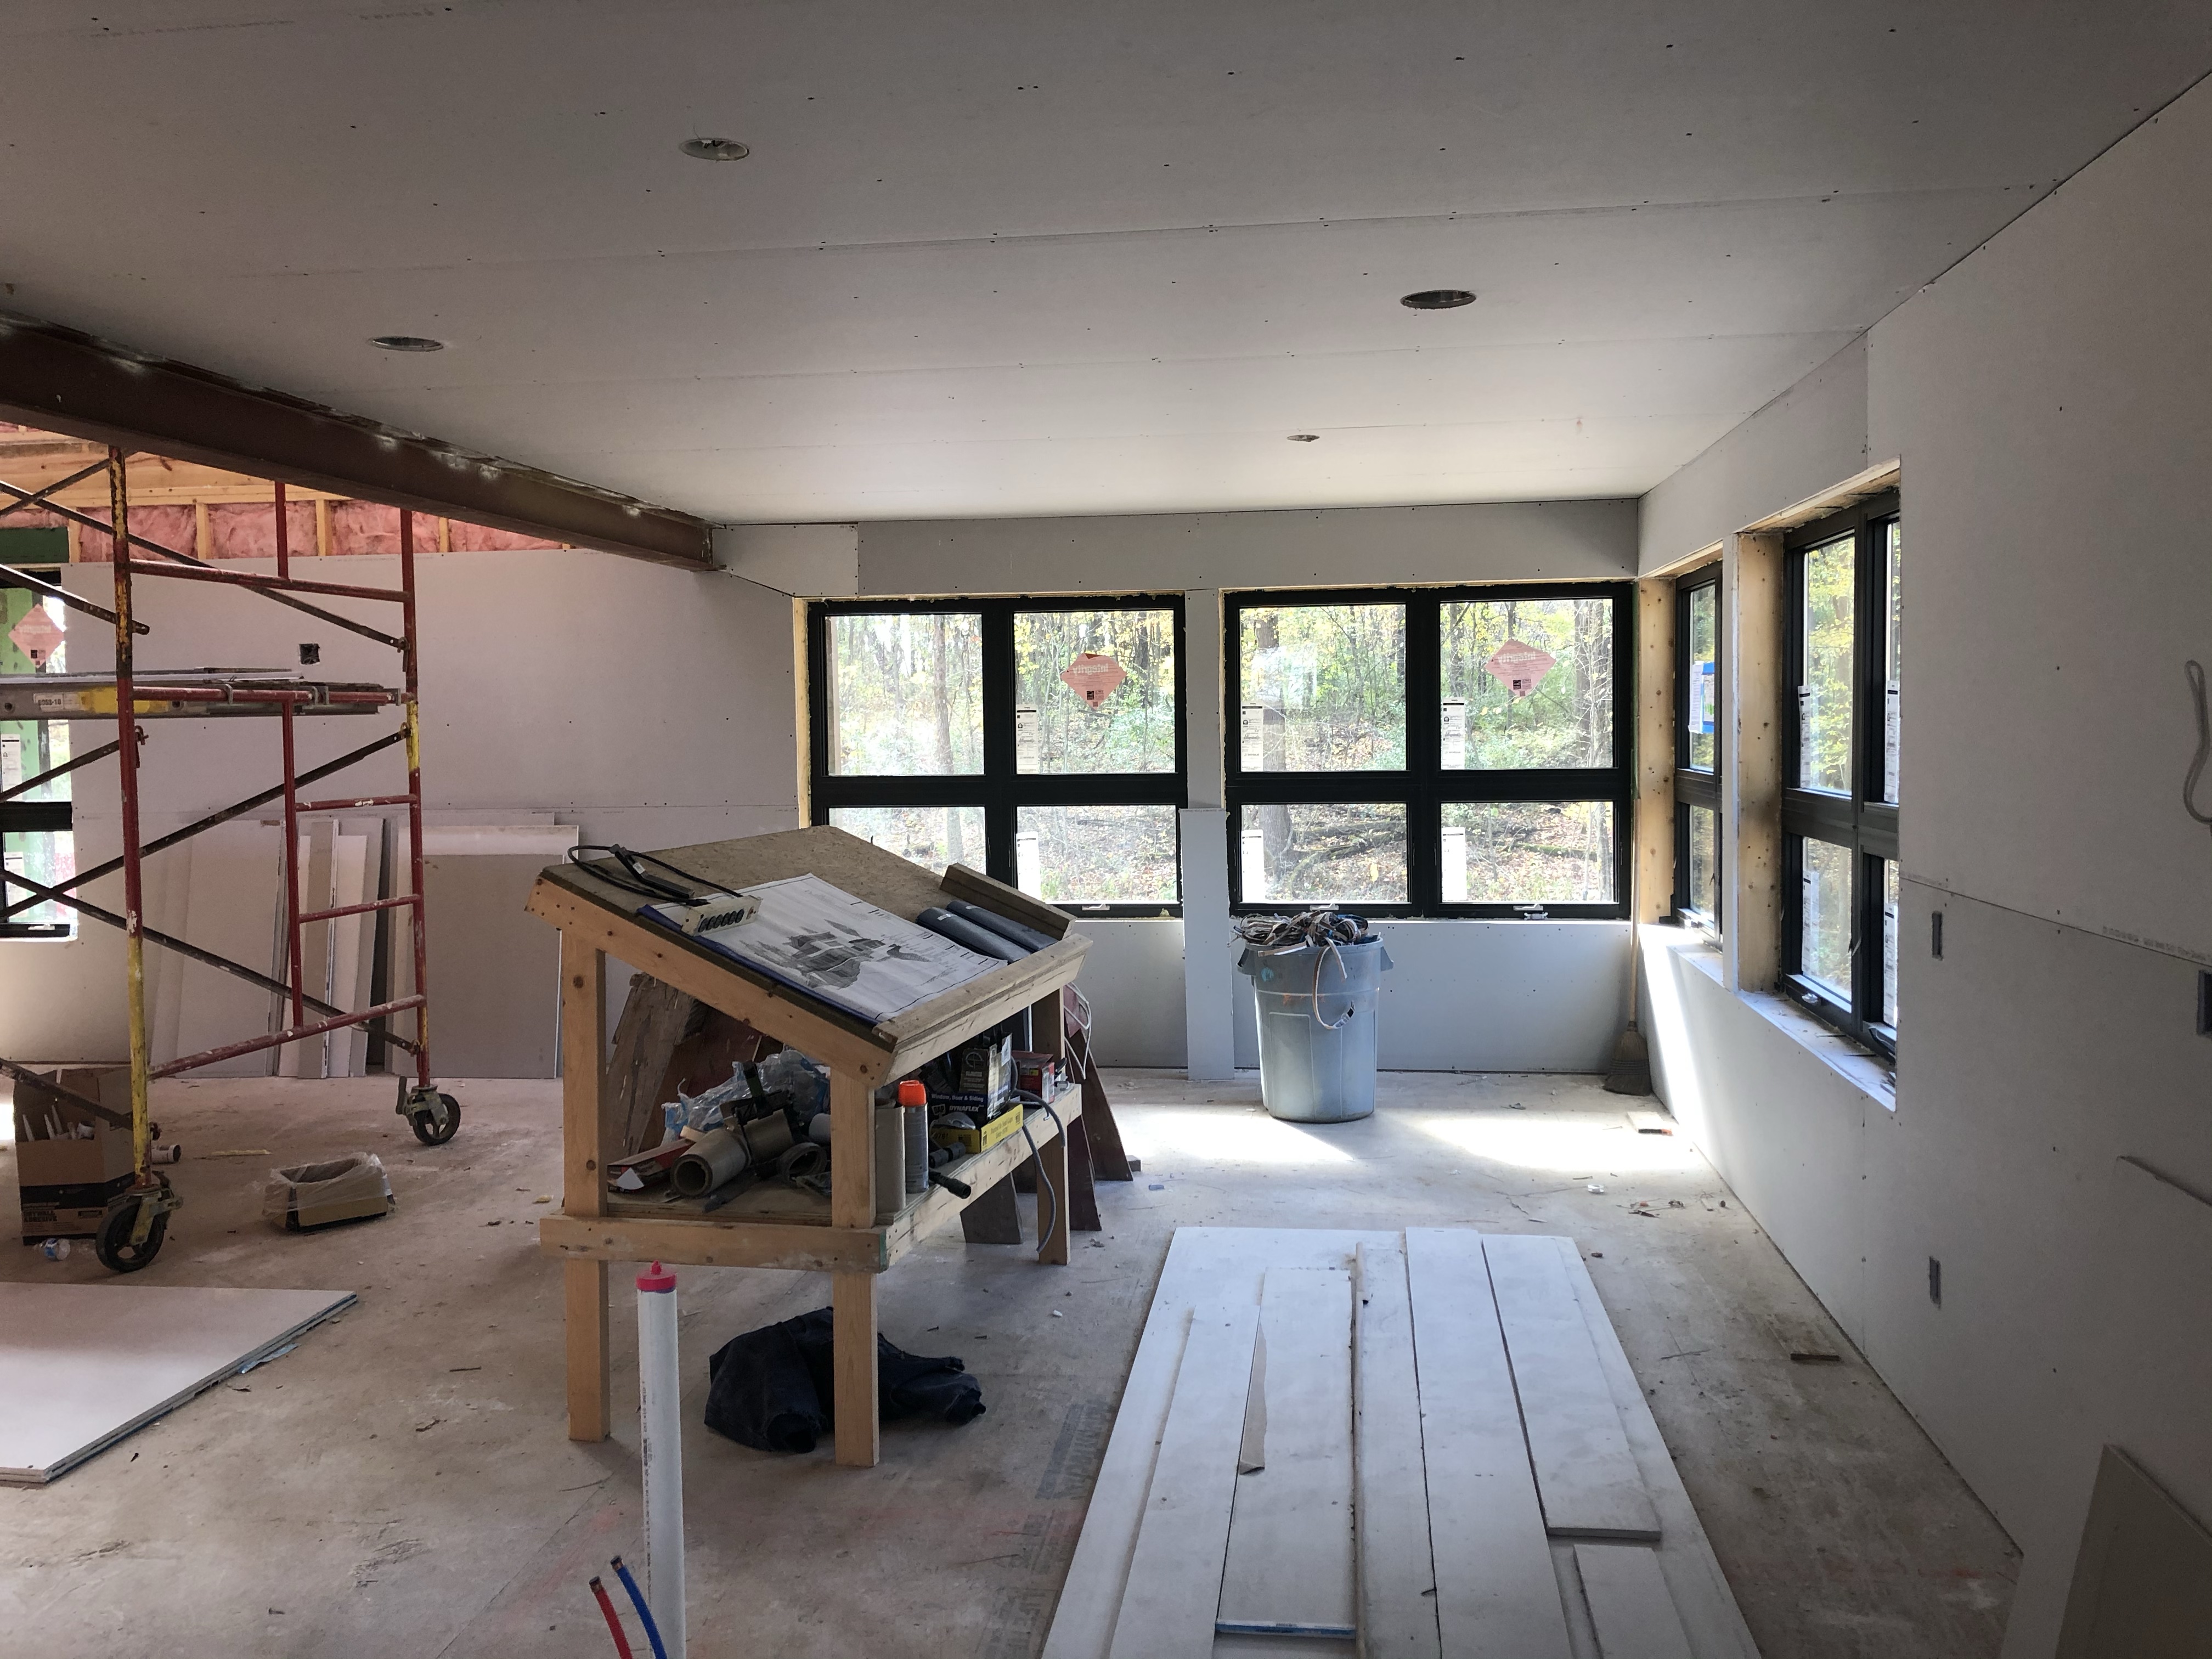
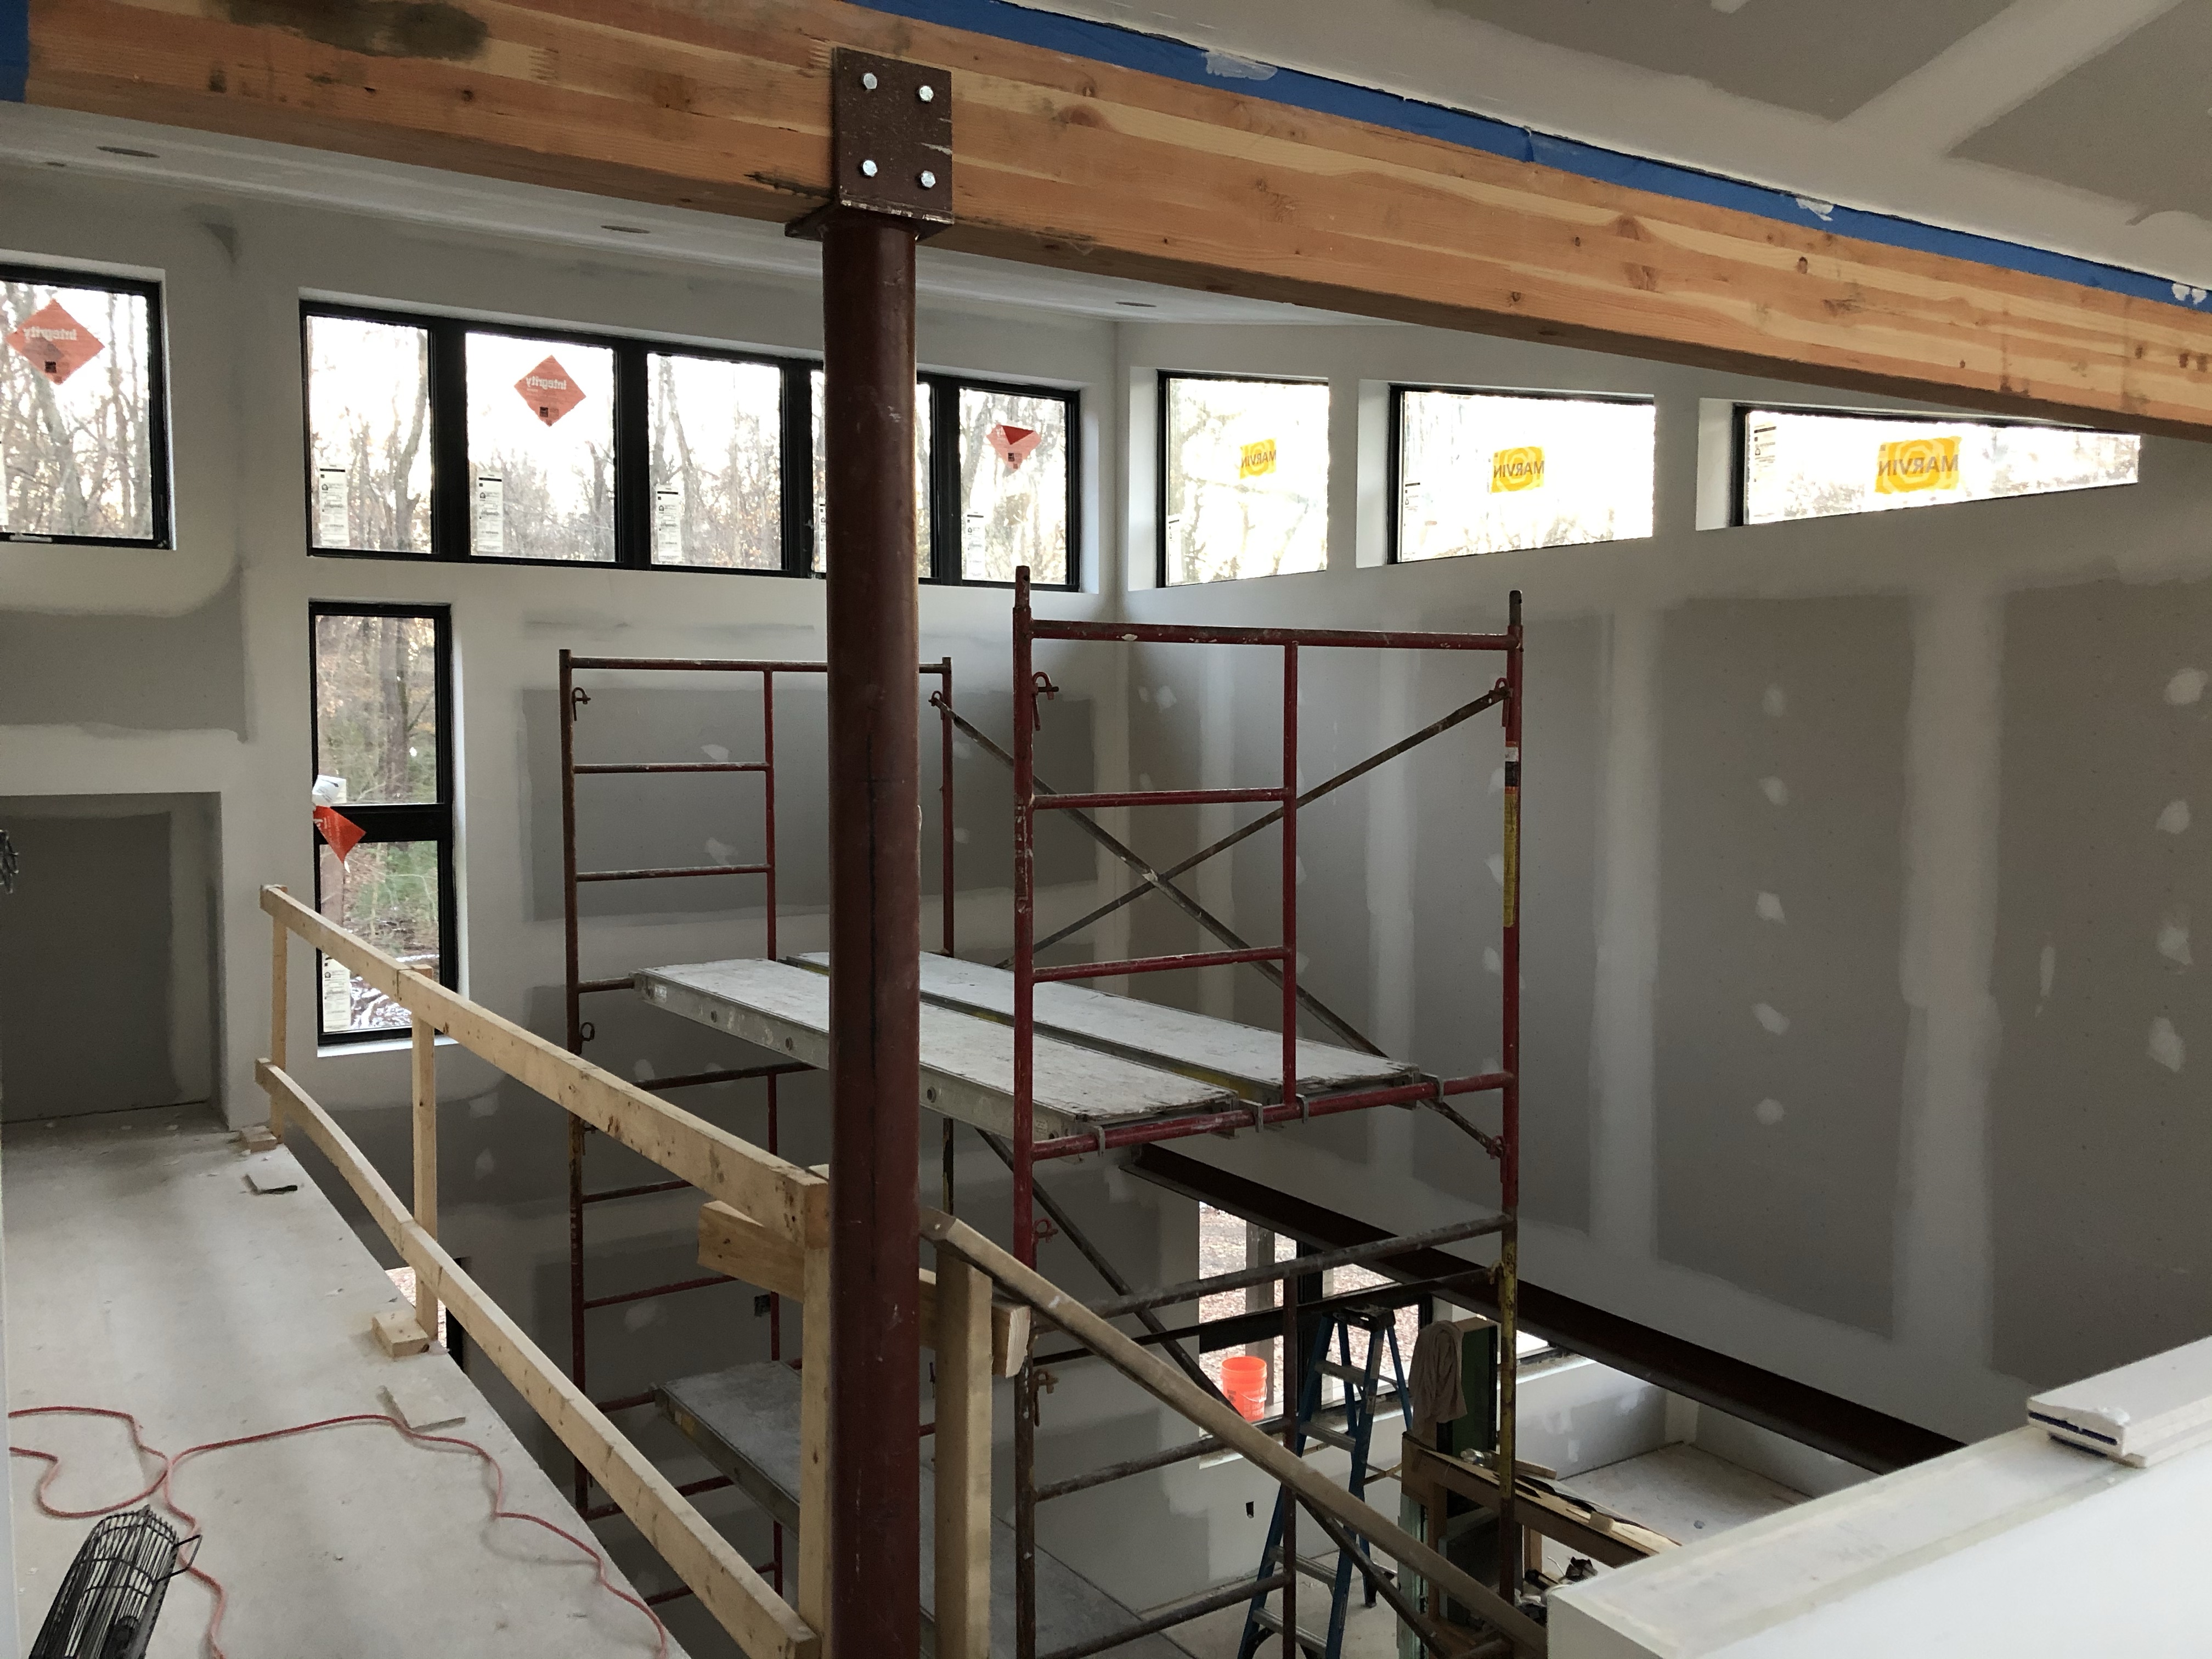
Once all the insulation was in place, the drywallers began their work. The board went up pretty fast. Most of it was hung within a week. But then it took nearly three more weeks to tape and finish it all. There were some veteran finishers on the job and one of them told me that in 40 years of experience, our house was the hardest projects he had worked on. With all the windows and natural light it shows every imperfection so they spent a lot of time trying to do their best. They also went over all of the walls/ceiling with a very thin skim coat to try to even everything out.

It has been so exciting for all of us to see the progress. Bri’s room was one of the last spots where they hung the drywall and the next time we were at the house she told me ‘Mom, I’m going to go see if they finished that wall in my room.’ It’s really starting to look and feel like home.

Sweat Equity

It has been obvious since we started getting budget numbers back on this house that the only way we were going to be able to afford this without sacrificing too much was to put a little sweat equity into the project. I mentioned in my first post that we cleared the property ourselves with a friend. I think Joe would have been happy if our involvement ended there! But luckily he has been somewhat eager to tackle some other components of the house. (I think mostly because he likes to buy new tools)

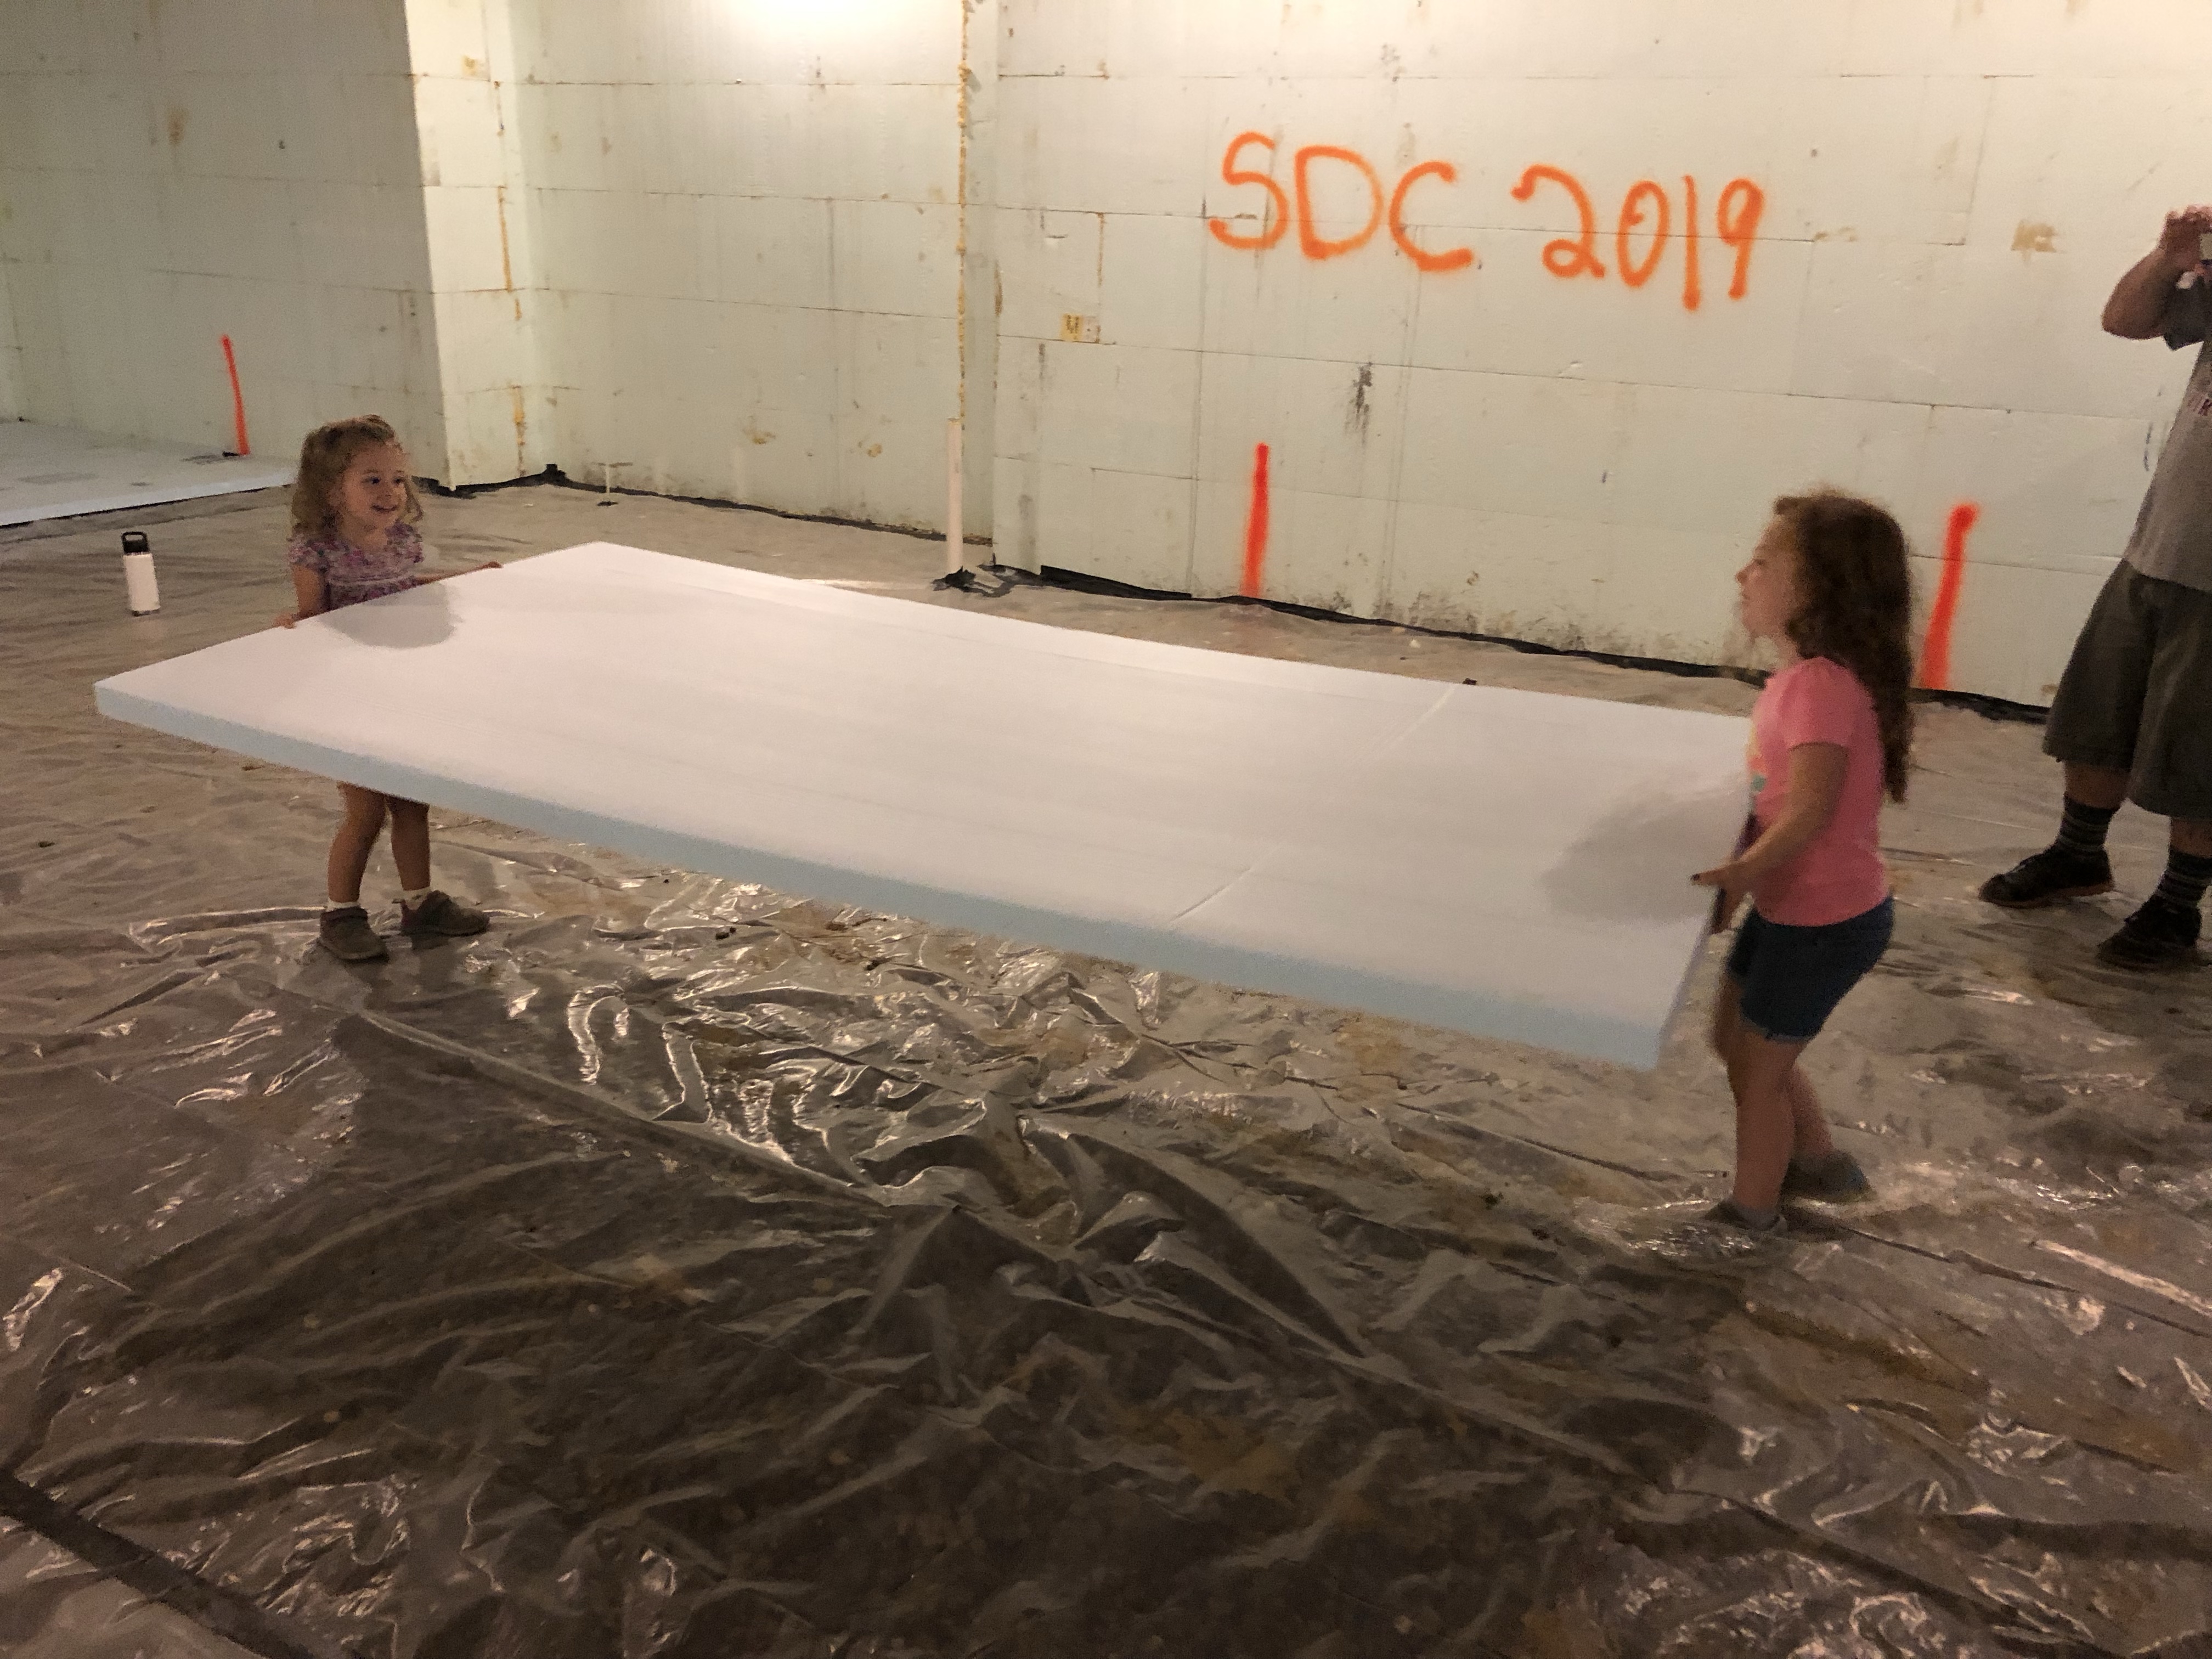
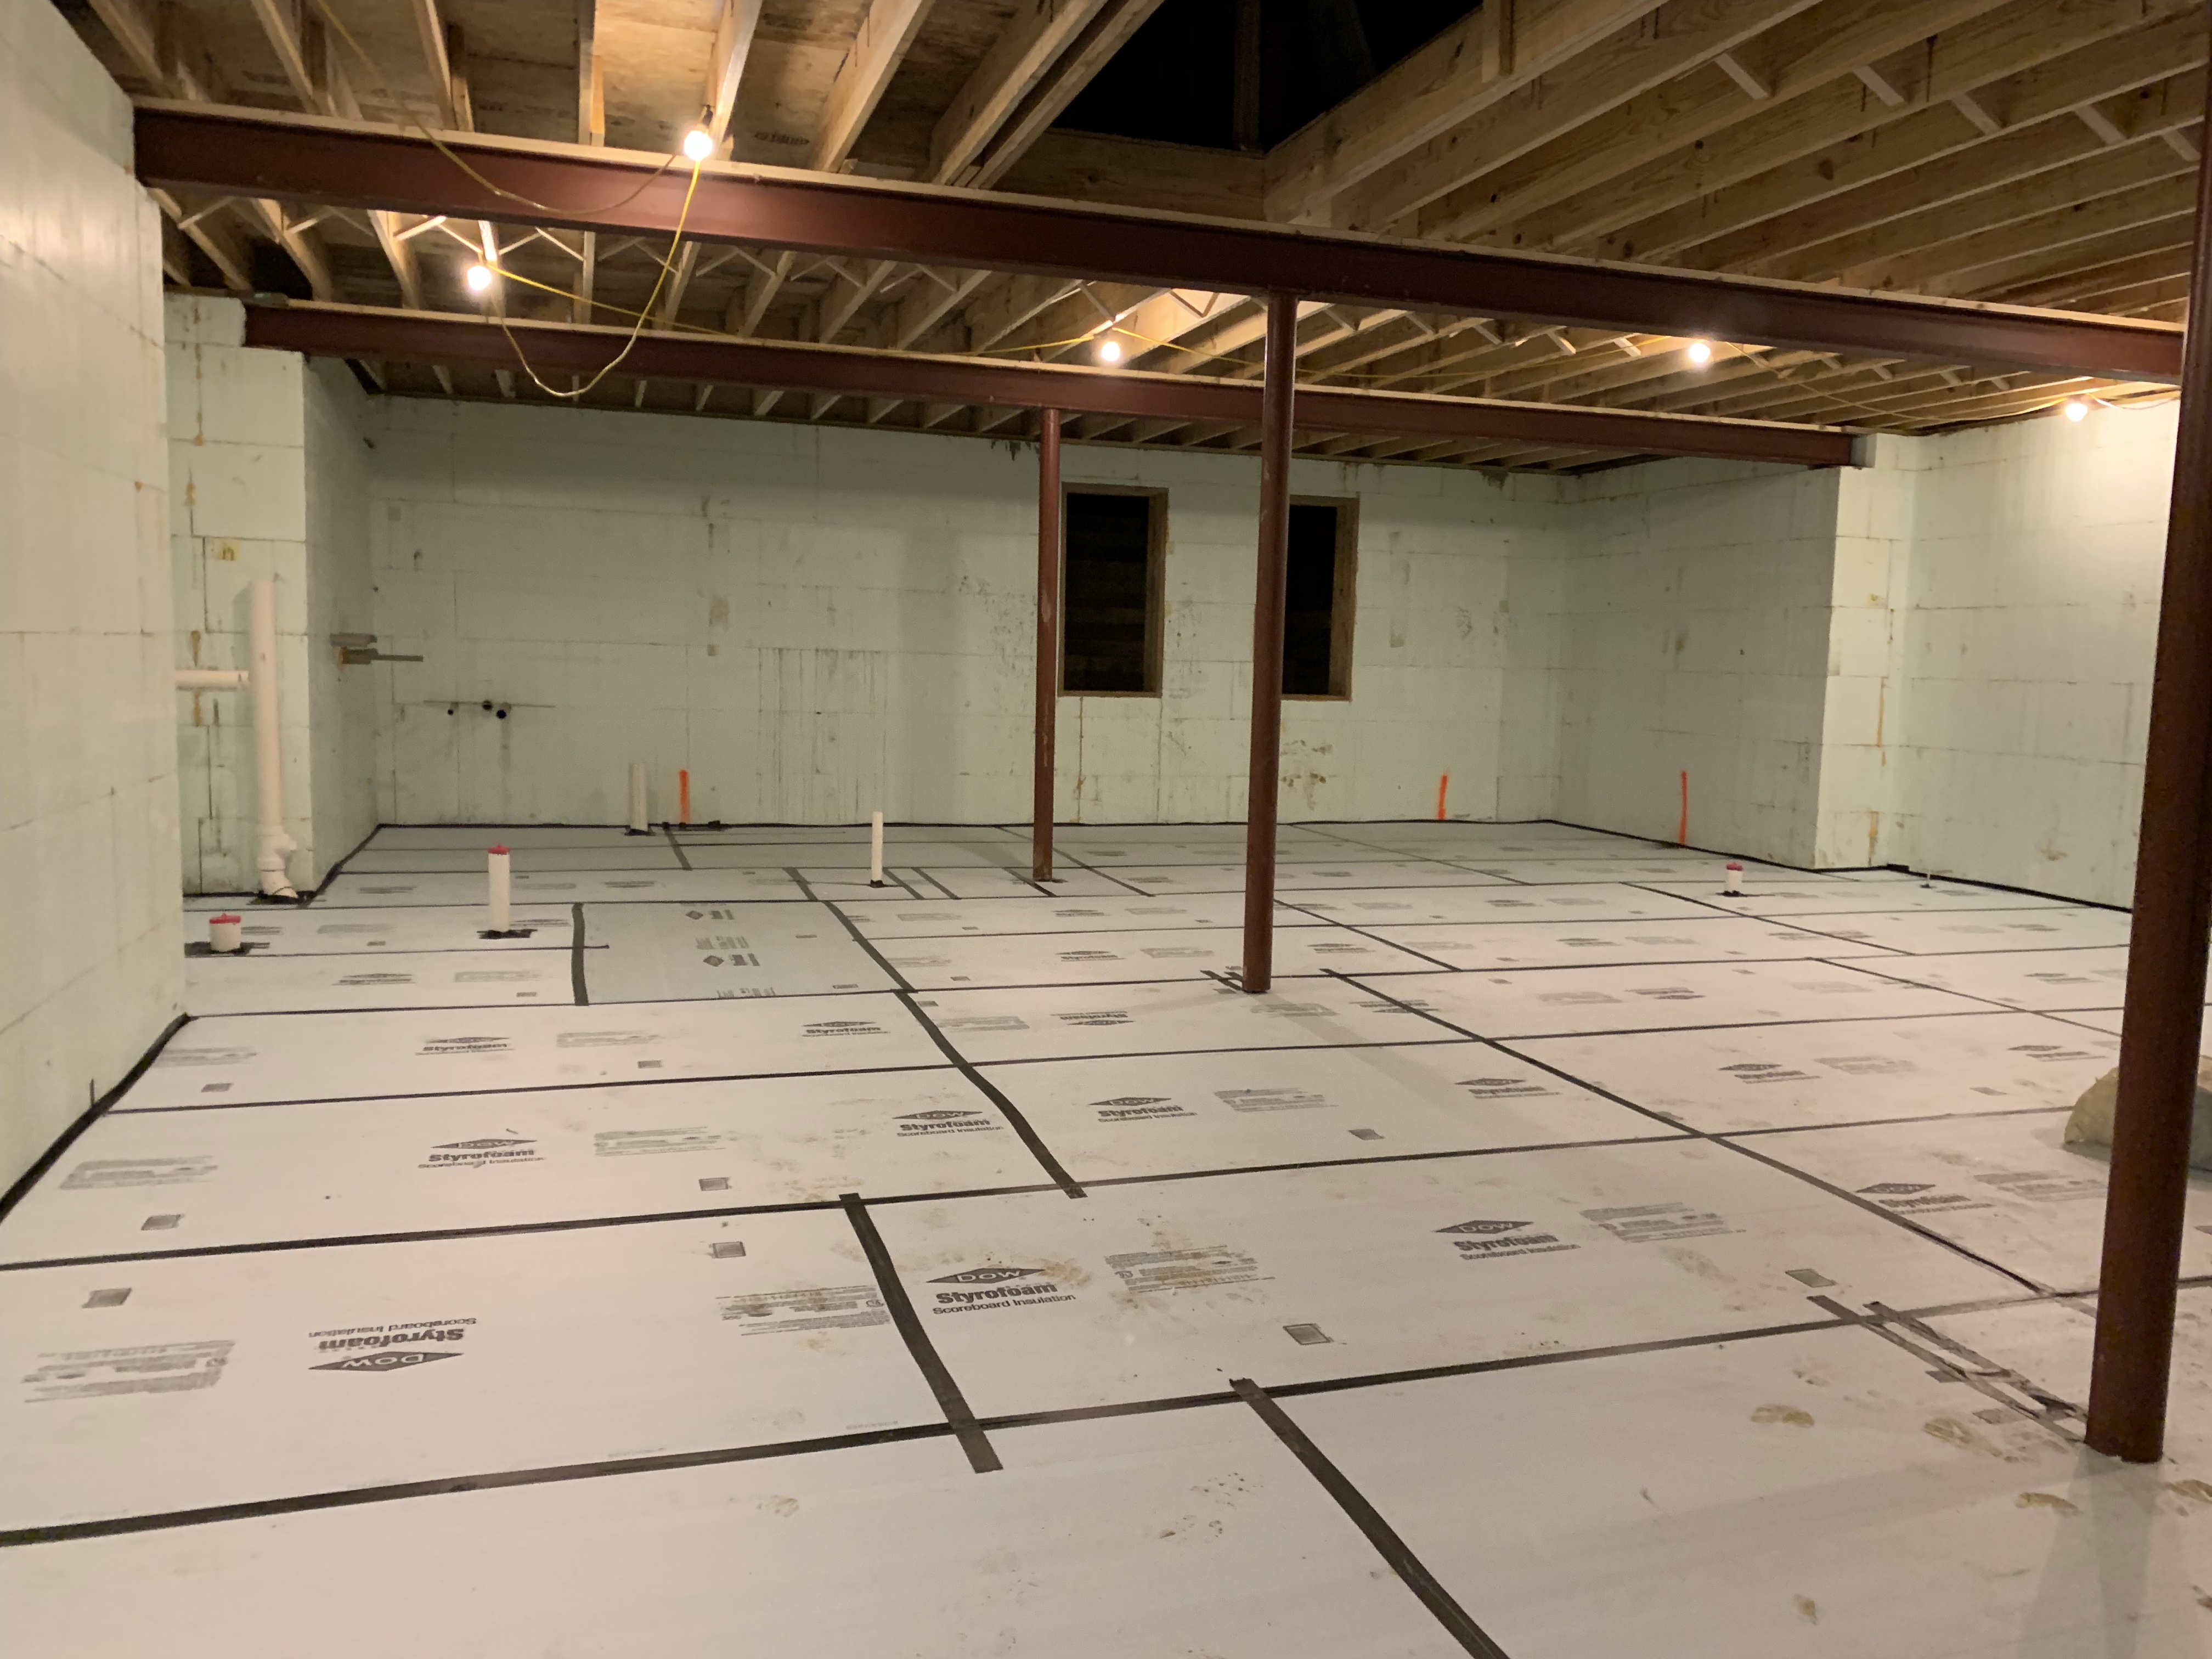
We have to go back in time a few months to talk about this first item. Once the roof was on the contractor was getting ready to pour the concrete floor slab in the basement. It was important to me to be sure that there was a continuous vapor barrier and insulation under the floor slab. This keeps any moisture from migrating through the slab and reduces heat loss through the slab. We couldn’t spend all this time and energy getting the walls and roof insulated properly and neglect the slab! This was a a project that the girls actually helped us with. They helped us put the insulation boards in place and also helped us tape all the seams of the plastic and insulation.

They did great the first night but grew a little bored of their jobs the second night, so my aunt and uncle watched them while Joe and I finished up. I only mention this to tell you about the bat who decided to show up and help us finish. I’m glad the girls weren’t there although they do love the video we took of him flying in circles around the basement. We decided to cut the lights in hopes he would find his way out a window opening (this was before windows were installed). He actually rested back up between the floor joists and luckily stayed there while we finished.

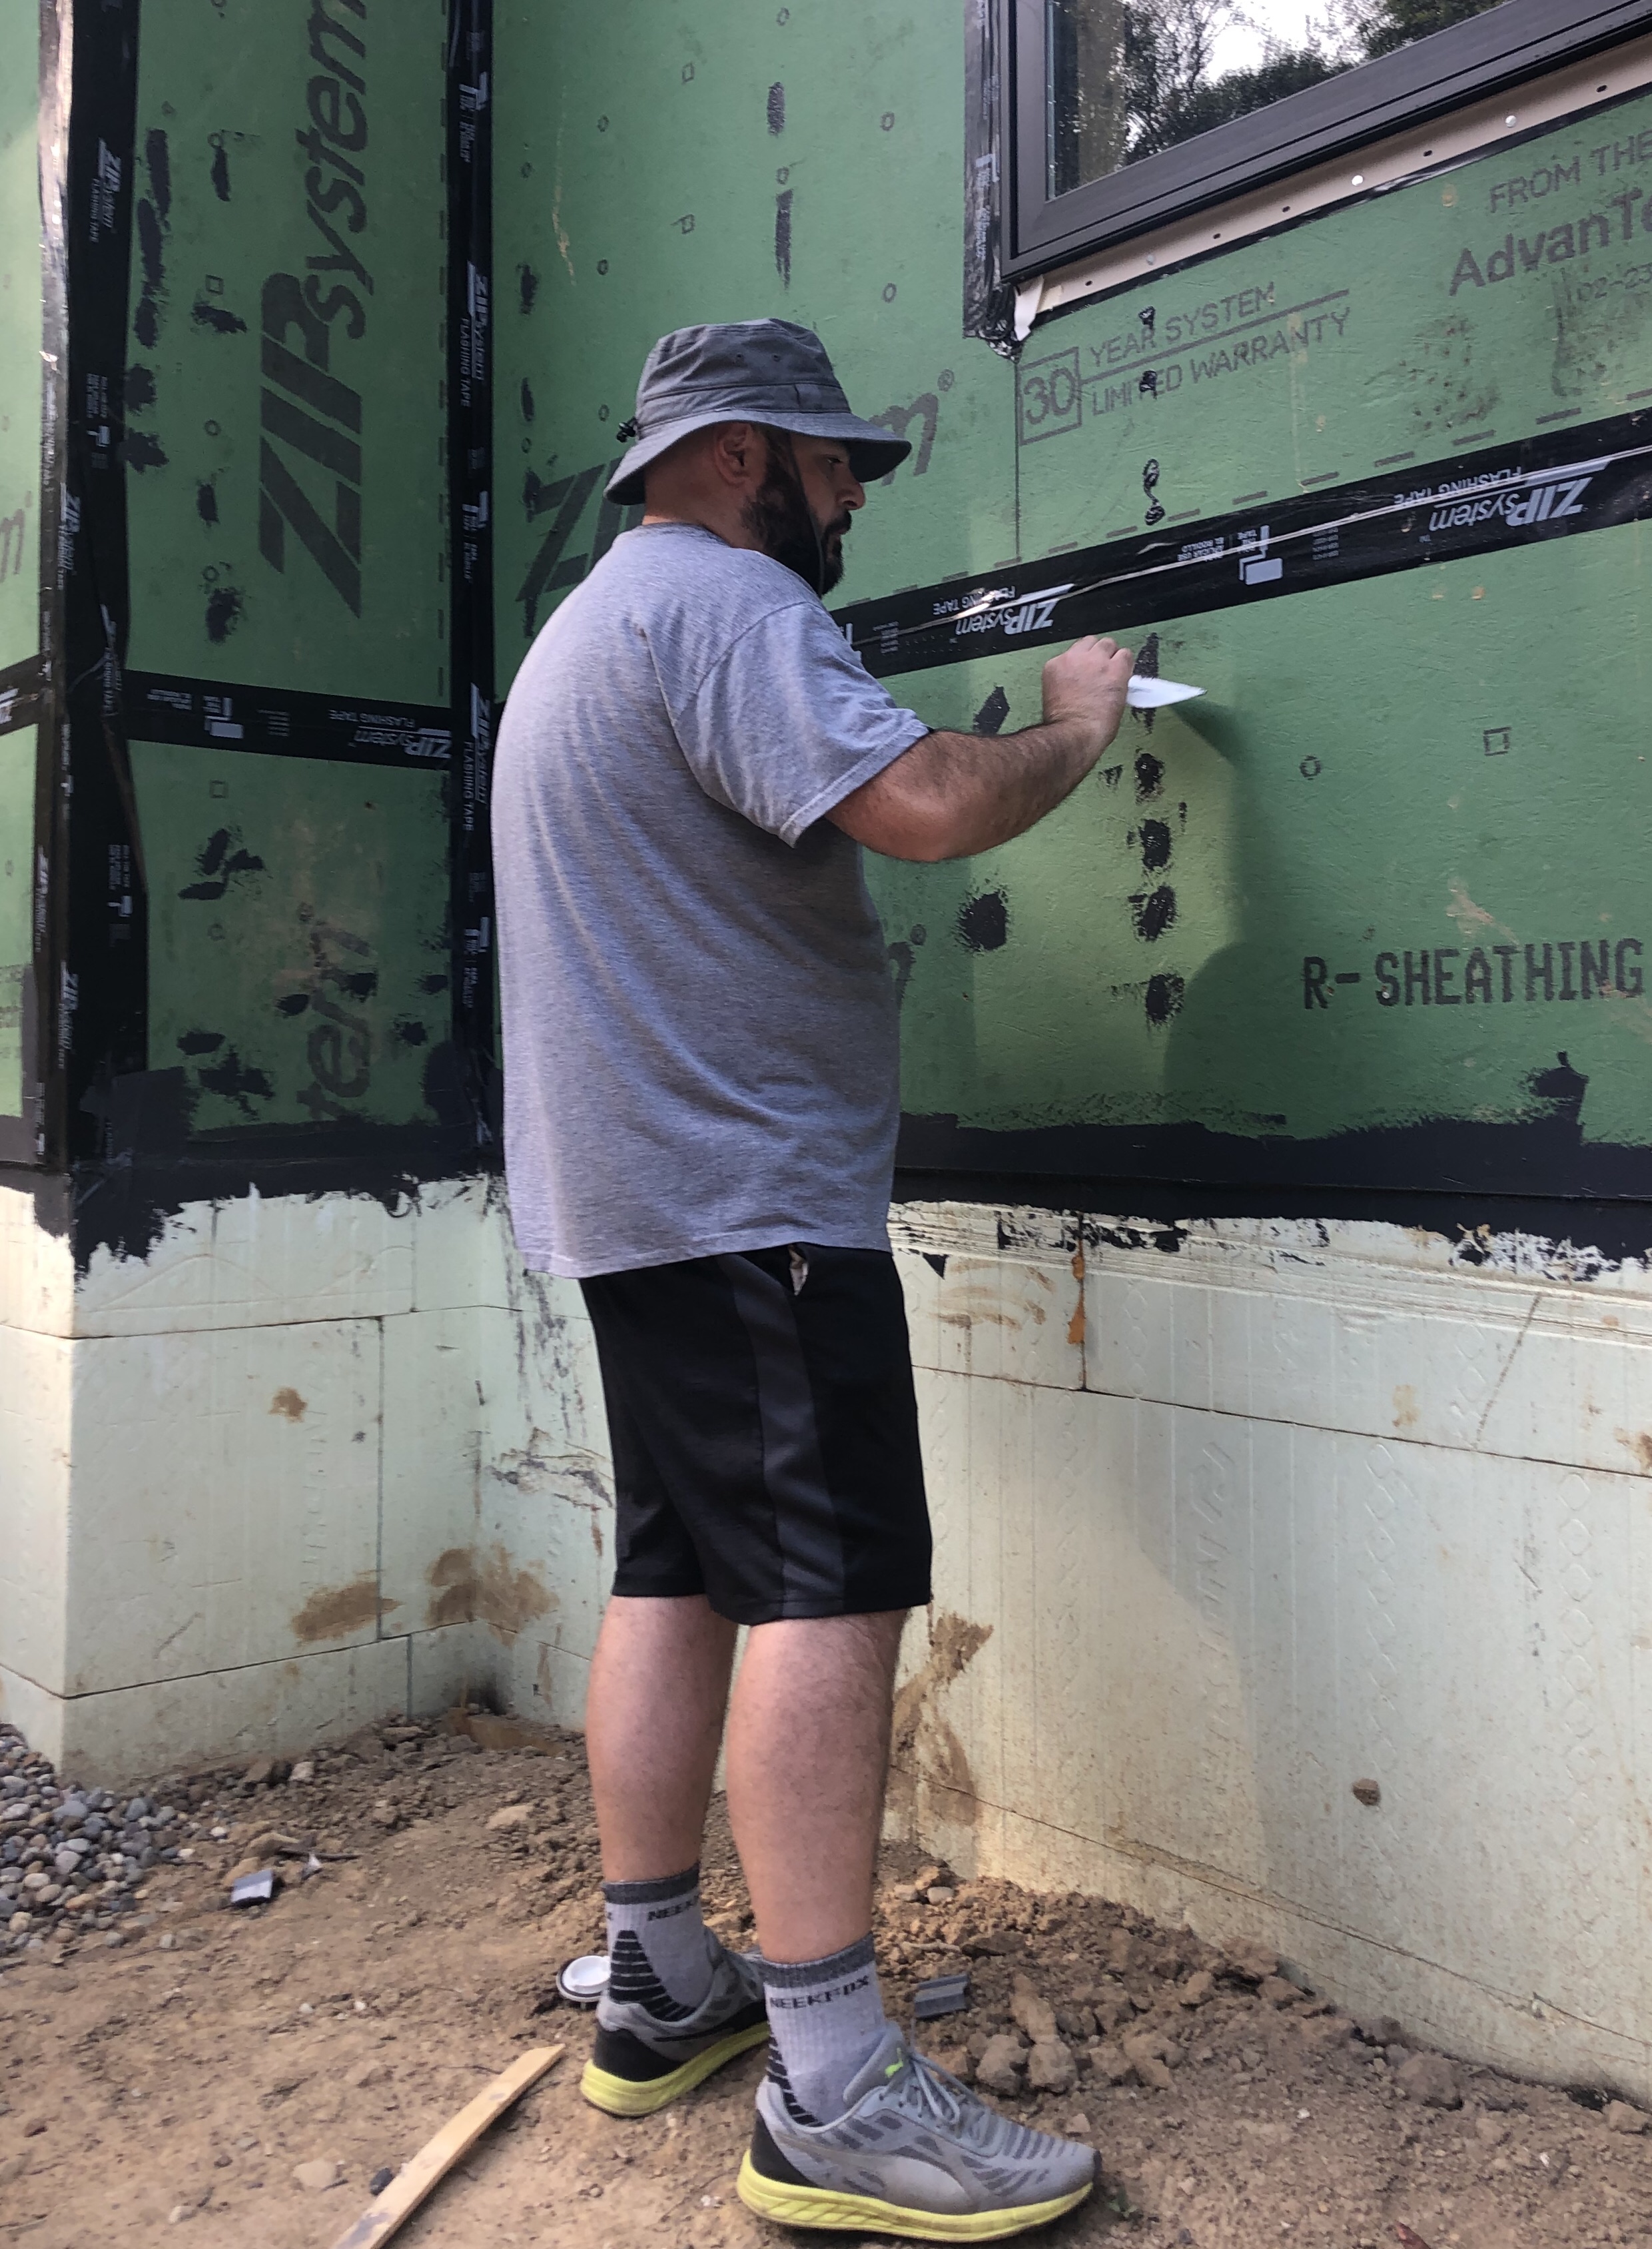
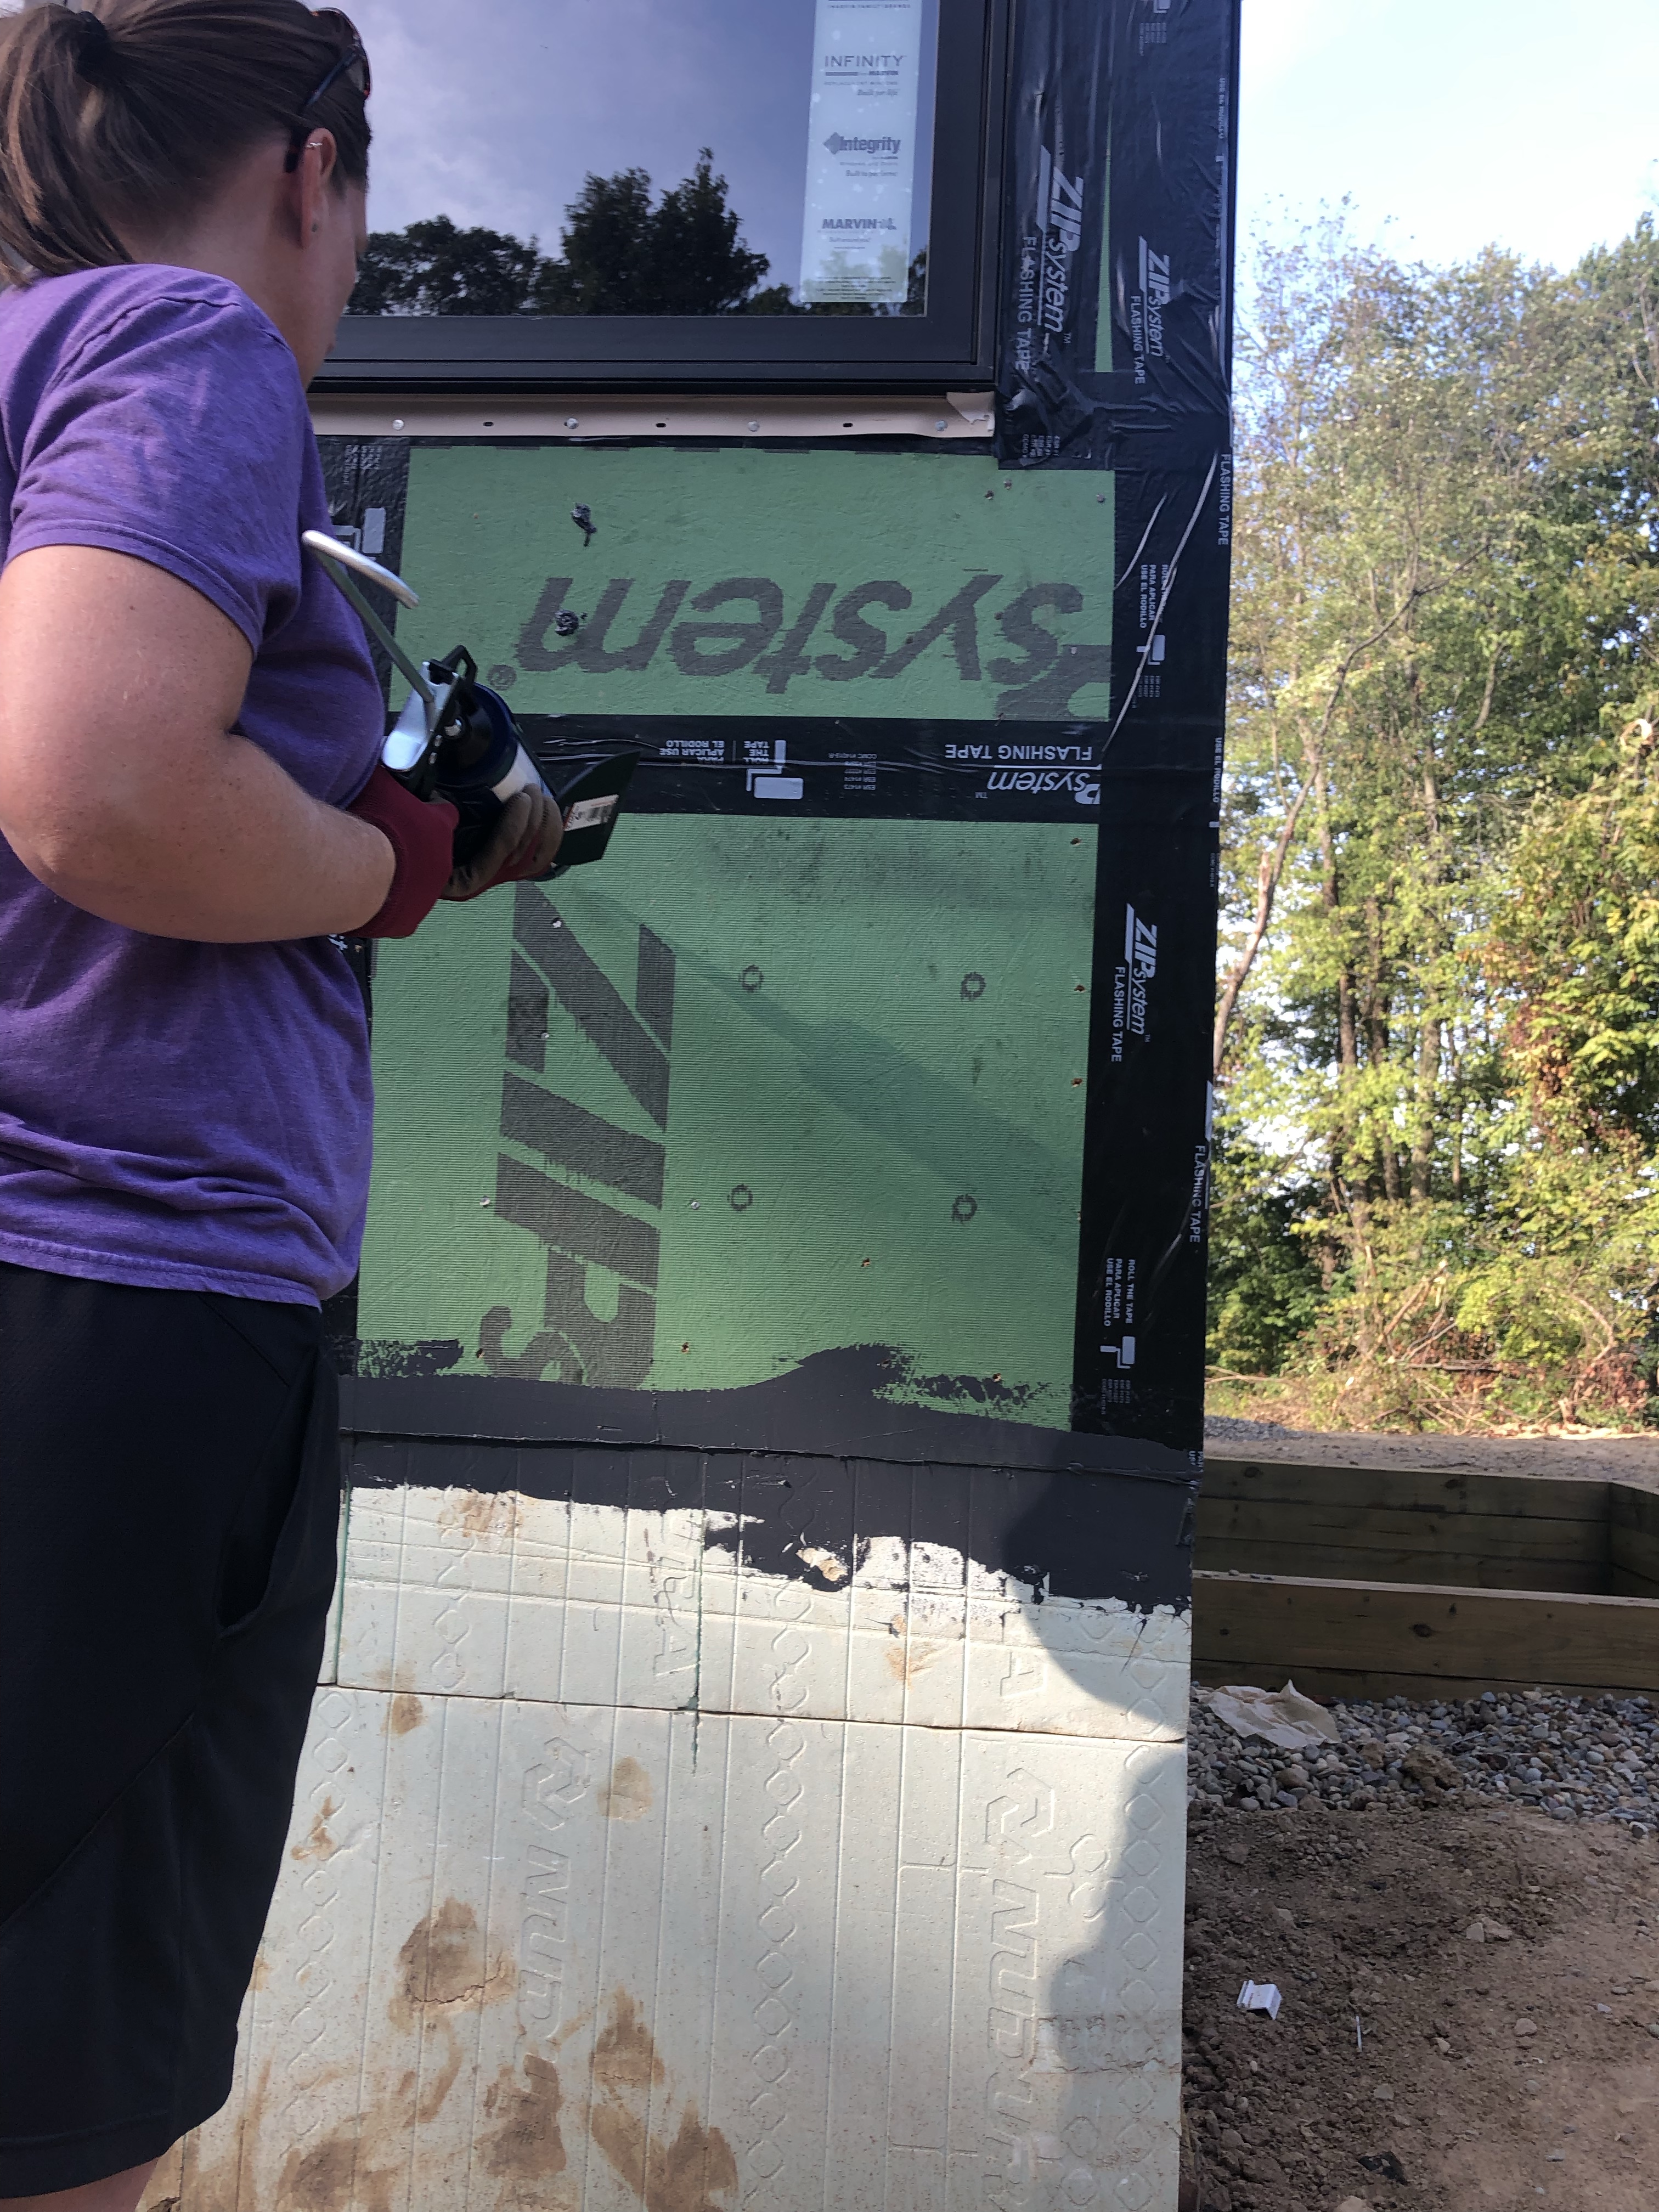
Another job we took on was sealing all the nail holes in the zip panels with liquid flash. This, combined with the tape on all the seams, ensures the panels are air and water tight.

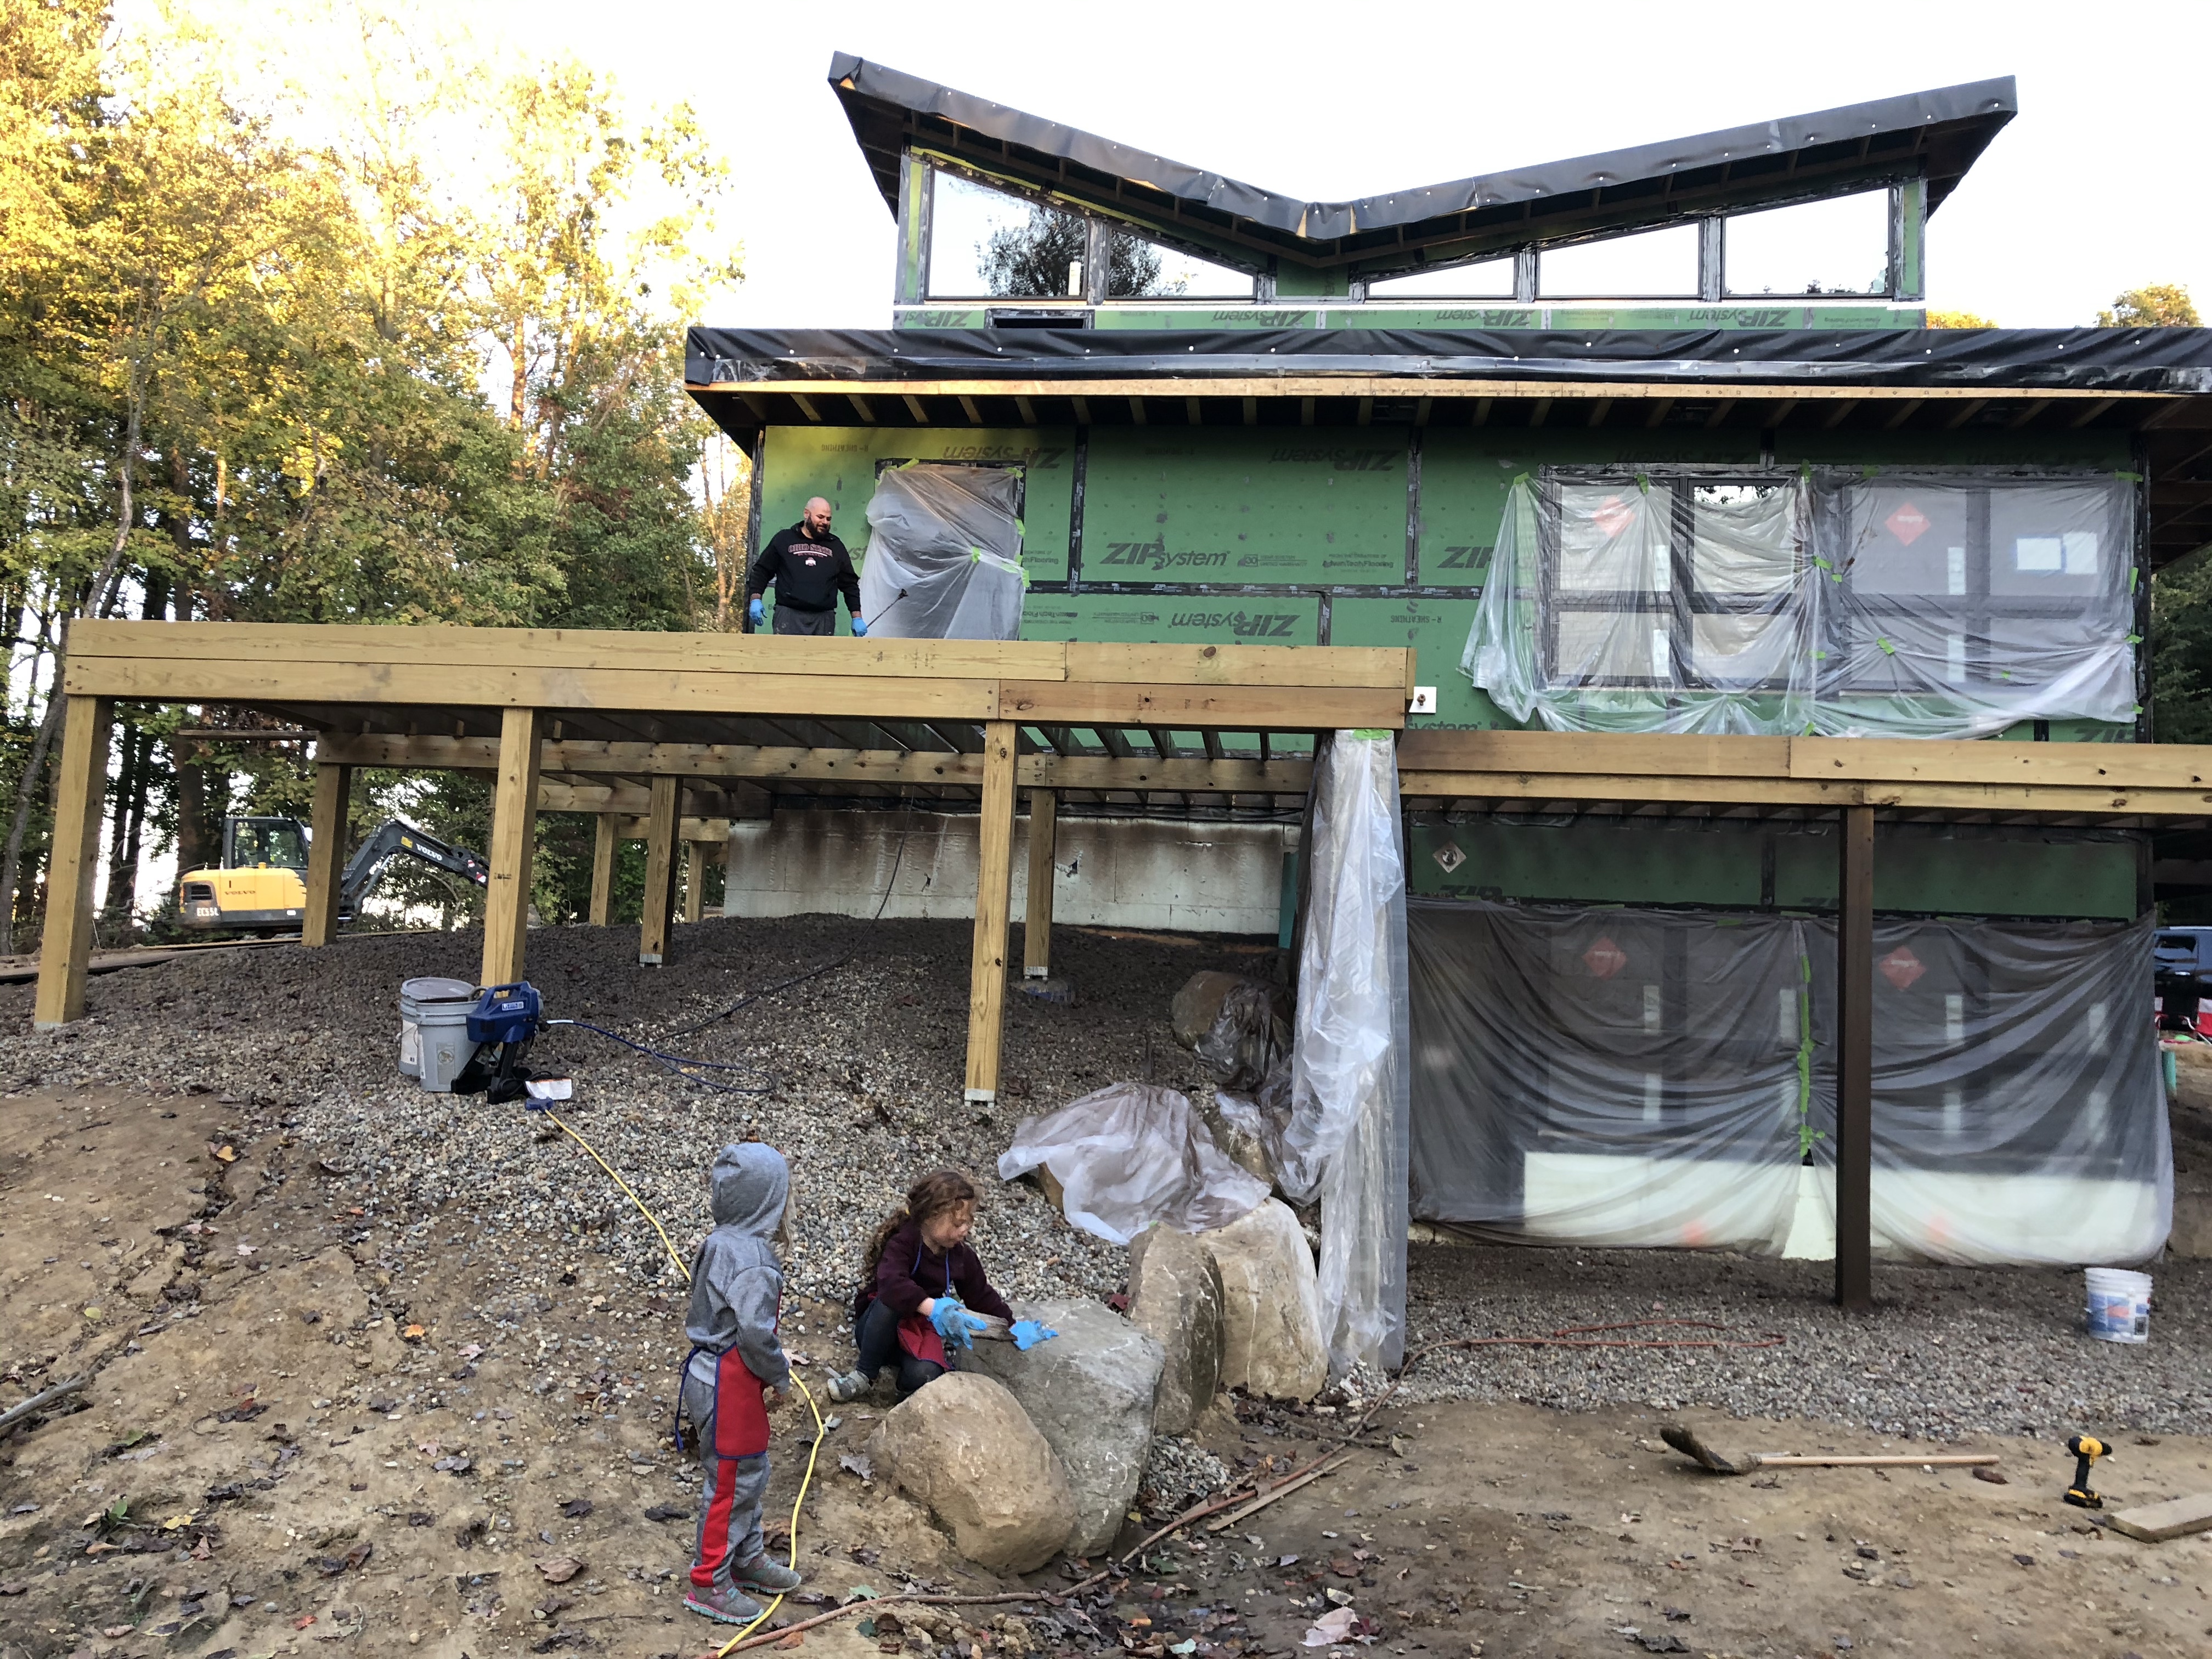
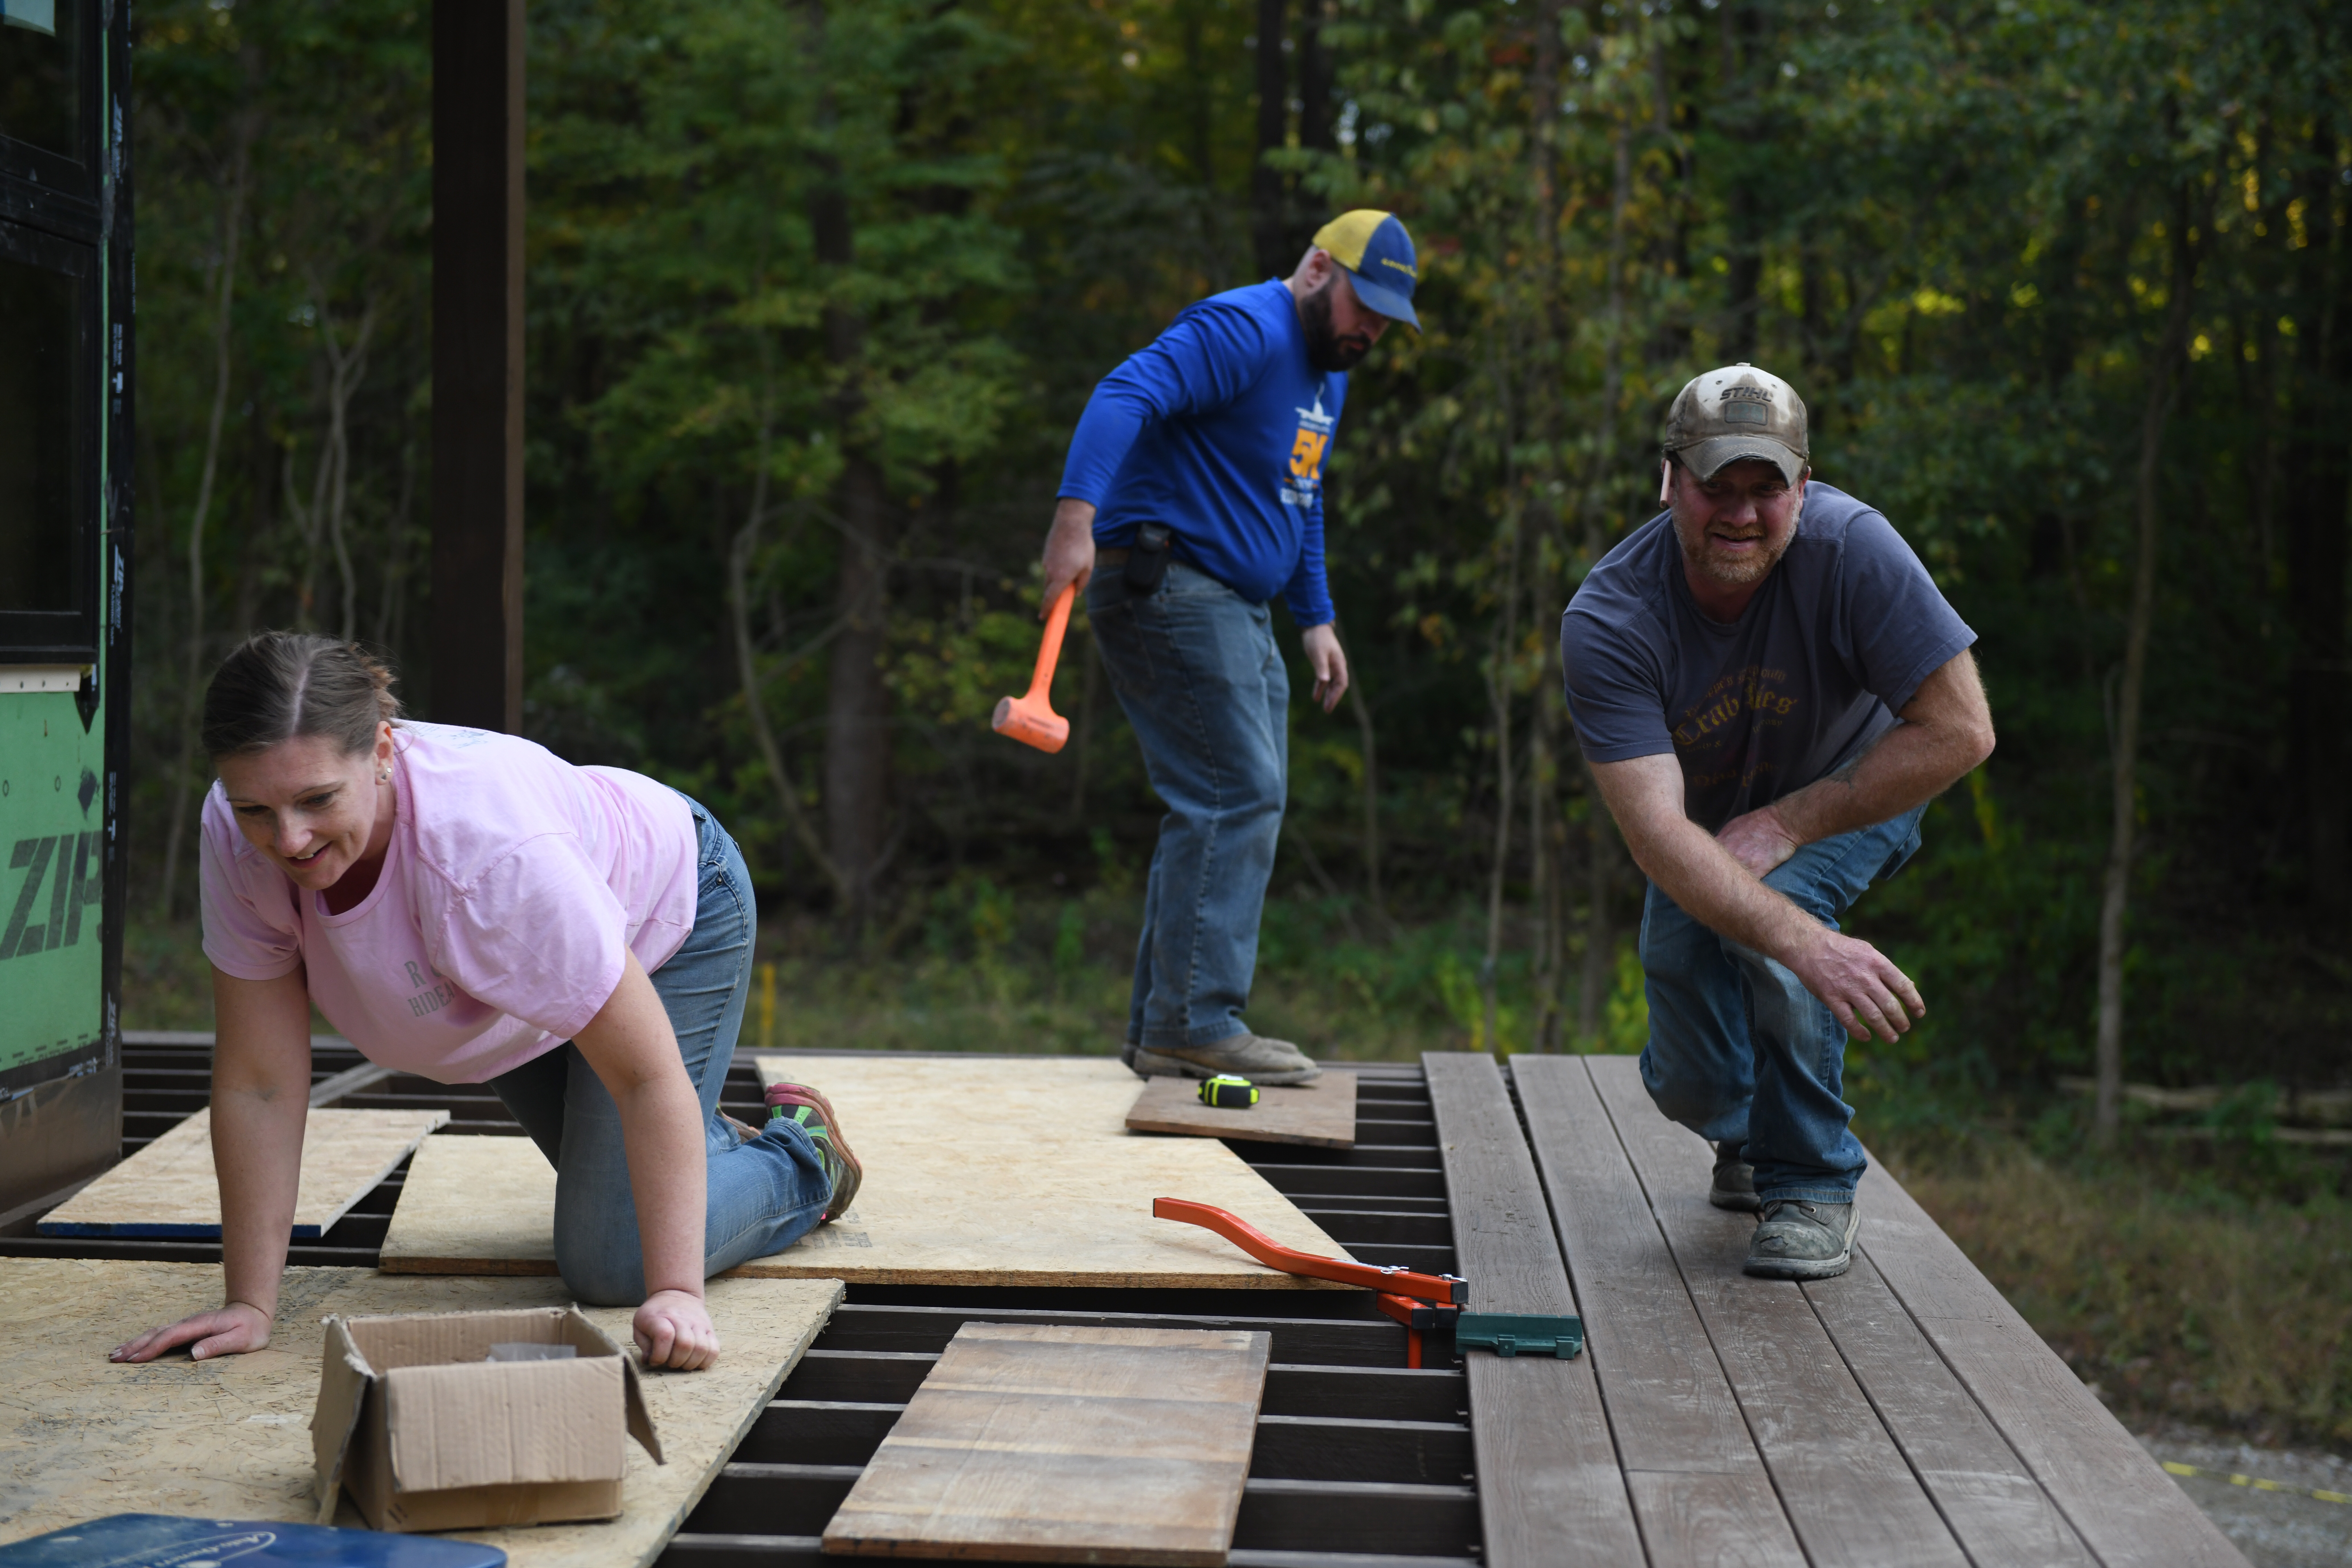
Most recently we have spent the past month of weekends working on our deck. First we had to stain the deck framing. We bought a sprayer to help save time. It worked pretty well but we found that you need a lot more stain because you waste so much in the air. It’s also hard to get consistent coverage when spraying between boards. So we ended up using brushes and rollers to go back over some areas just to make sure we had a good base before we started installing the decking.

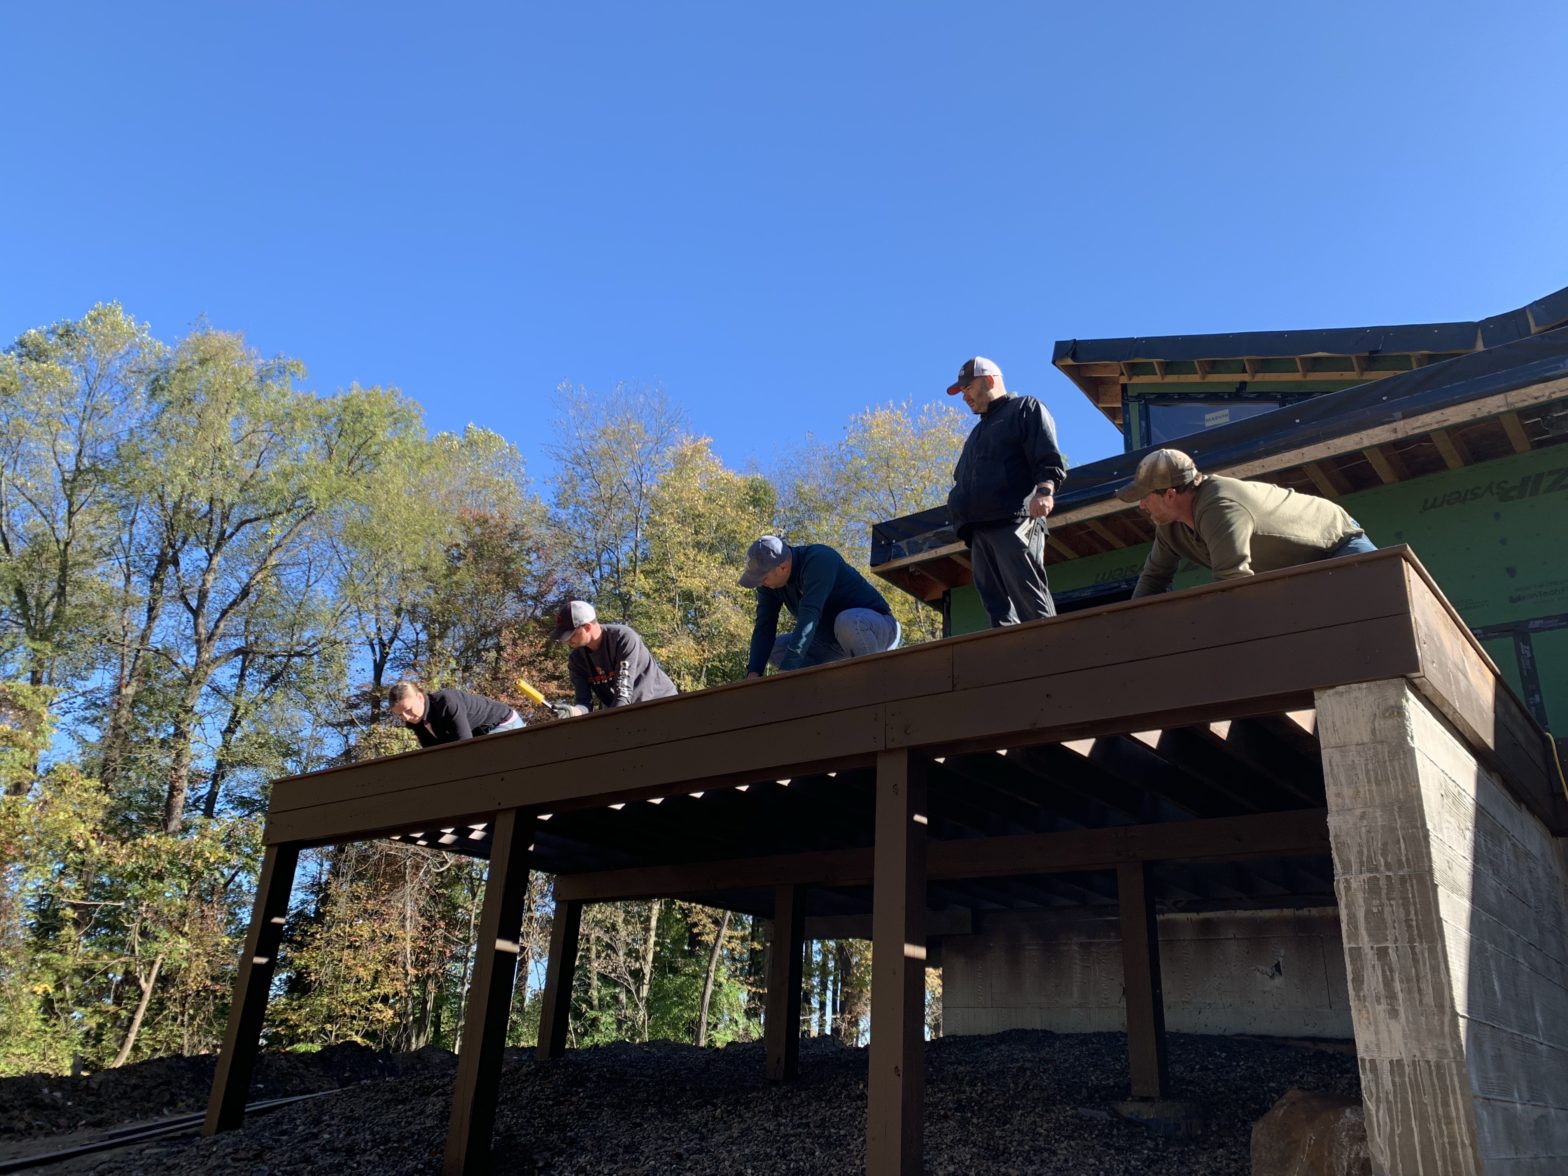
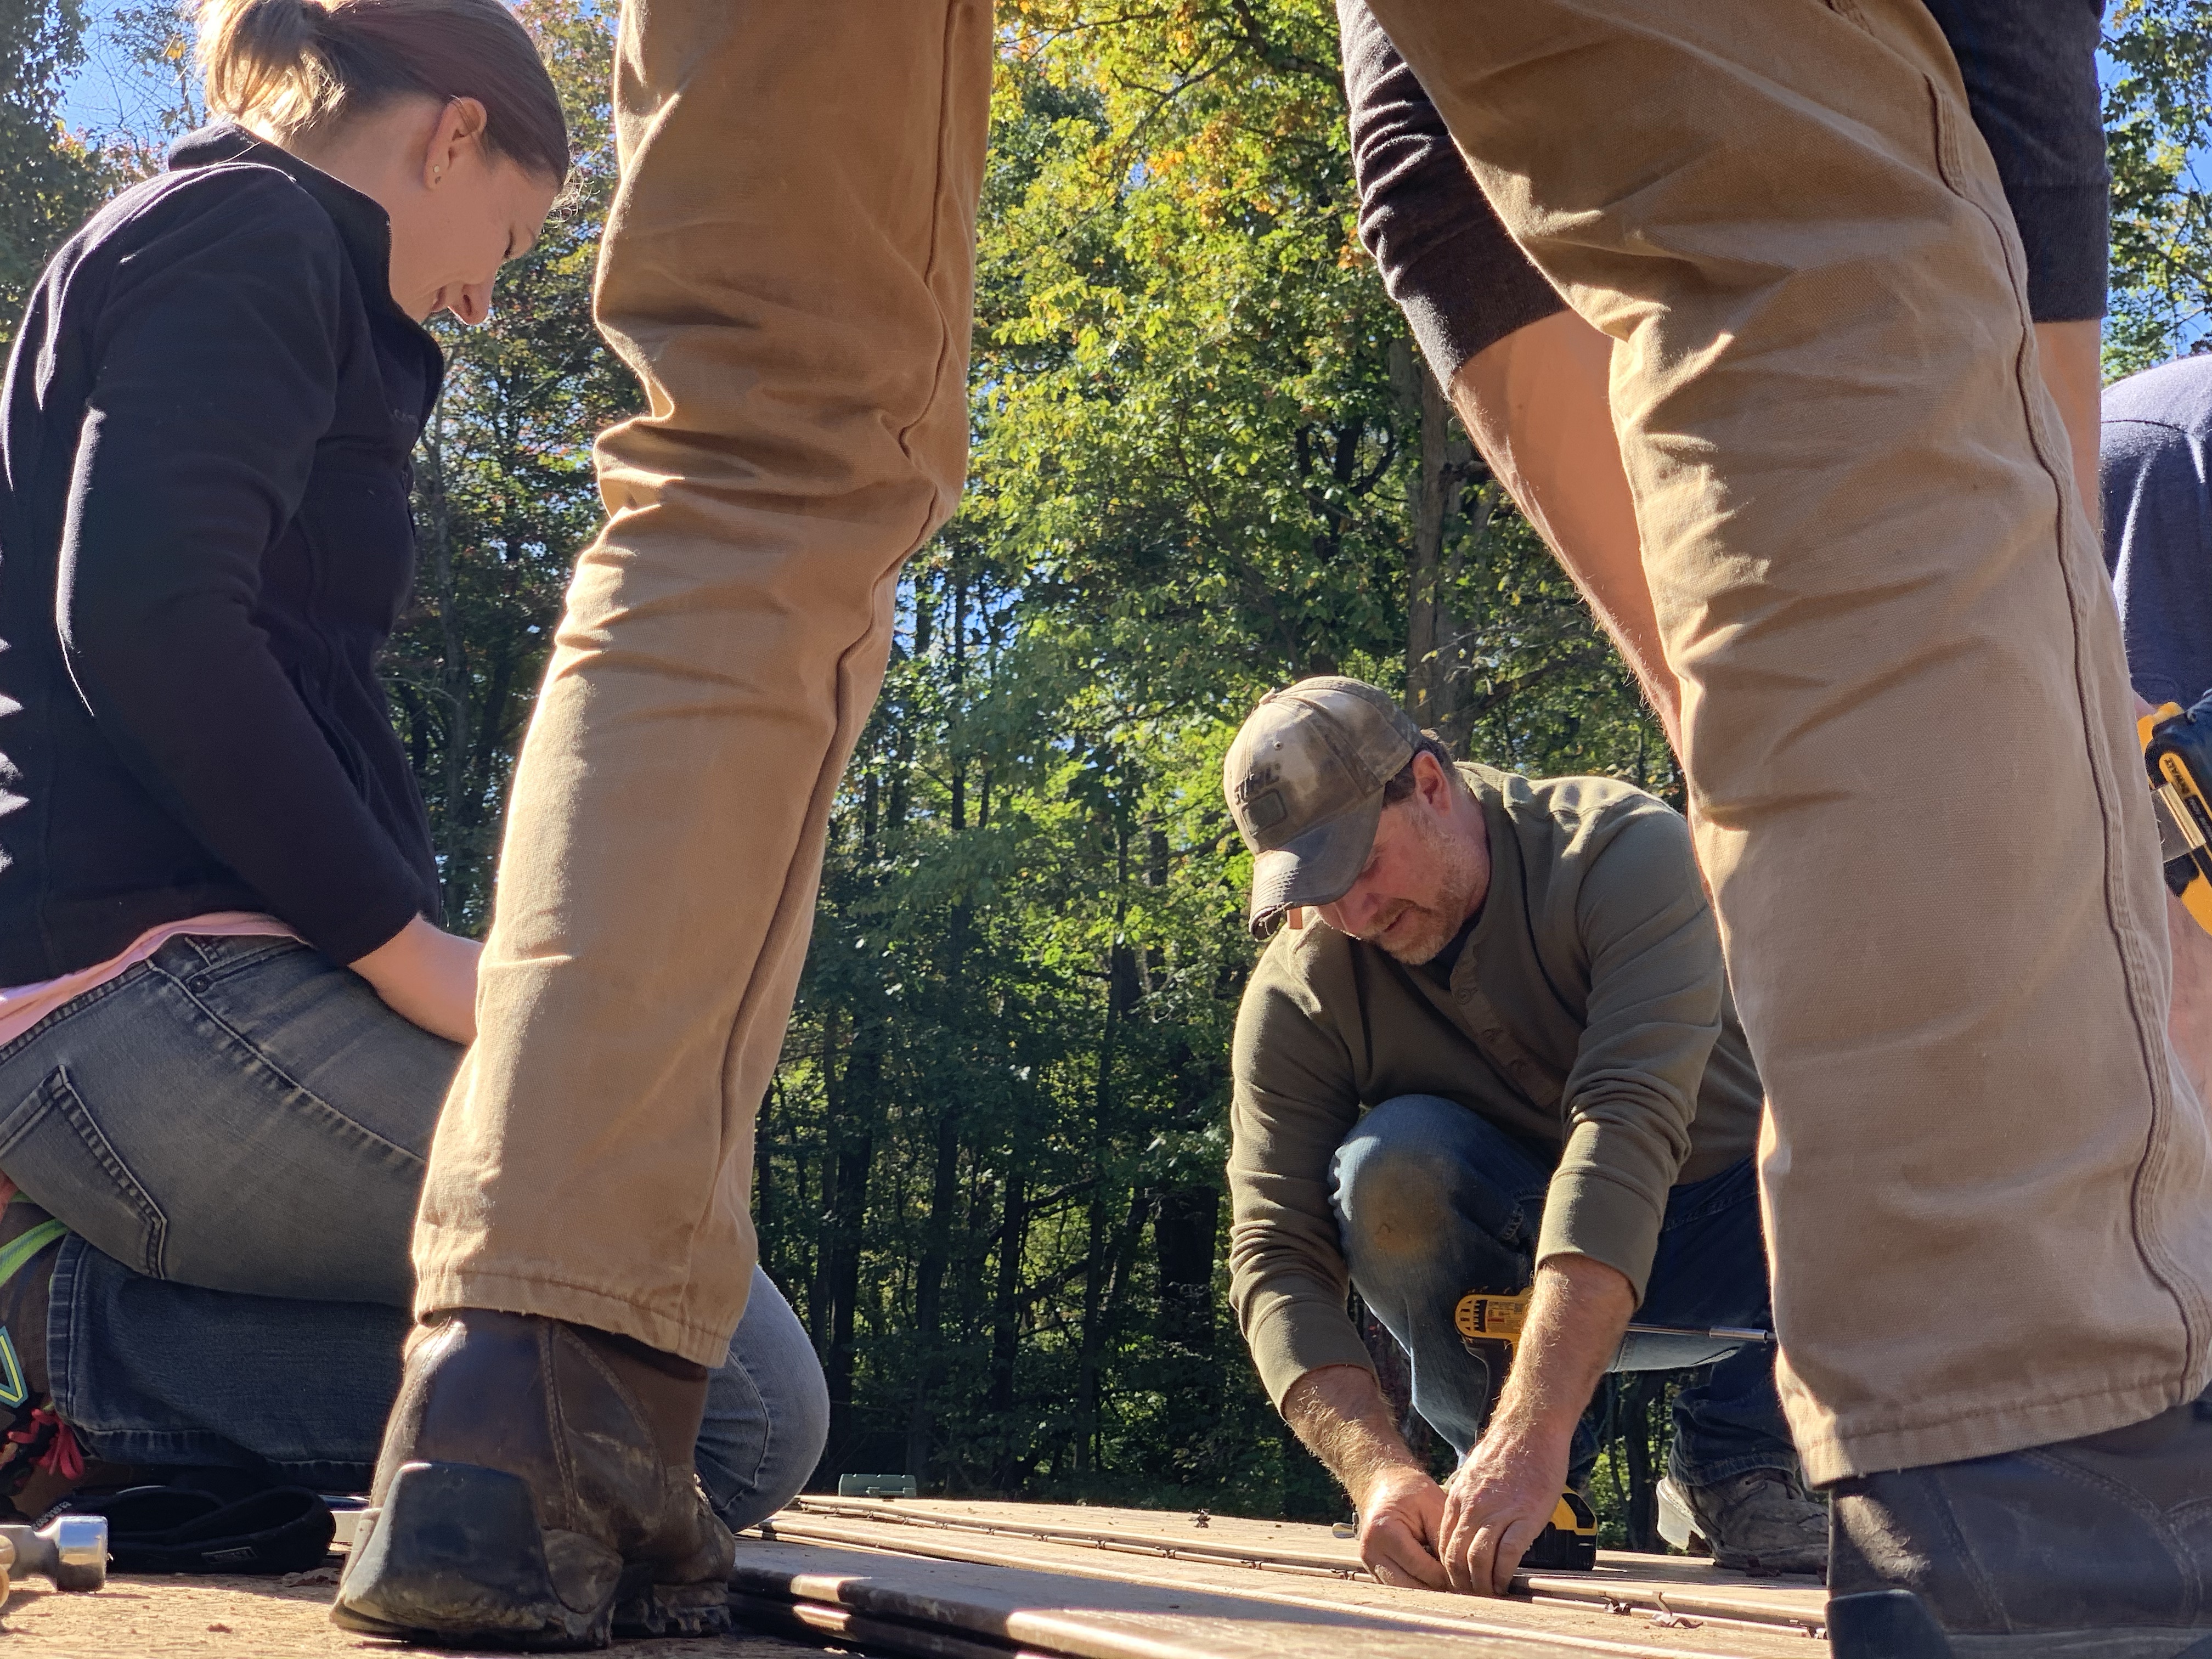
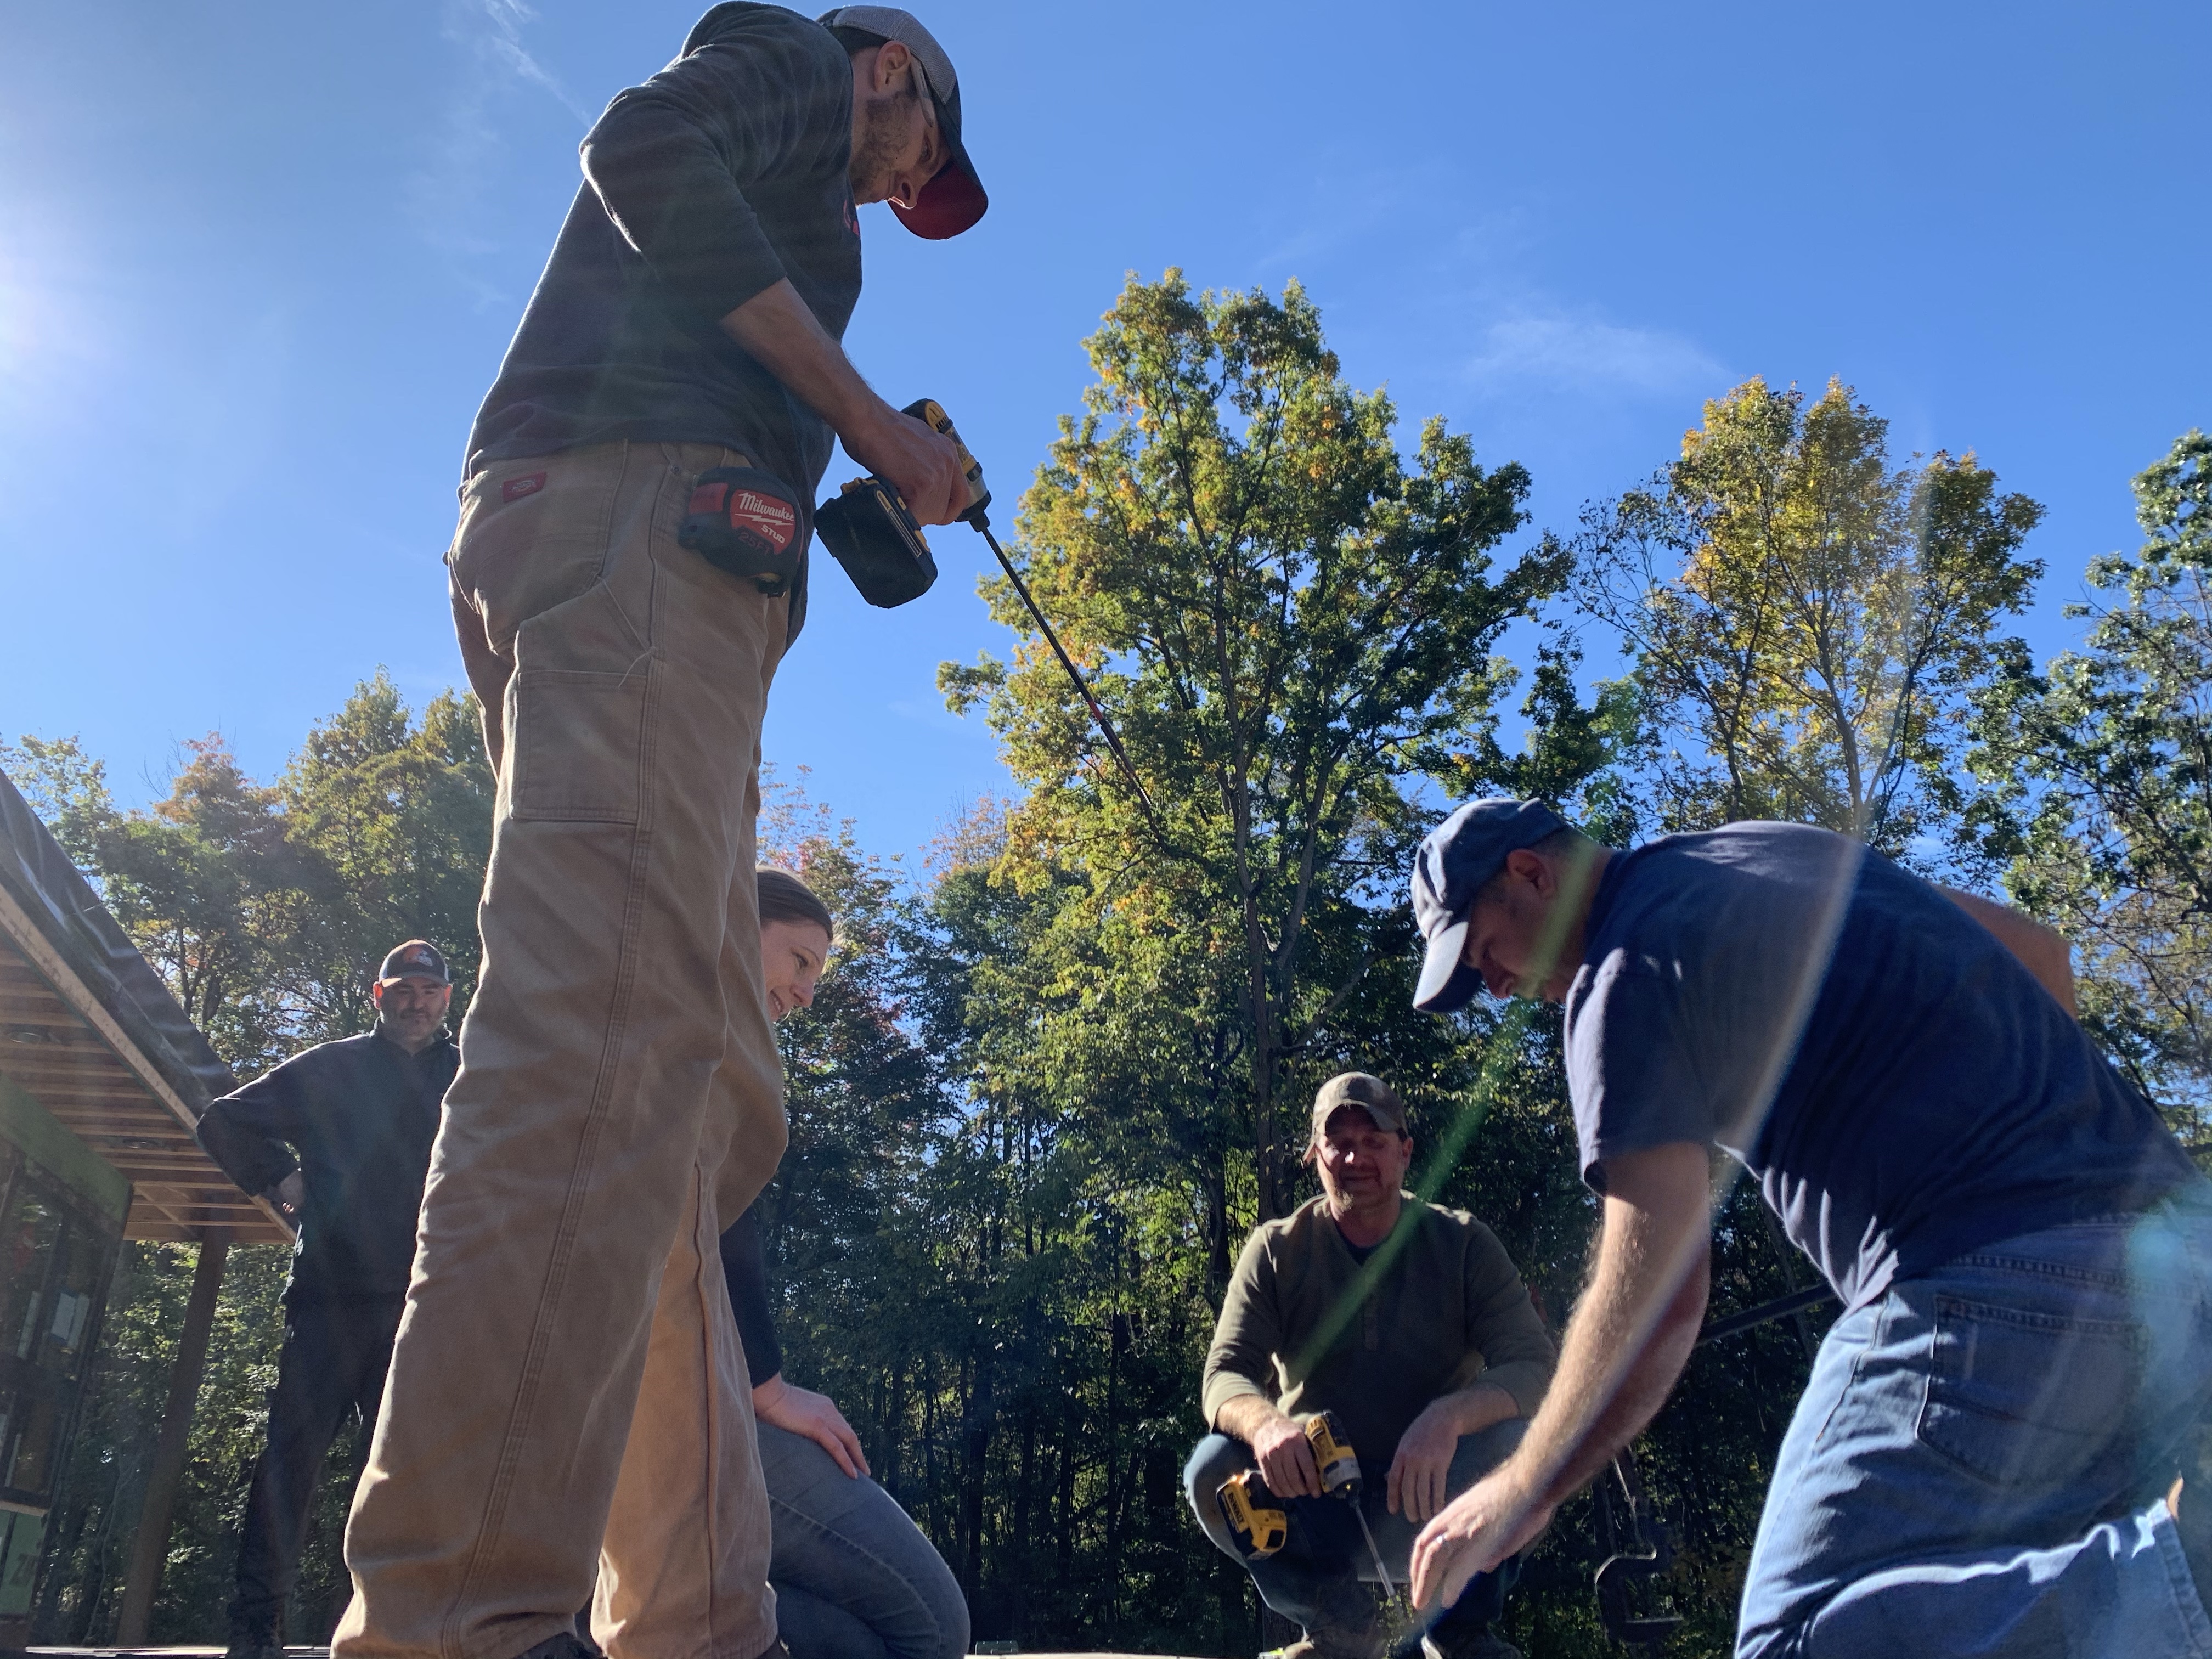
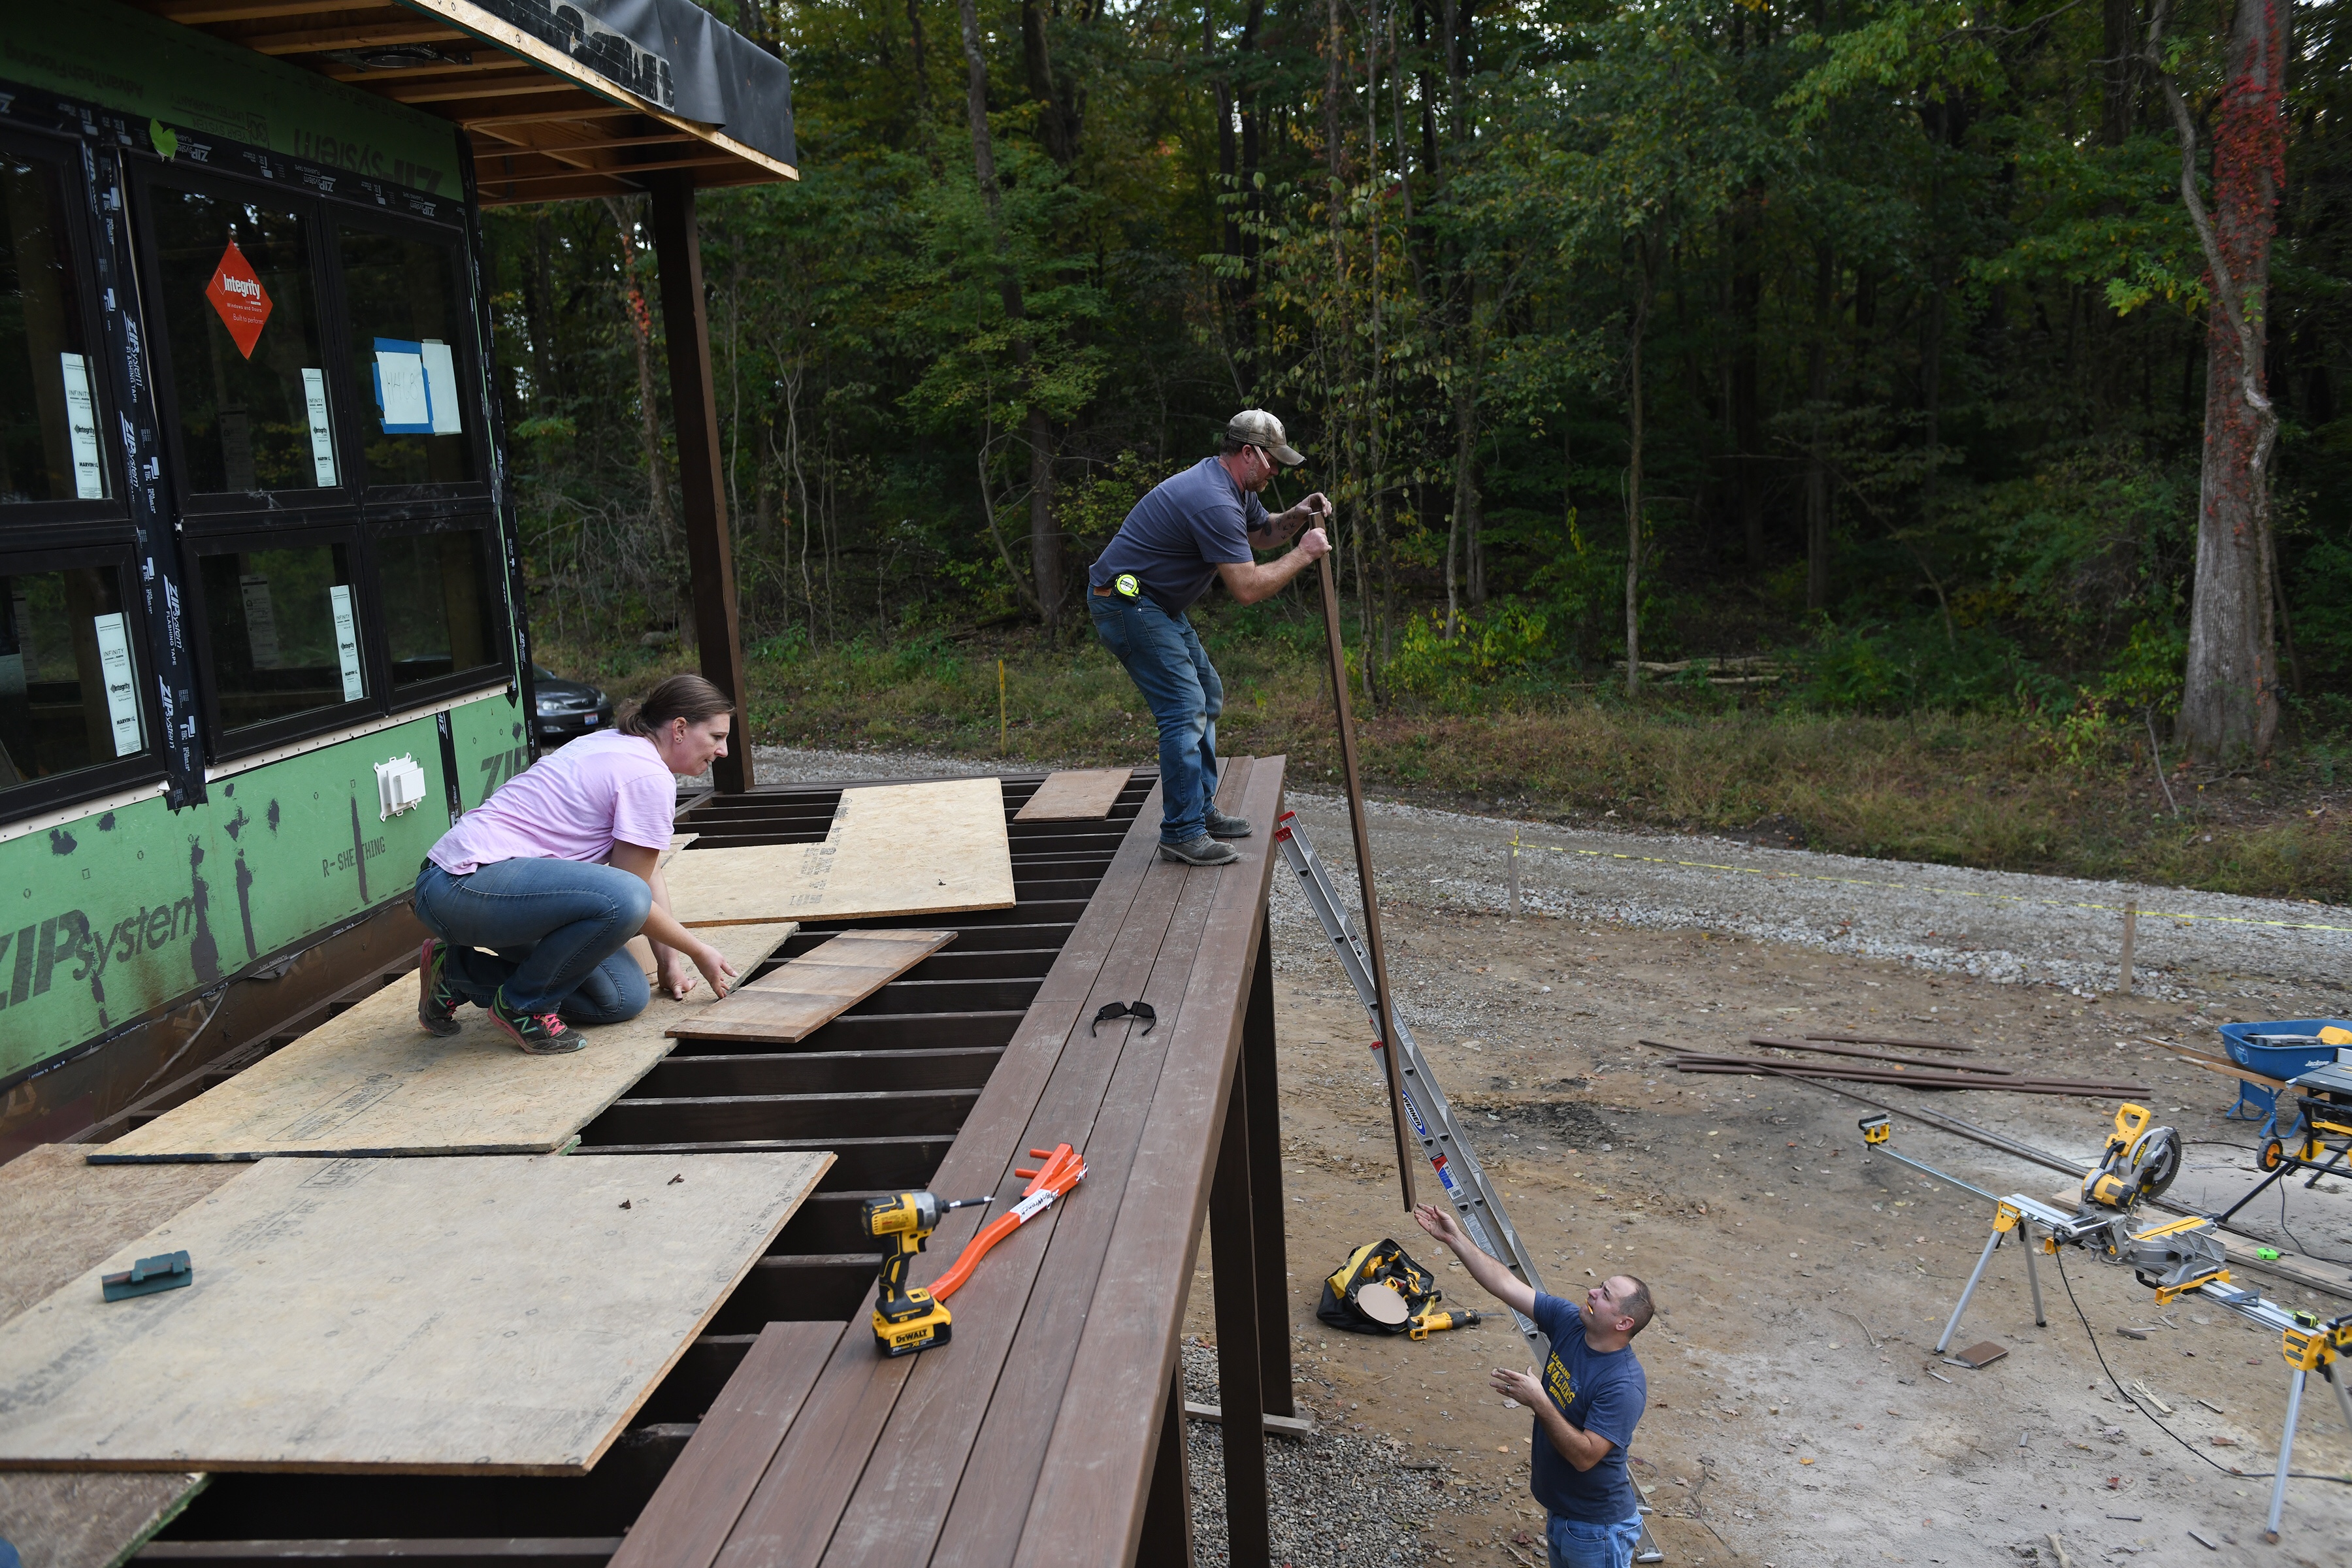
That brings us to the decking. We really wanted to use a composite decking to reduce maintenance and keep the deck looking great for years to come. The materials are significantly more expensive than wood decking so you can understand why I wanted to consider installing it ourselves to offset that cost. Joe was unsure we would be able to do it until he started reaching out to family to plan a weekend to come help. We are so lucky to be surrounded by such wonderful family and friends. His brothers and two cousins all agreed to help. His cousin, Billy, had installed a number of decks like ours at work before. So we ordered Trex decking through Lowe’s. They said it would be delivered in 7-10 days so we set a weekend to install it beyond that. Fast forward 2 weeks to the beginning of the week we were set to install. I reached out to the store because the decking still hadn’t been delivered and I hadn’t heard from them. It was two days of calling them before they finally got back to me and notified me that the decking was on back order until December! We were 3 days away from everyone showing up and we had no material.

You all know by now I had looked at and priced out different options before we ordered the Trex in the first place. One of those was TimberTech decking through Hartville Hardware. It is actually supposed to be a better product because the finish wraps all 4 sides. With the Trex it is only on top and into the groove on the sides. I had originally not chosen the TimberTech based on cost. The color I wanted was in their most expensive line (of course). But right as I was ordering the Trex the salesman from Hartville Hardware had reached out to me about one of the colors that had been discontinued that they had enough in stock to do our deck. It was discounted since it was discontinued. I passed at the time but now ‘in stock’ sounded worth every penny to avoid a winter deck install!

Let me just take a minute to tell you how great Hartville Hardware is. We have gotten nearly all of our building materials there. Lumber, windows, doors, cabinets, flooring, and now decking! They have been so great to work with and their store has to be one of the best hardware stores in the country. For those of you nearby you know what I’m talking about. But for others imagine a hardware store that is 7 acres! They literally have everything you could imagine. Not to mention there are model homes built inside that you can walk through for ideas and on top of that it’s family owned. People come from all over to go there and it’s right down the road from our new house. I can imagine it’s going to be somewhere we take our out of town guests!

I digress. Now back to the deck. The salesman I work with at HH was actually on vacation but had told me to text him if I needed anything. I felt bad but I did and he put me in contact with another guy in the store to help me out. This was Wednesday at 2 pm and we had decking delivered and ready for our crew by end of day Friday!

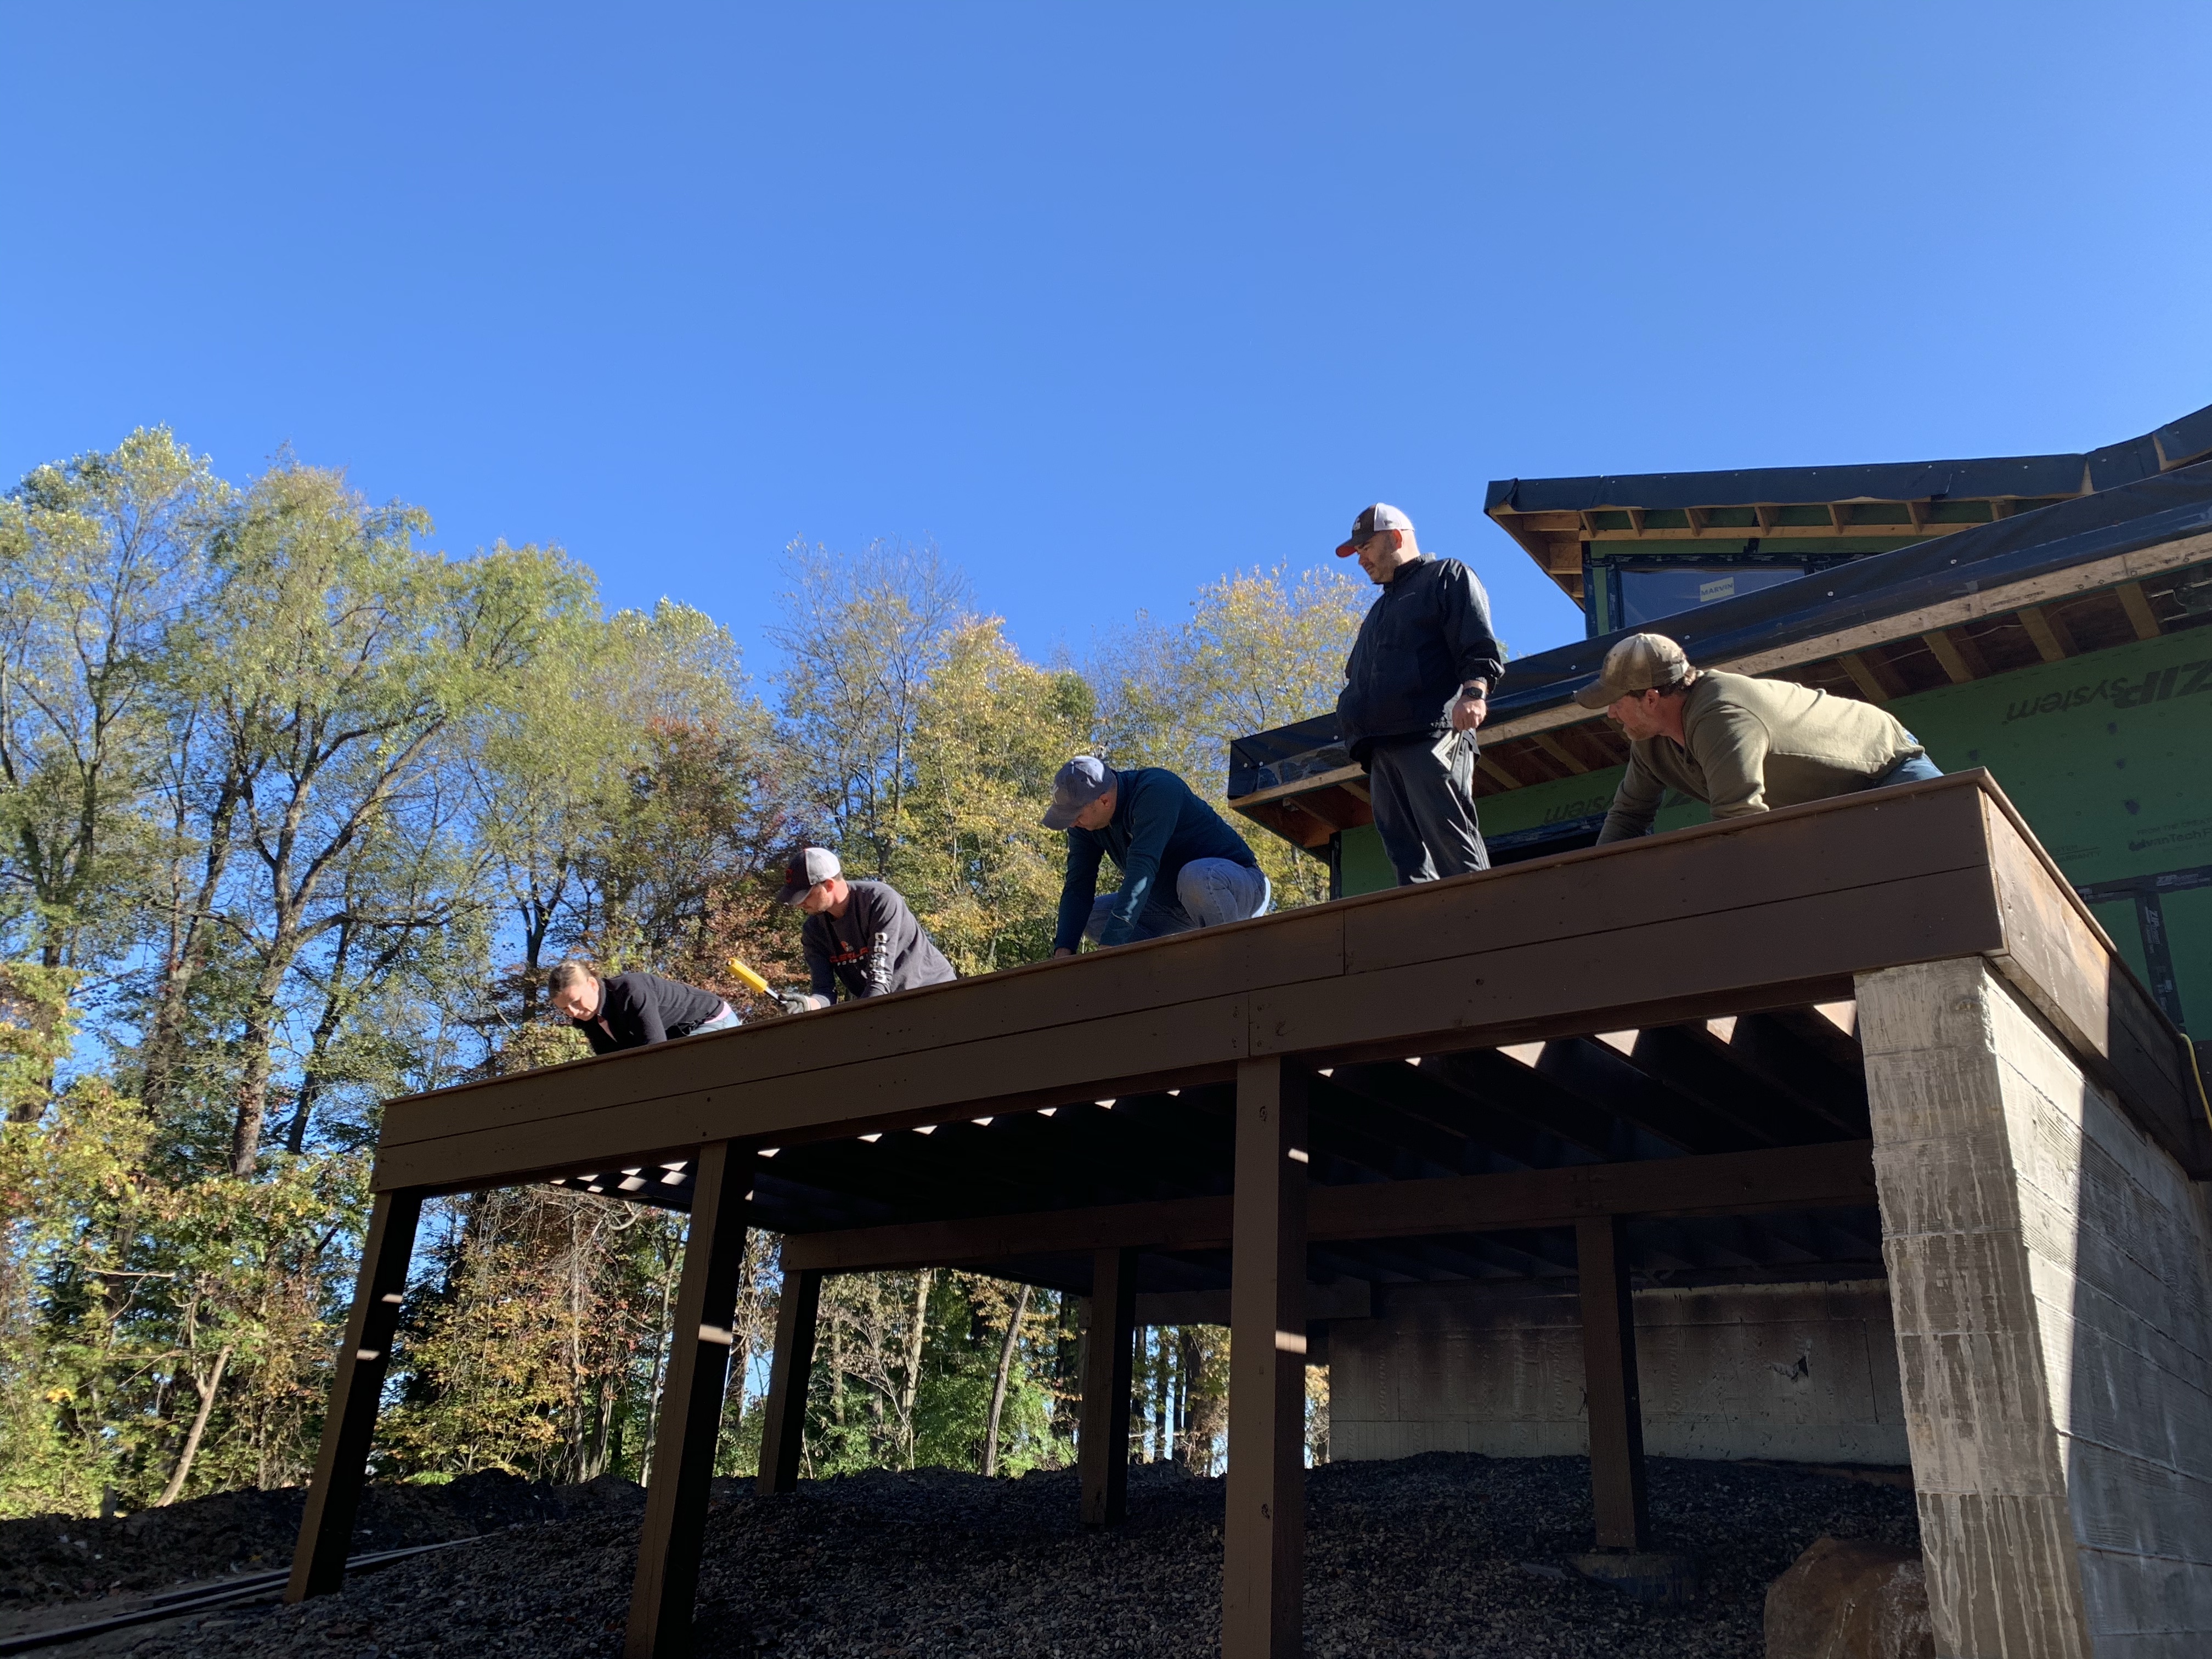
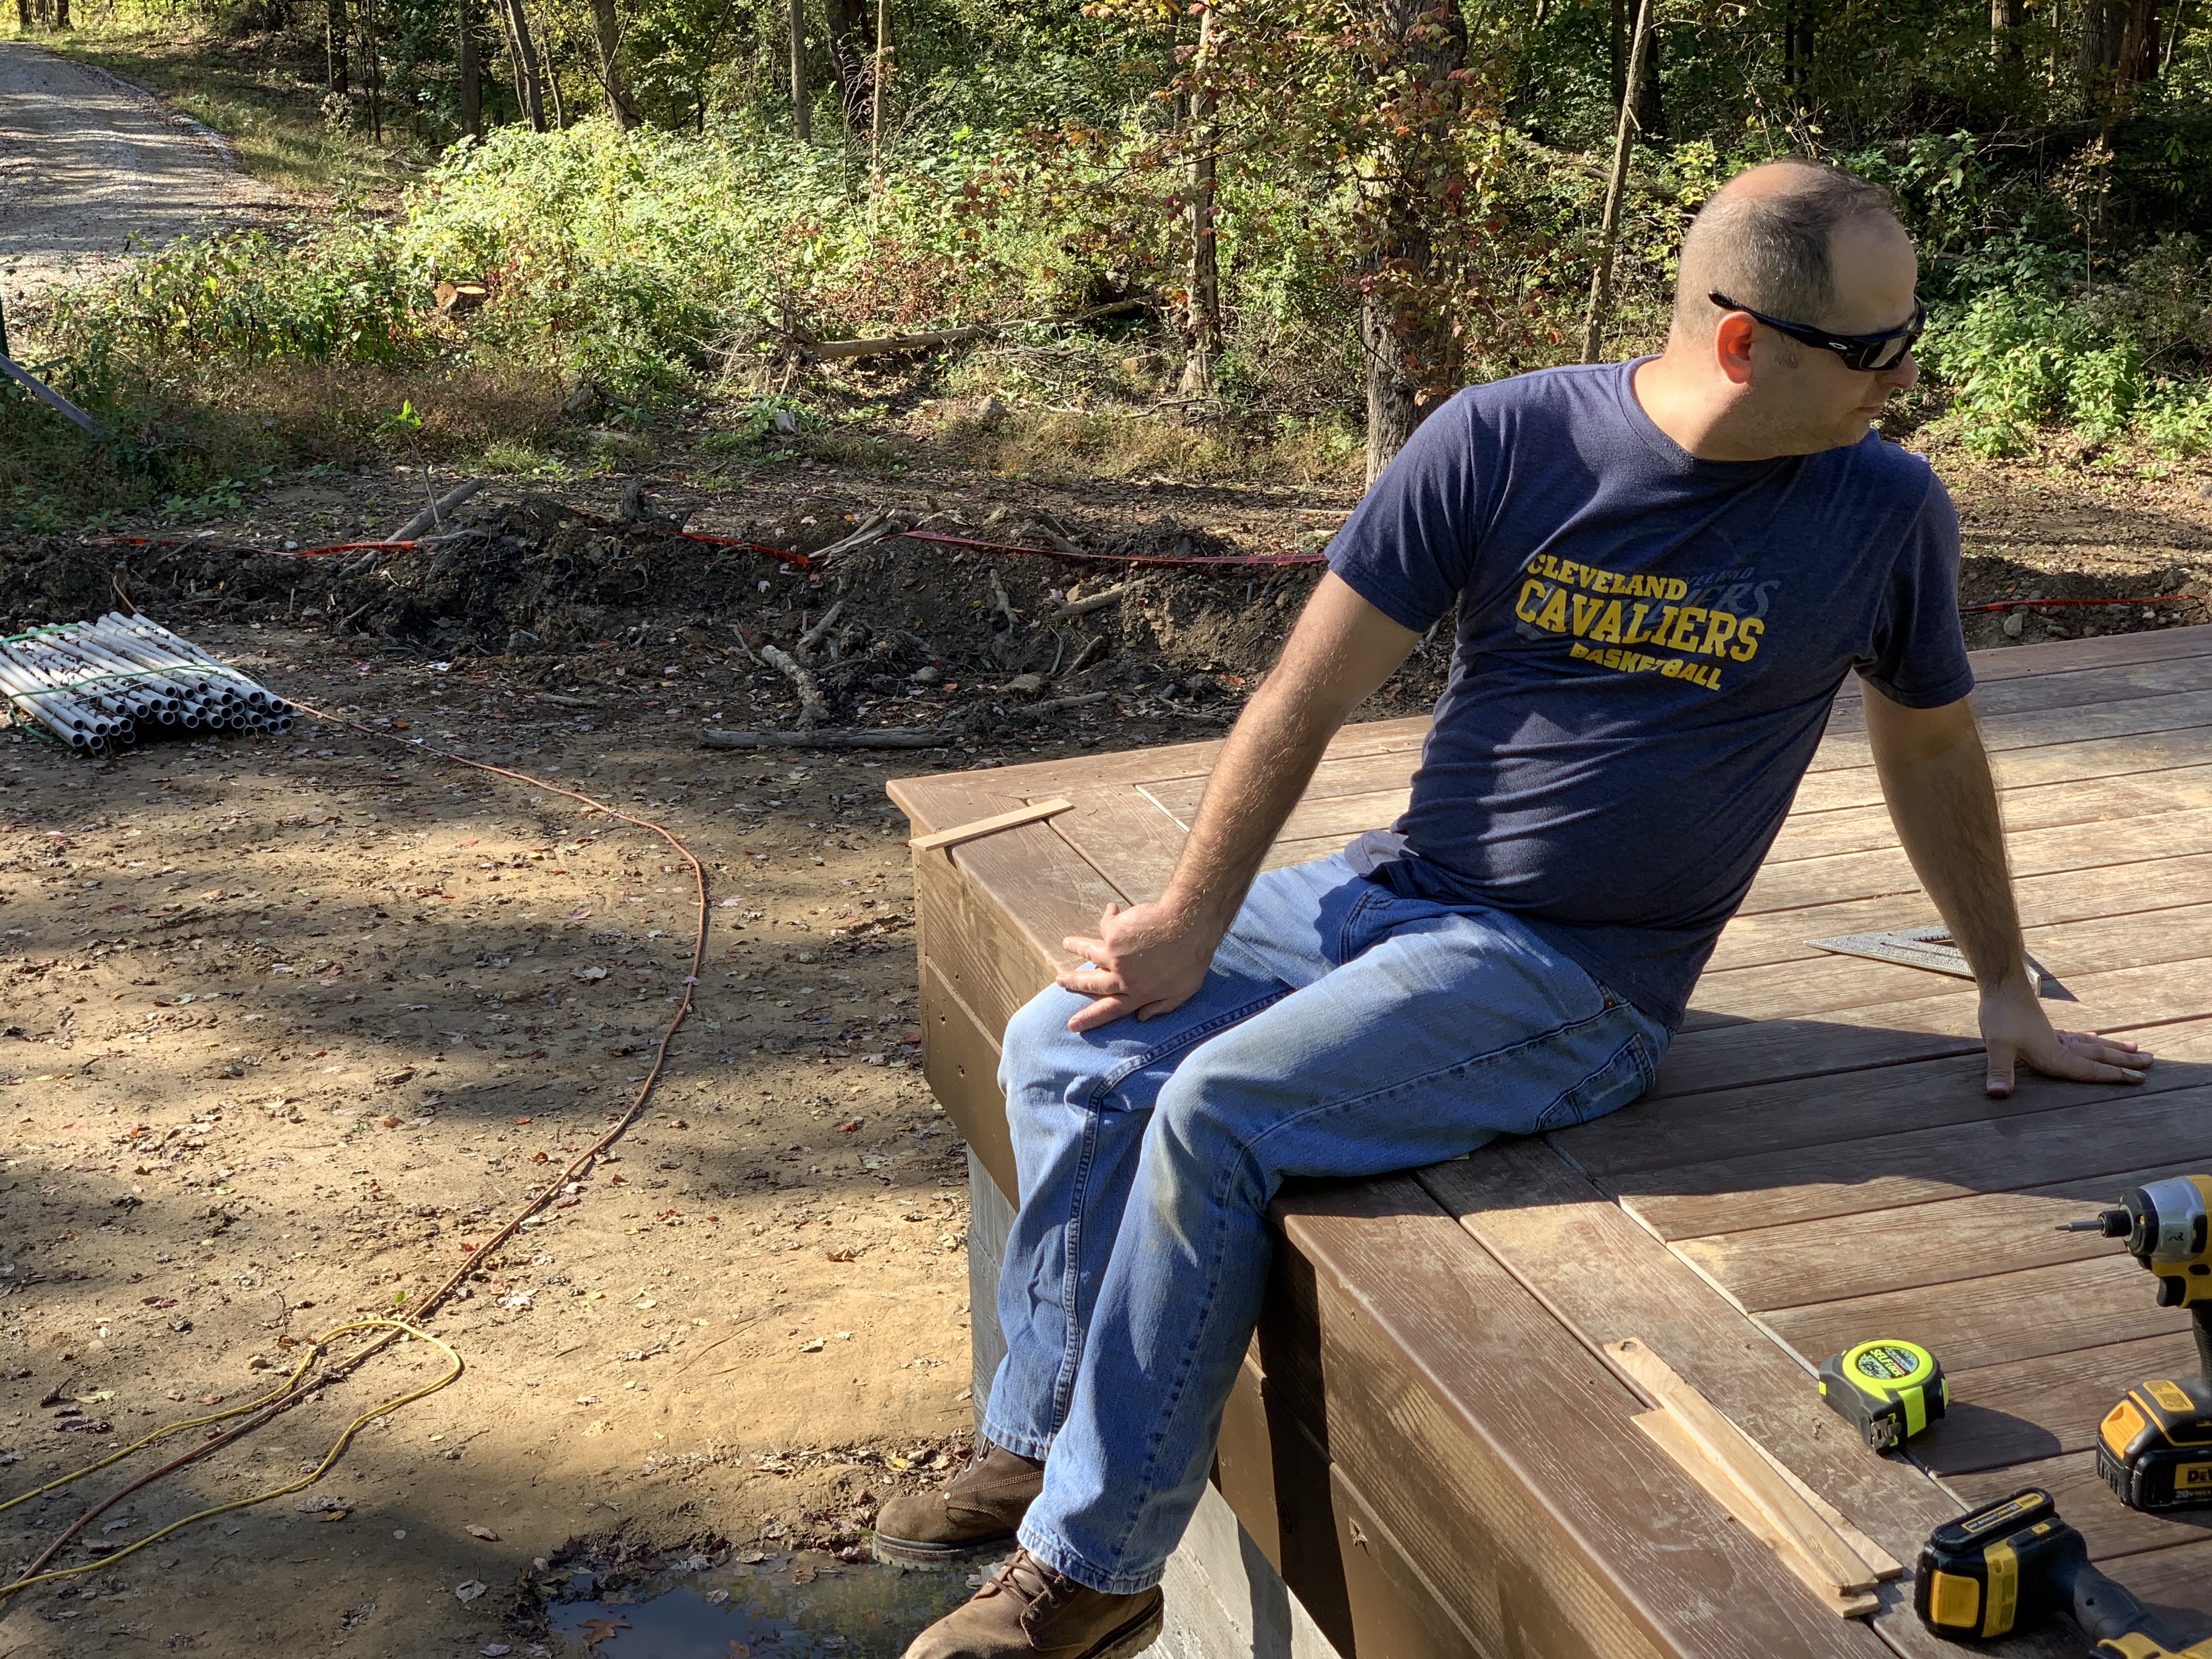
Carmen, Dan, Billy, and John met us at 7:30 am Saturday and we got started. Once we got the trim pieces up and I made a run to HH for a tool we needed things went pretty smoothly. I went with the concealed fasteners which give it a great aesthetic but slow down the install. We finished the majority of the portion of the deck outside the kitchen and got started on the next section that day. We definitely couldn’t have done it with all the help and are so grateful! It was a really fun day and the kids (Bri, Evie, Blaze, and Sophia) had fun exploring the property and Grandma Patty came to help keep them entertained. Between Lisa and Joe I’m certain this is the most photographed deck install in history.

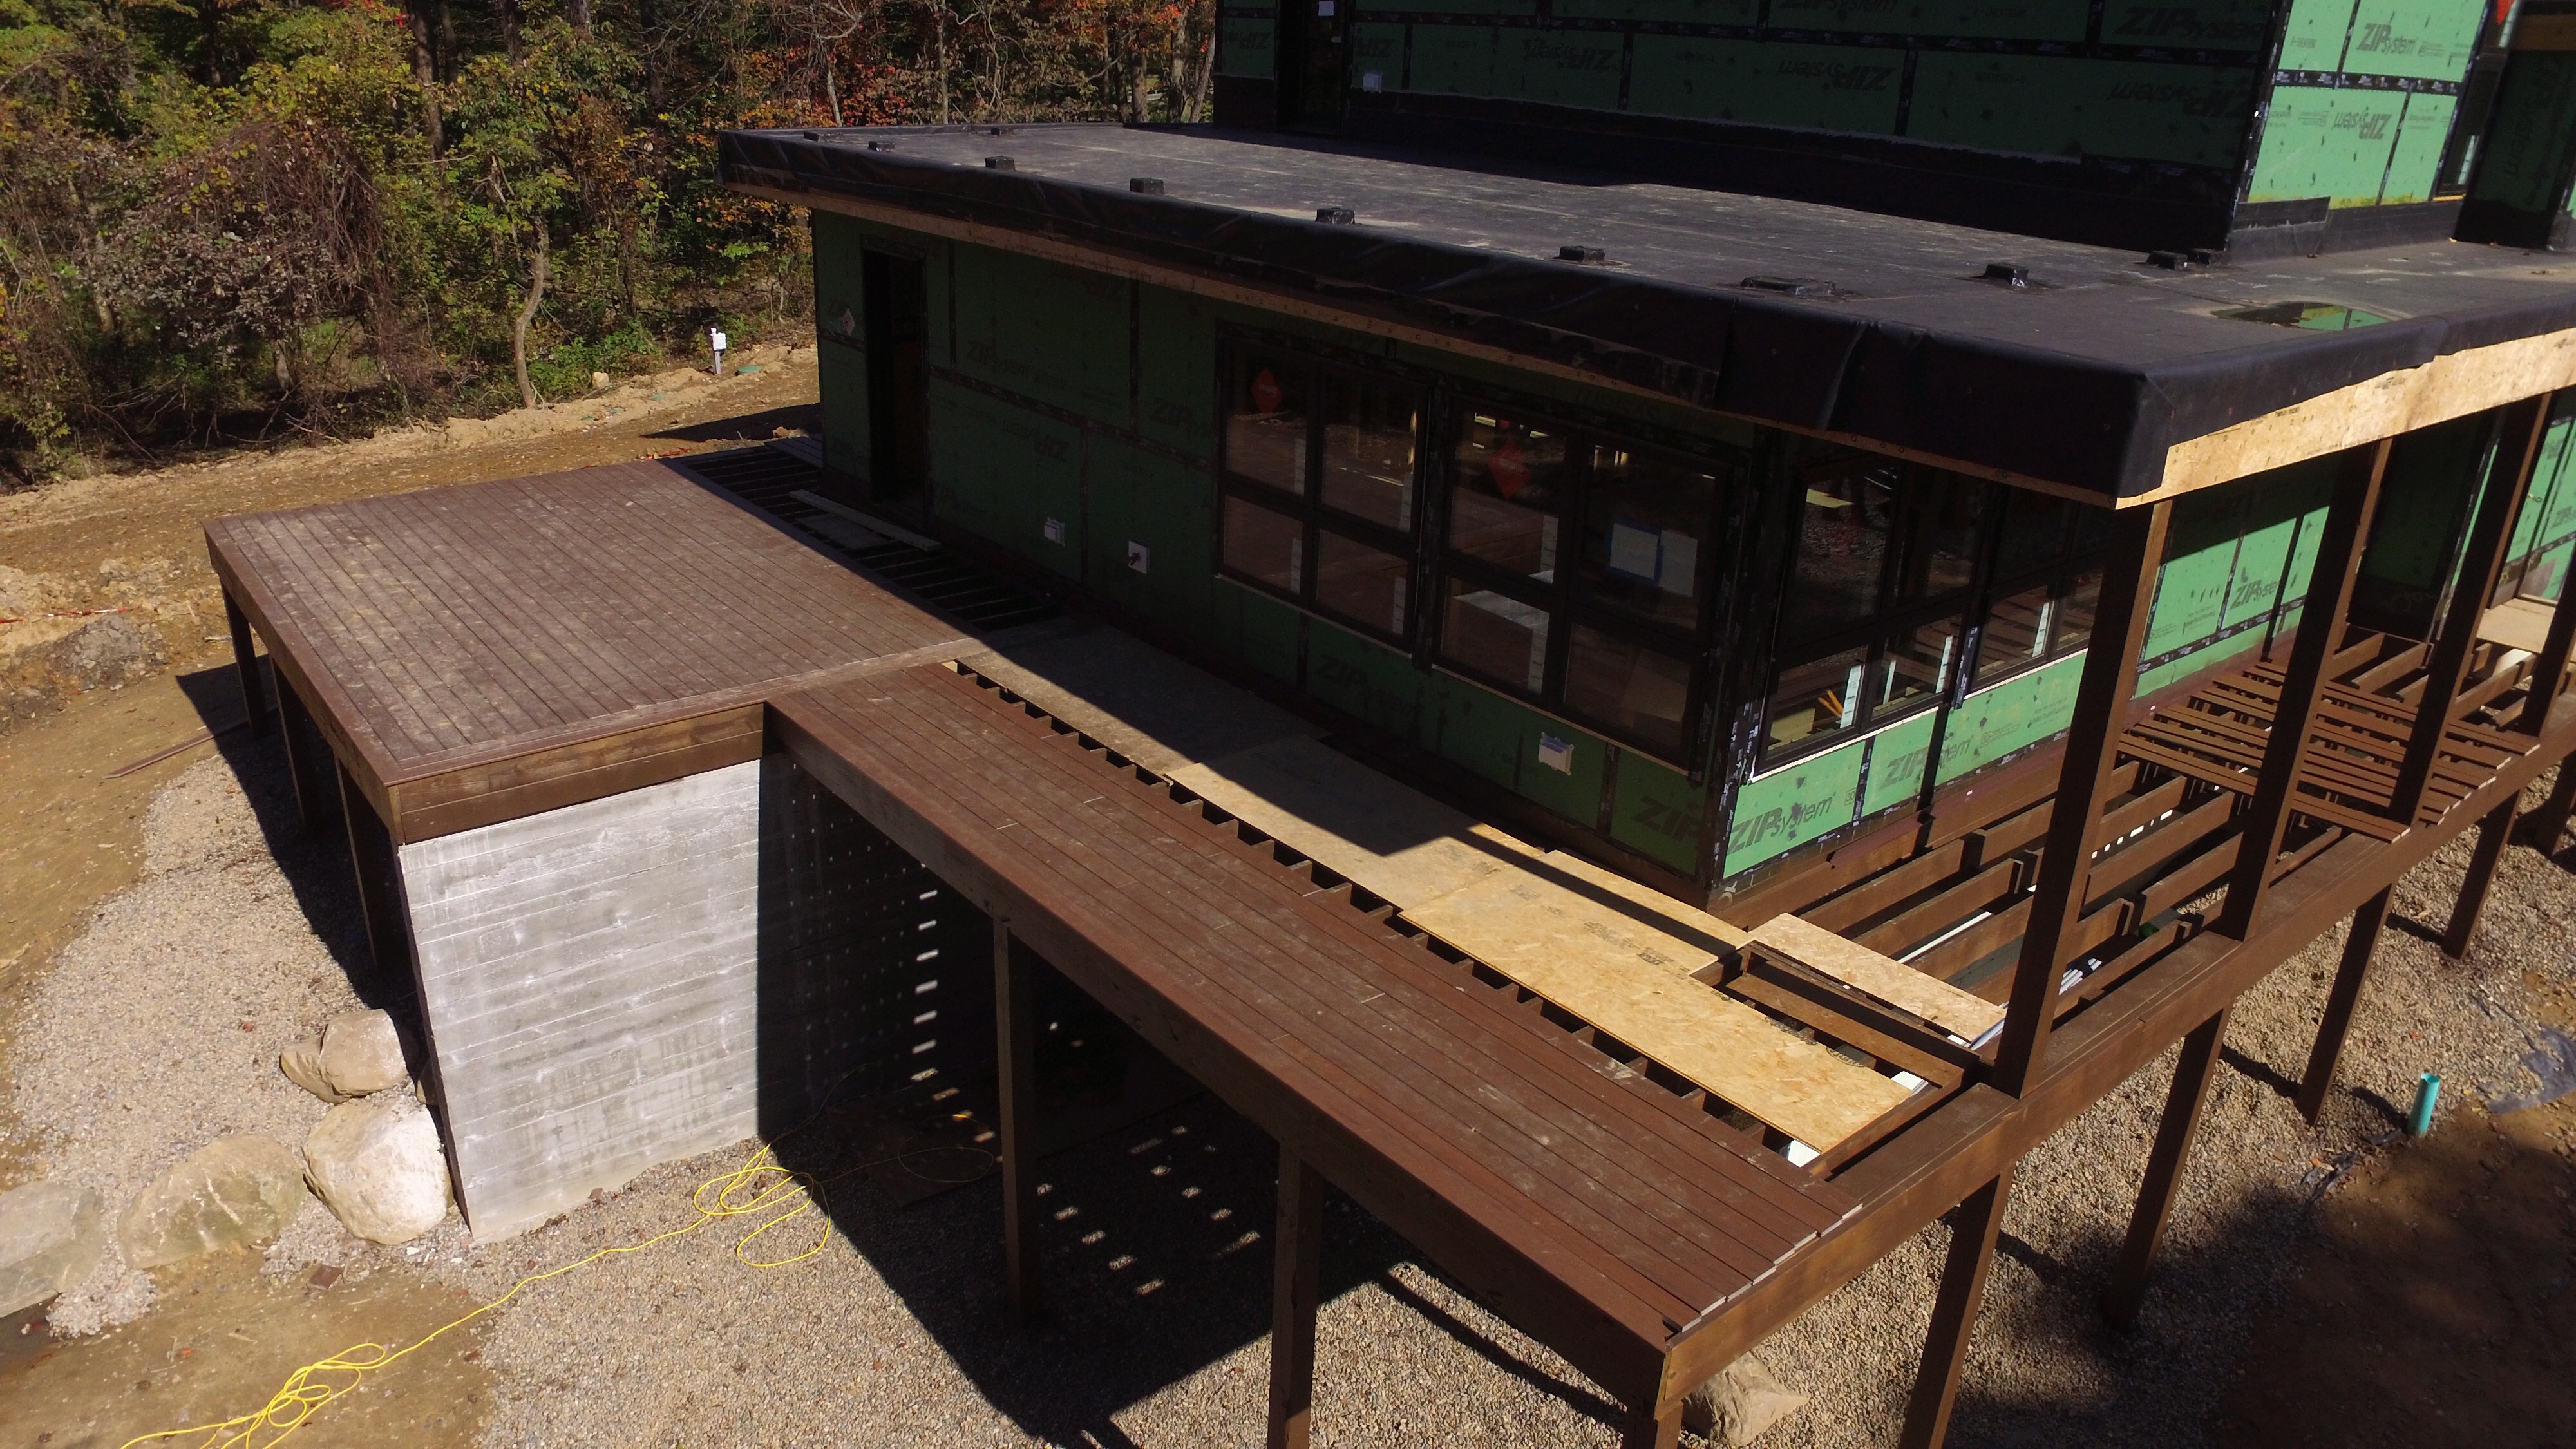
Joe and I have been slowly working on finishing the rest of the deck each weekend. It’s a big one! Right now we are waiting on the metal guys to install the downspouts before we finish.

Next up on our list is painting! We are taking any and all volunteers 🙂

Rough-In & Deck Framing

Some parts of construction are more exciting than others. We saw a lot of progress in the first few months and each time we were on site things looked different. But once the shell of the house was in place it was time for the majority of the work to move inside for the rough-in of the utilities. This has been a slower process where the daily work is not nearly as evident. We have also been very distracted with the beginning of the school year and all the new adjustments that has brought to our family.

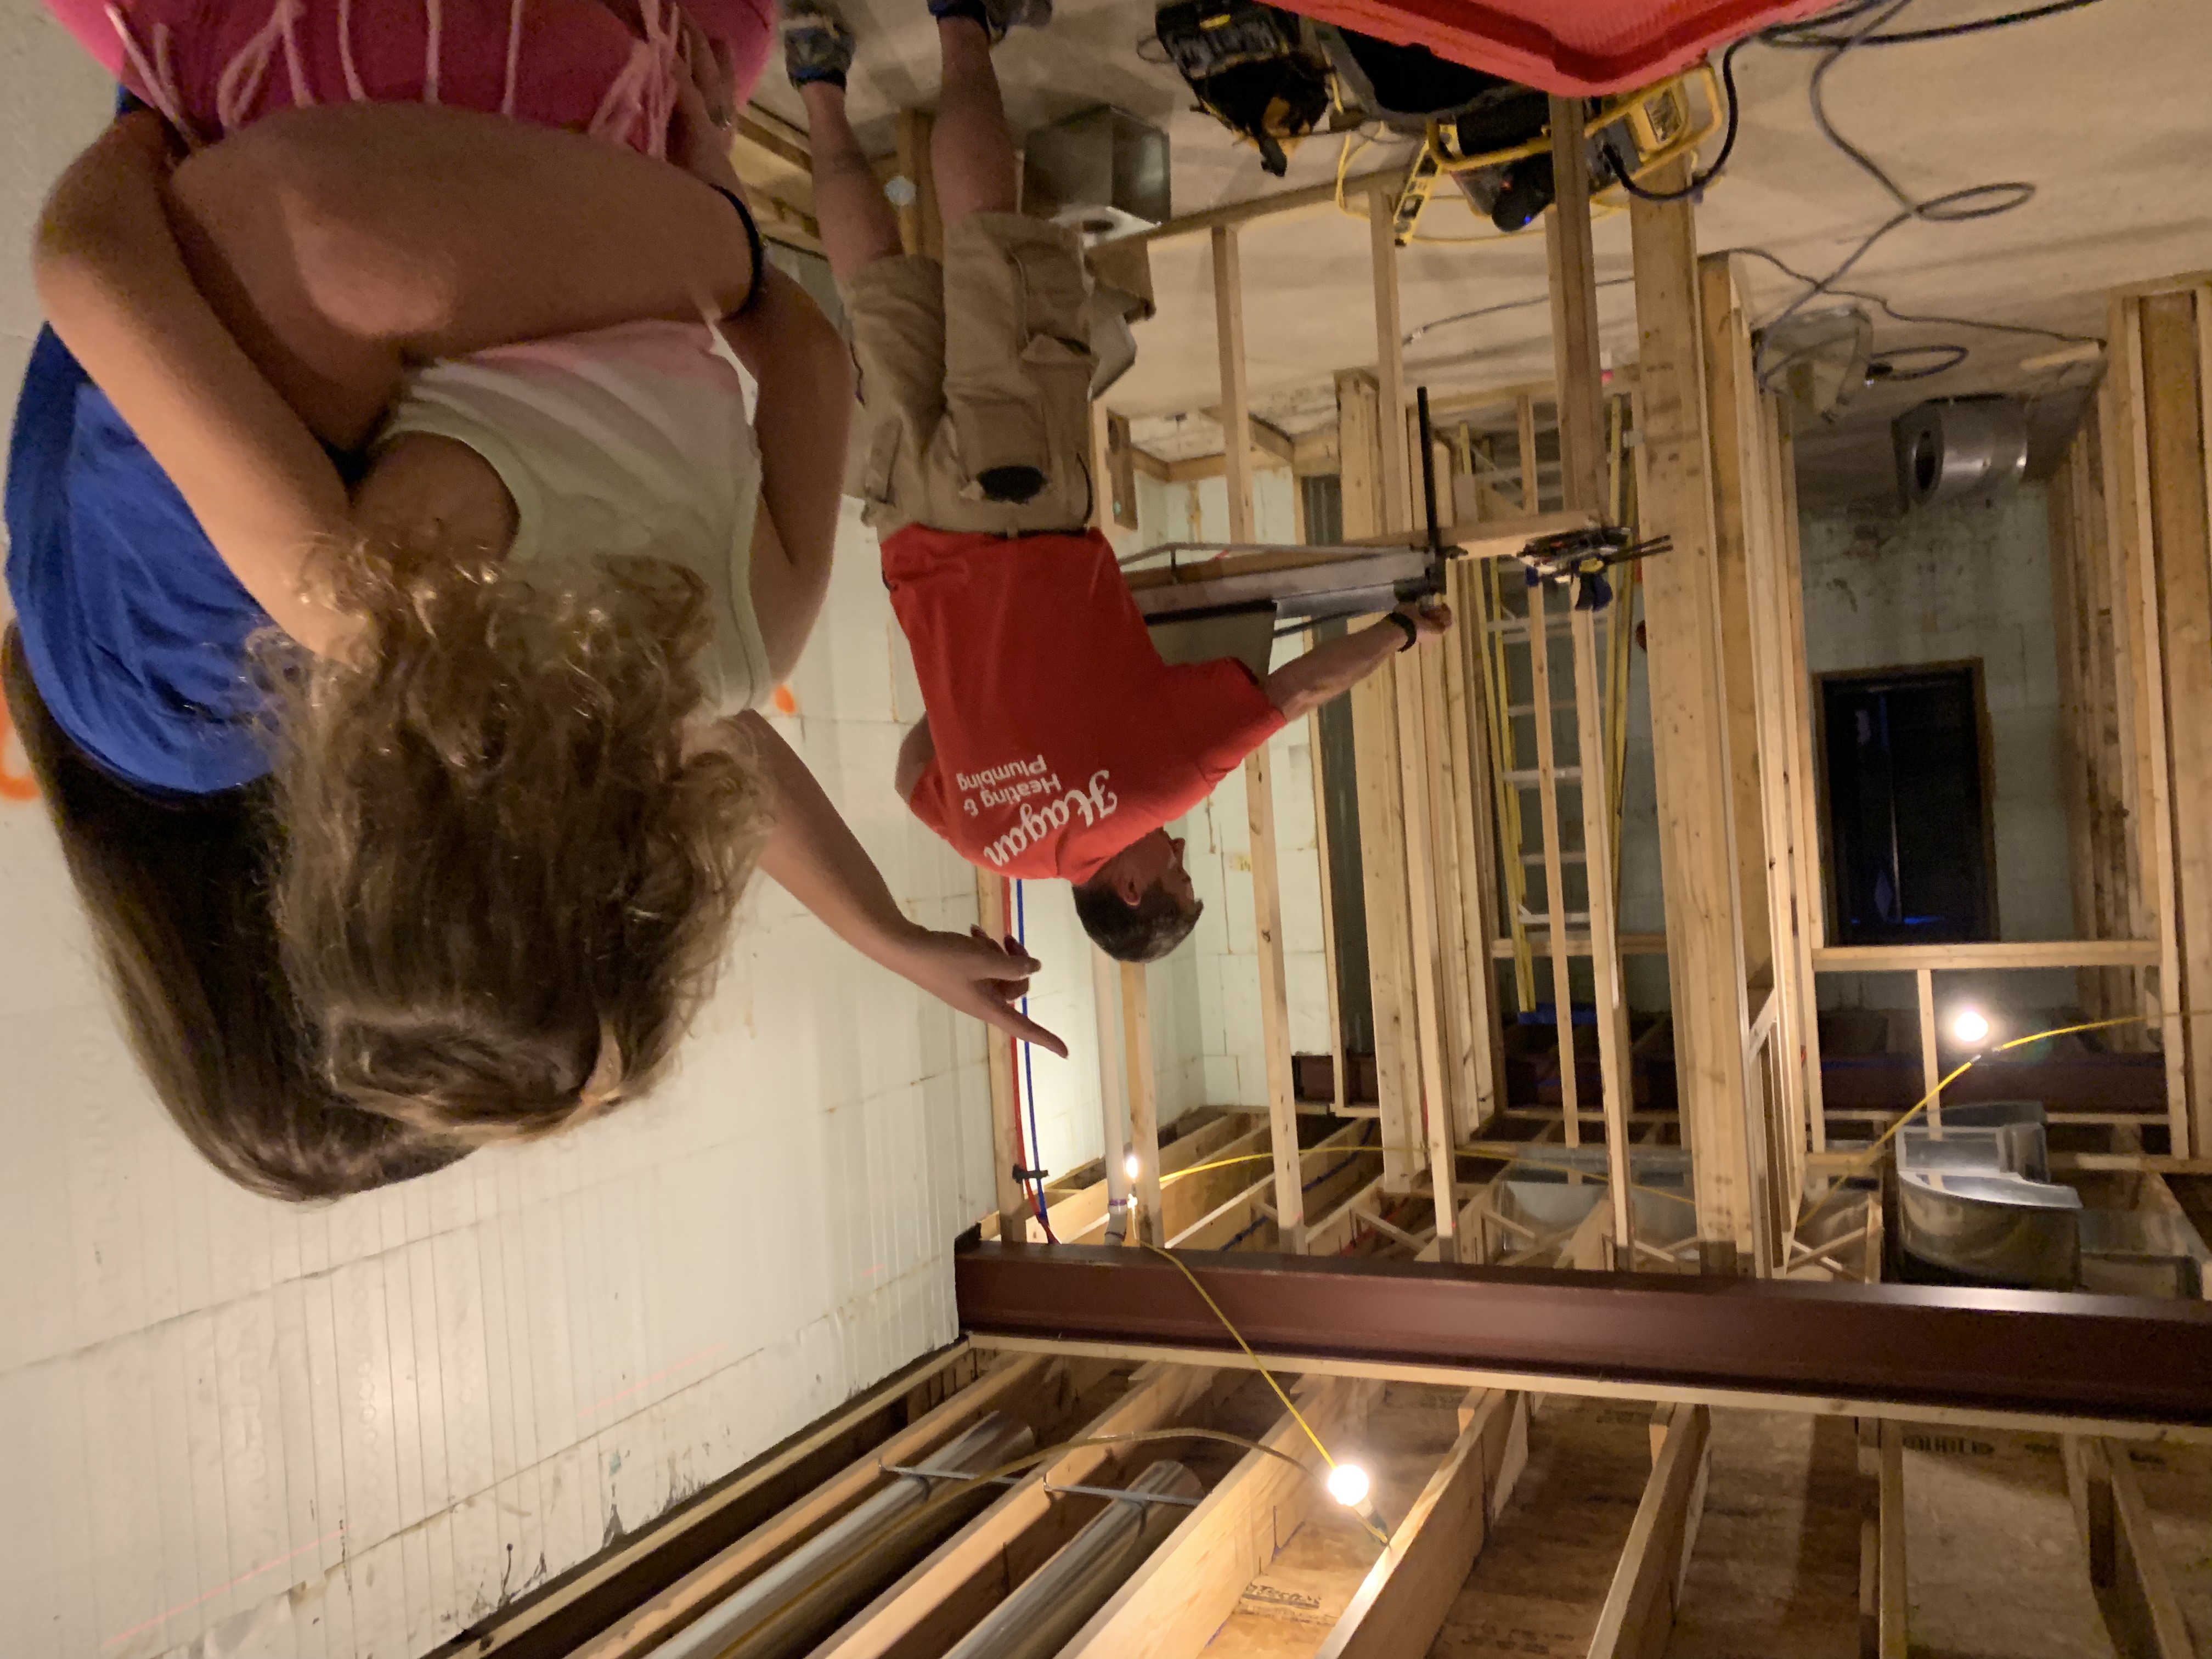
Our good friend’s family owns a heating & plumbing company (Hagan Heating & Plumbing) so we were excited to bring them on to work on our house. They started first since they had both ductwork and piping to install.

The house design definitely made their job a lot harder than usual. The open plan didn’t leave a lot of great options for the main ductwork runs. But John and his family/team were great about thinking it through and working out something that would both function well and work with the architecture of the house. It was ideal that they did plumbing as well as HVAC because they coordinated the two. Our cousins, Donald and Steph, built a house last year and had told us stories about having to cut out plumbing to get ductwork in and then having to pay to have the plumbing redone. We were glad to avoid those headaches!

The house will have a geothermal system. The unit we are getting is the most efficient one offered by Water Furnace (series 7). The motor is continuously variable which means we should always be using as little energy as possible. We are also separating the house into 5 different zones which ensures you aren’t over heating or cooling certain areas of the house based on what is being called for in the room with the thermostat.

Once plumbing and HVAC rough in was complete, the electricians came in. Even though I had put together an electrical plan we walked through the house with them to be sure we had everything accounted for. This was one thing that Joe was pretty passionate about. He is really into making the house as smart and secure as possible so of course we ended up adding a few things that I hadn’t thought about. I’m sure once we move in we will think of a half dozen other items that we should have added too. We are using all LED lighting to conserve energy and are planning for future solar on the garage roof. As I mentioned before, my goal is to be net-zero someday which would mean we are making as much energy as we are using throughout the year.

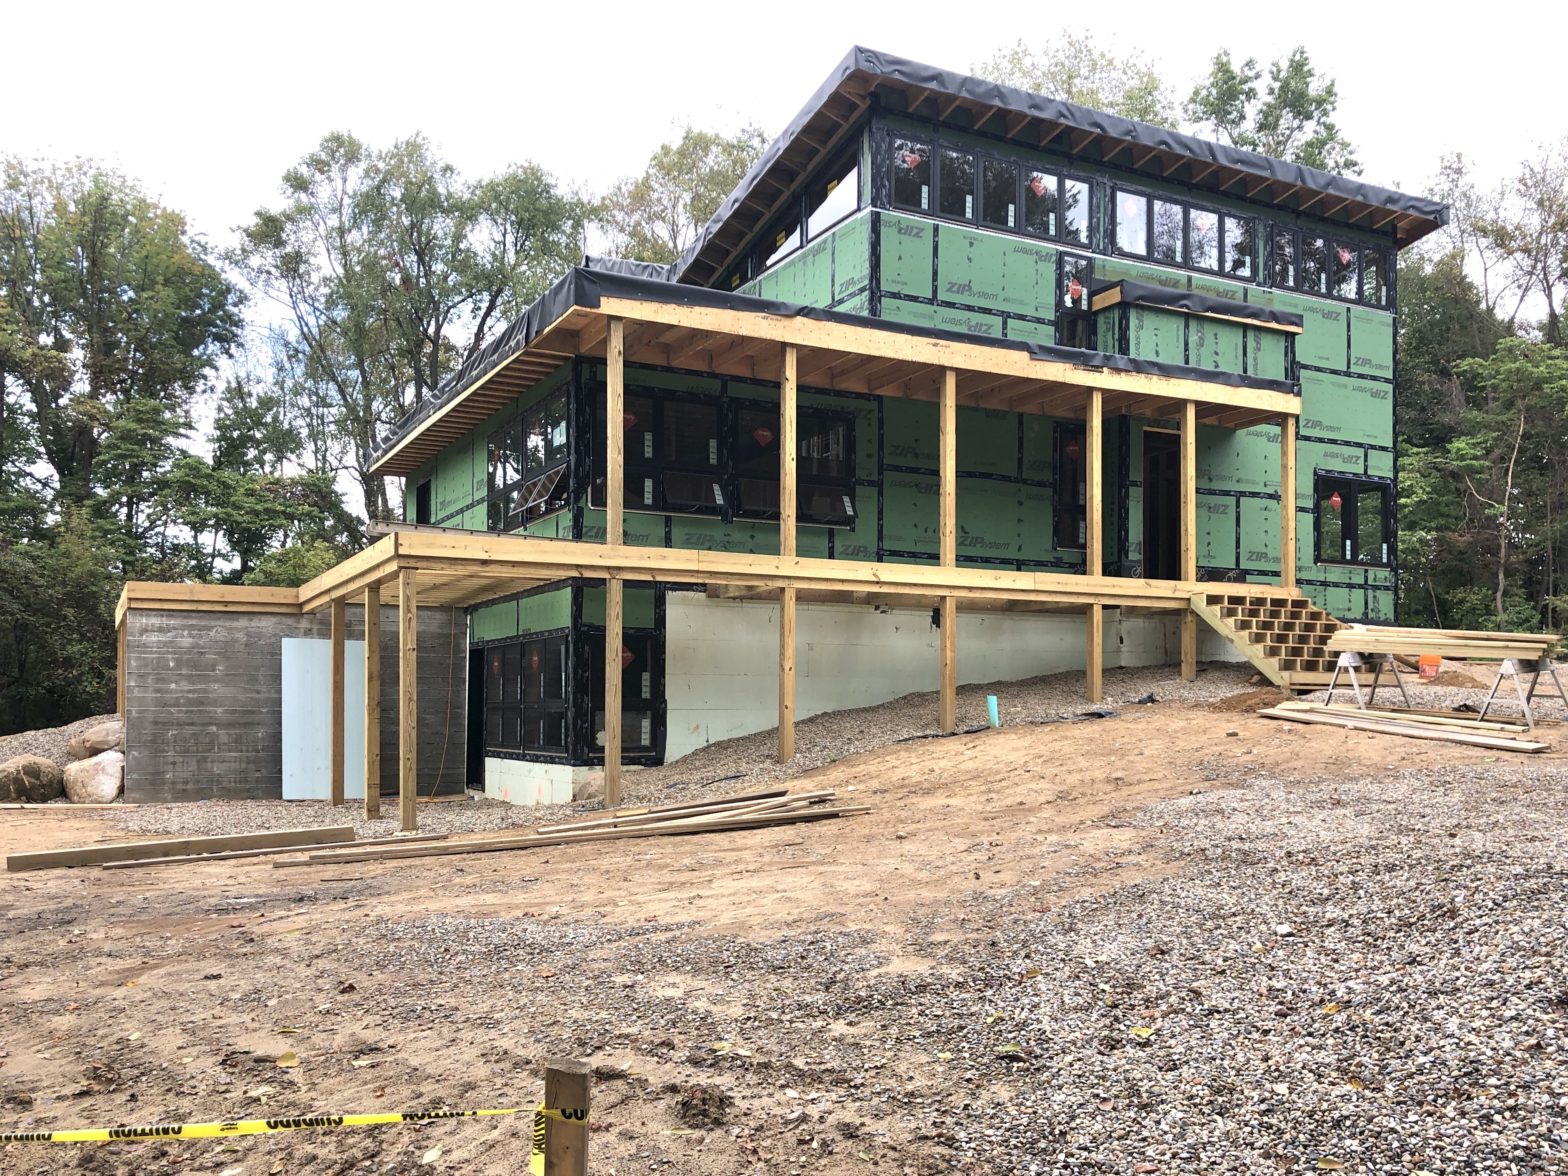
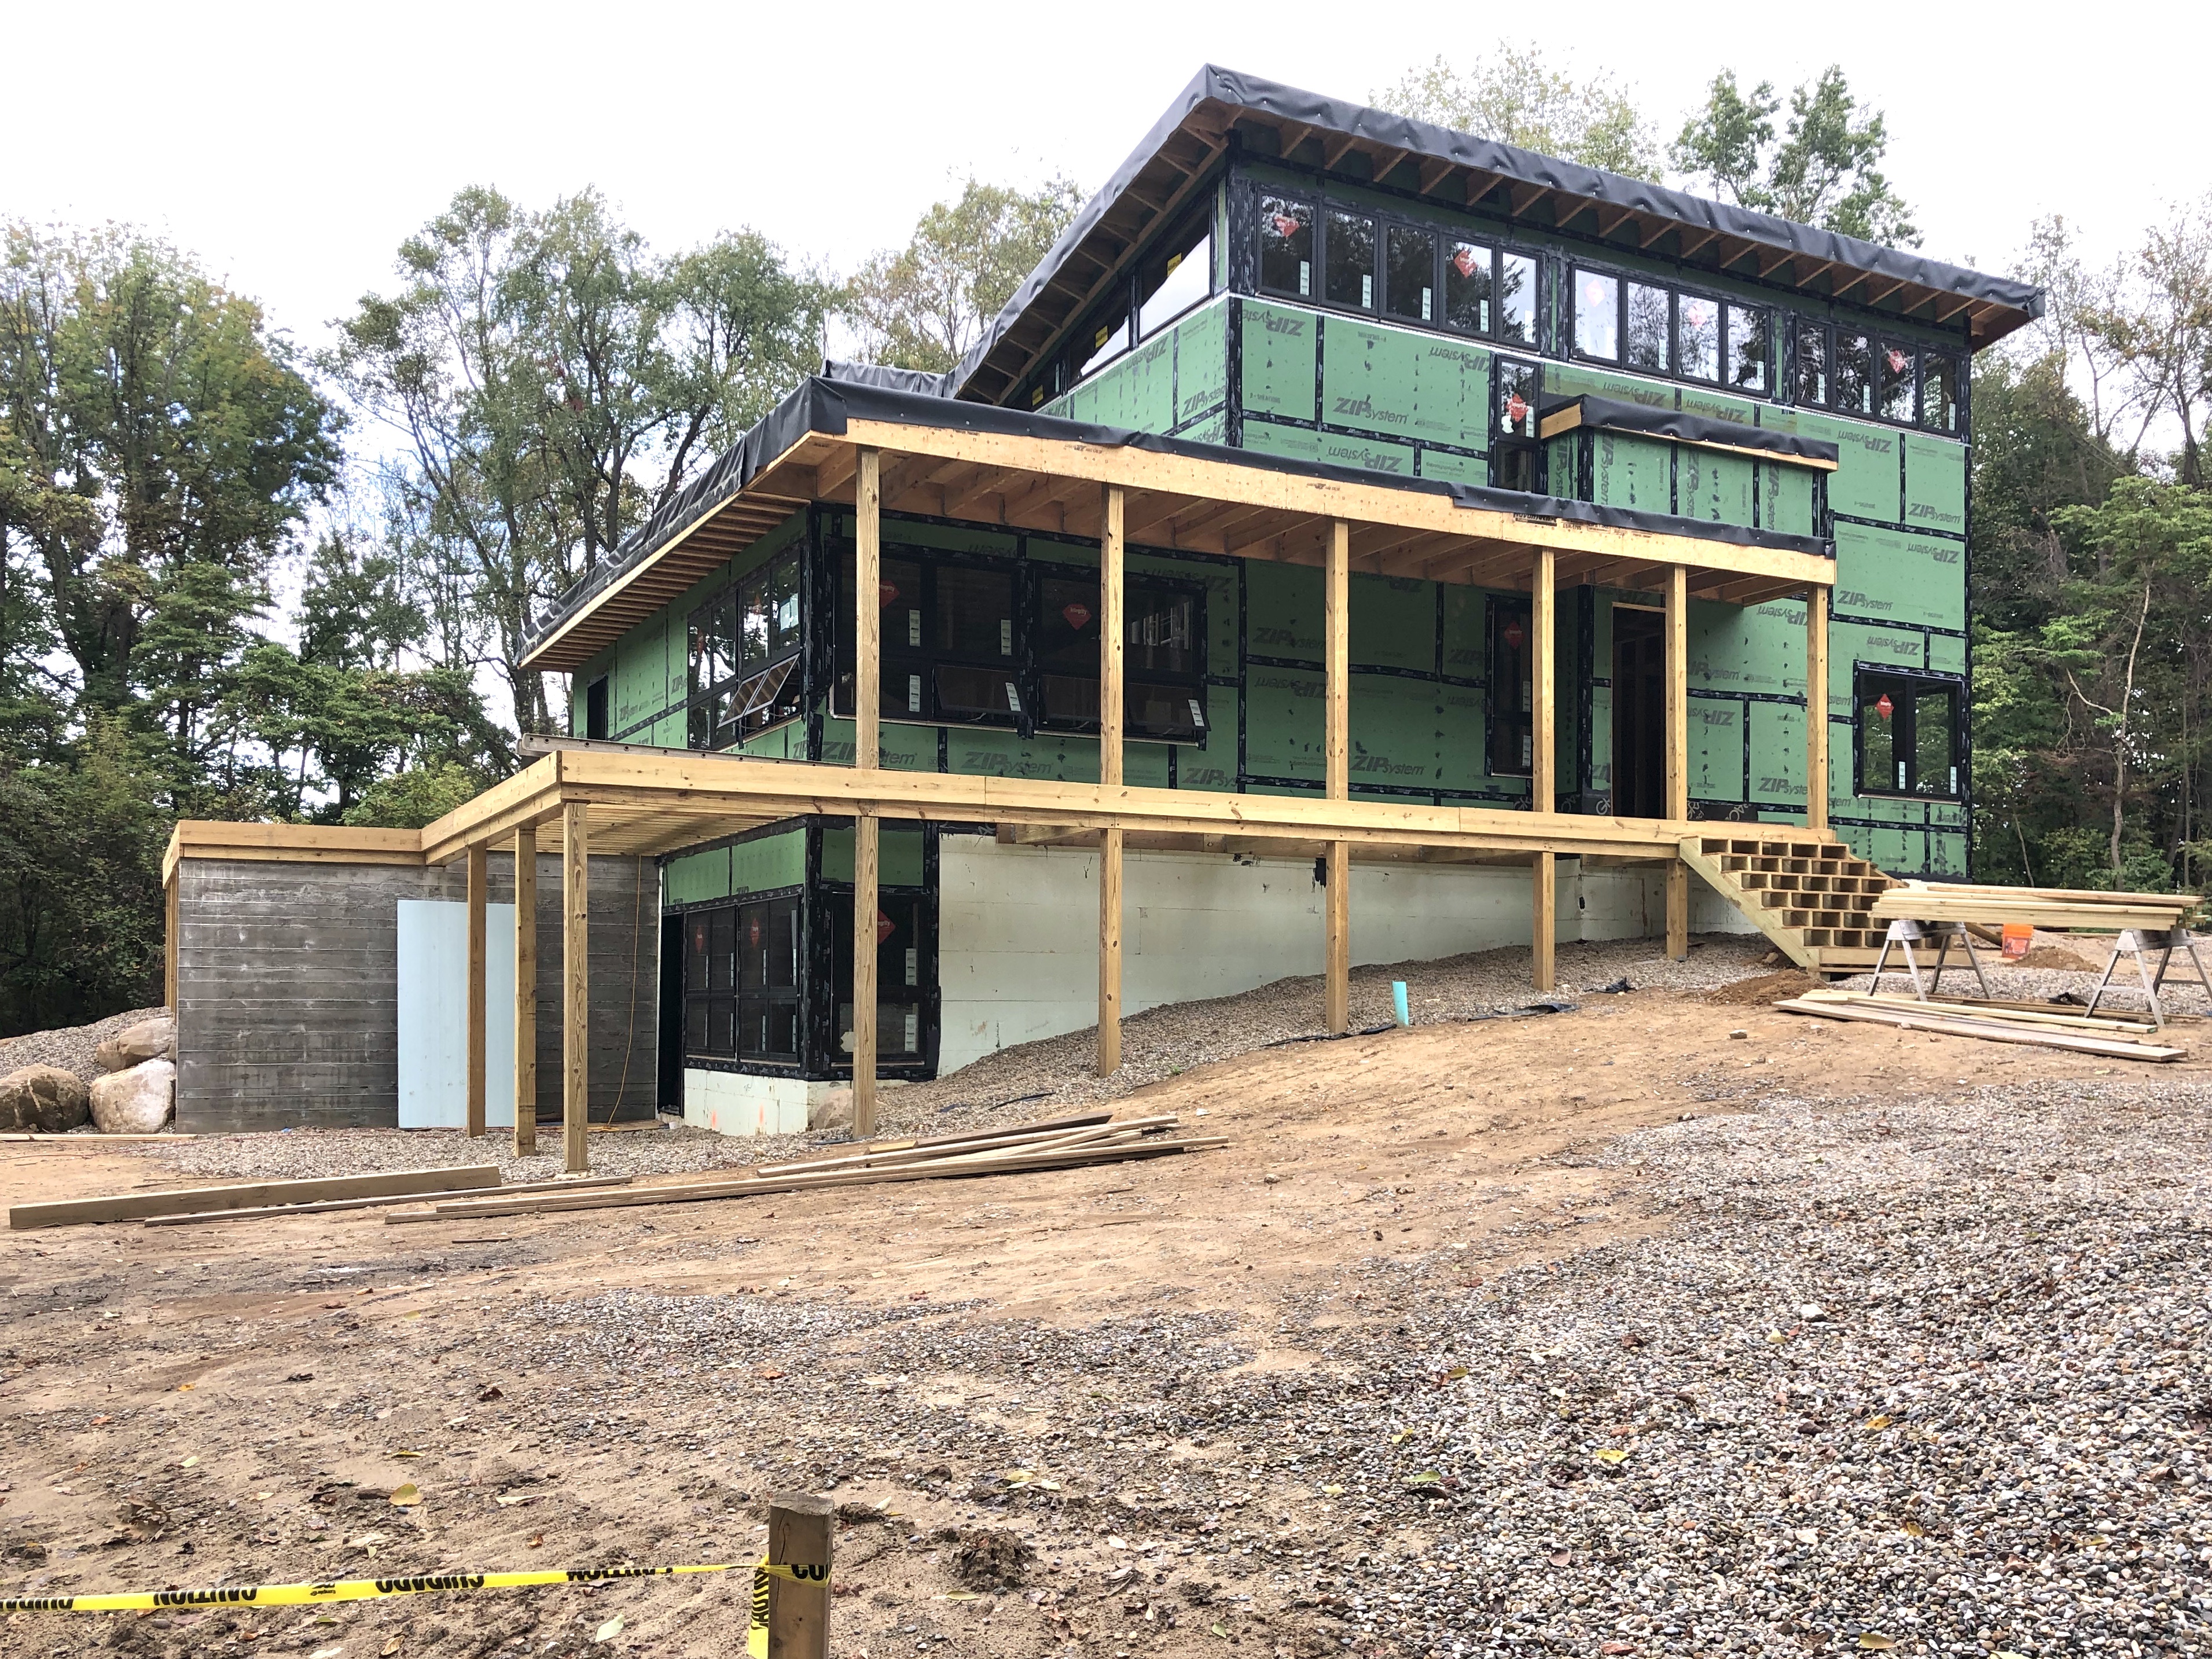
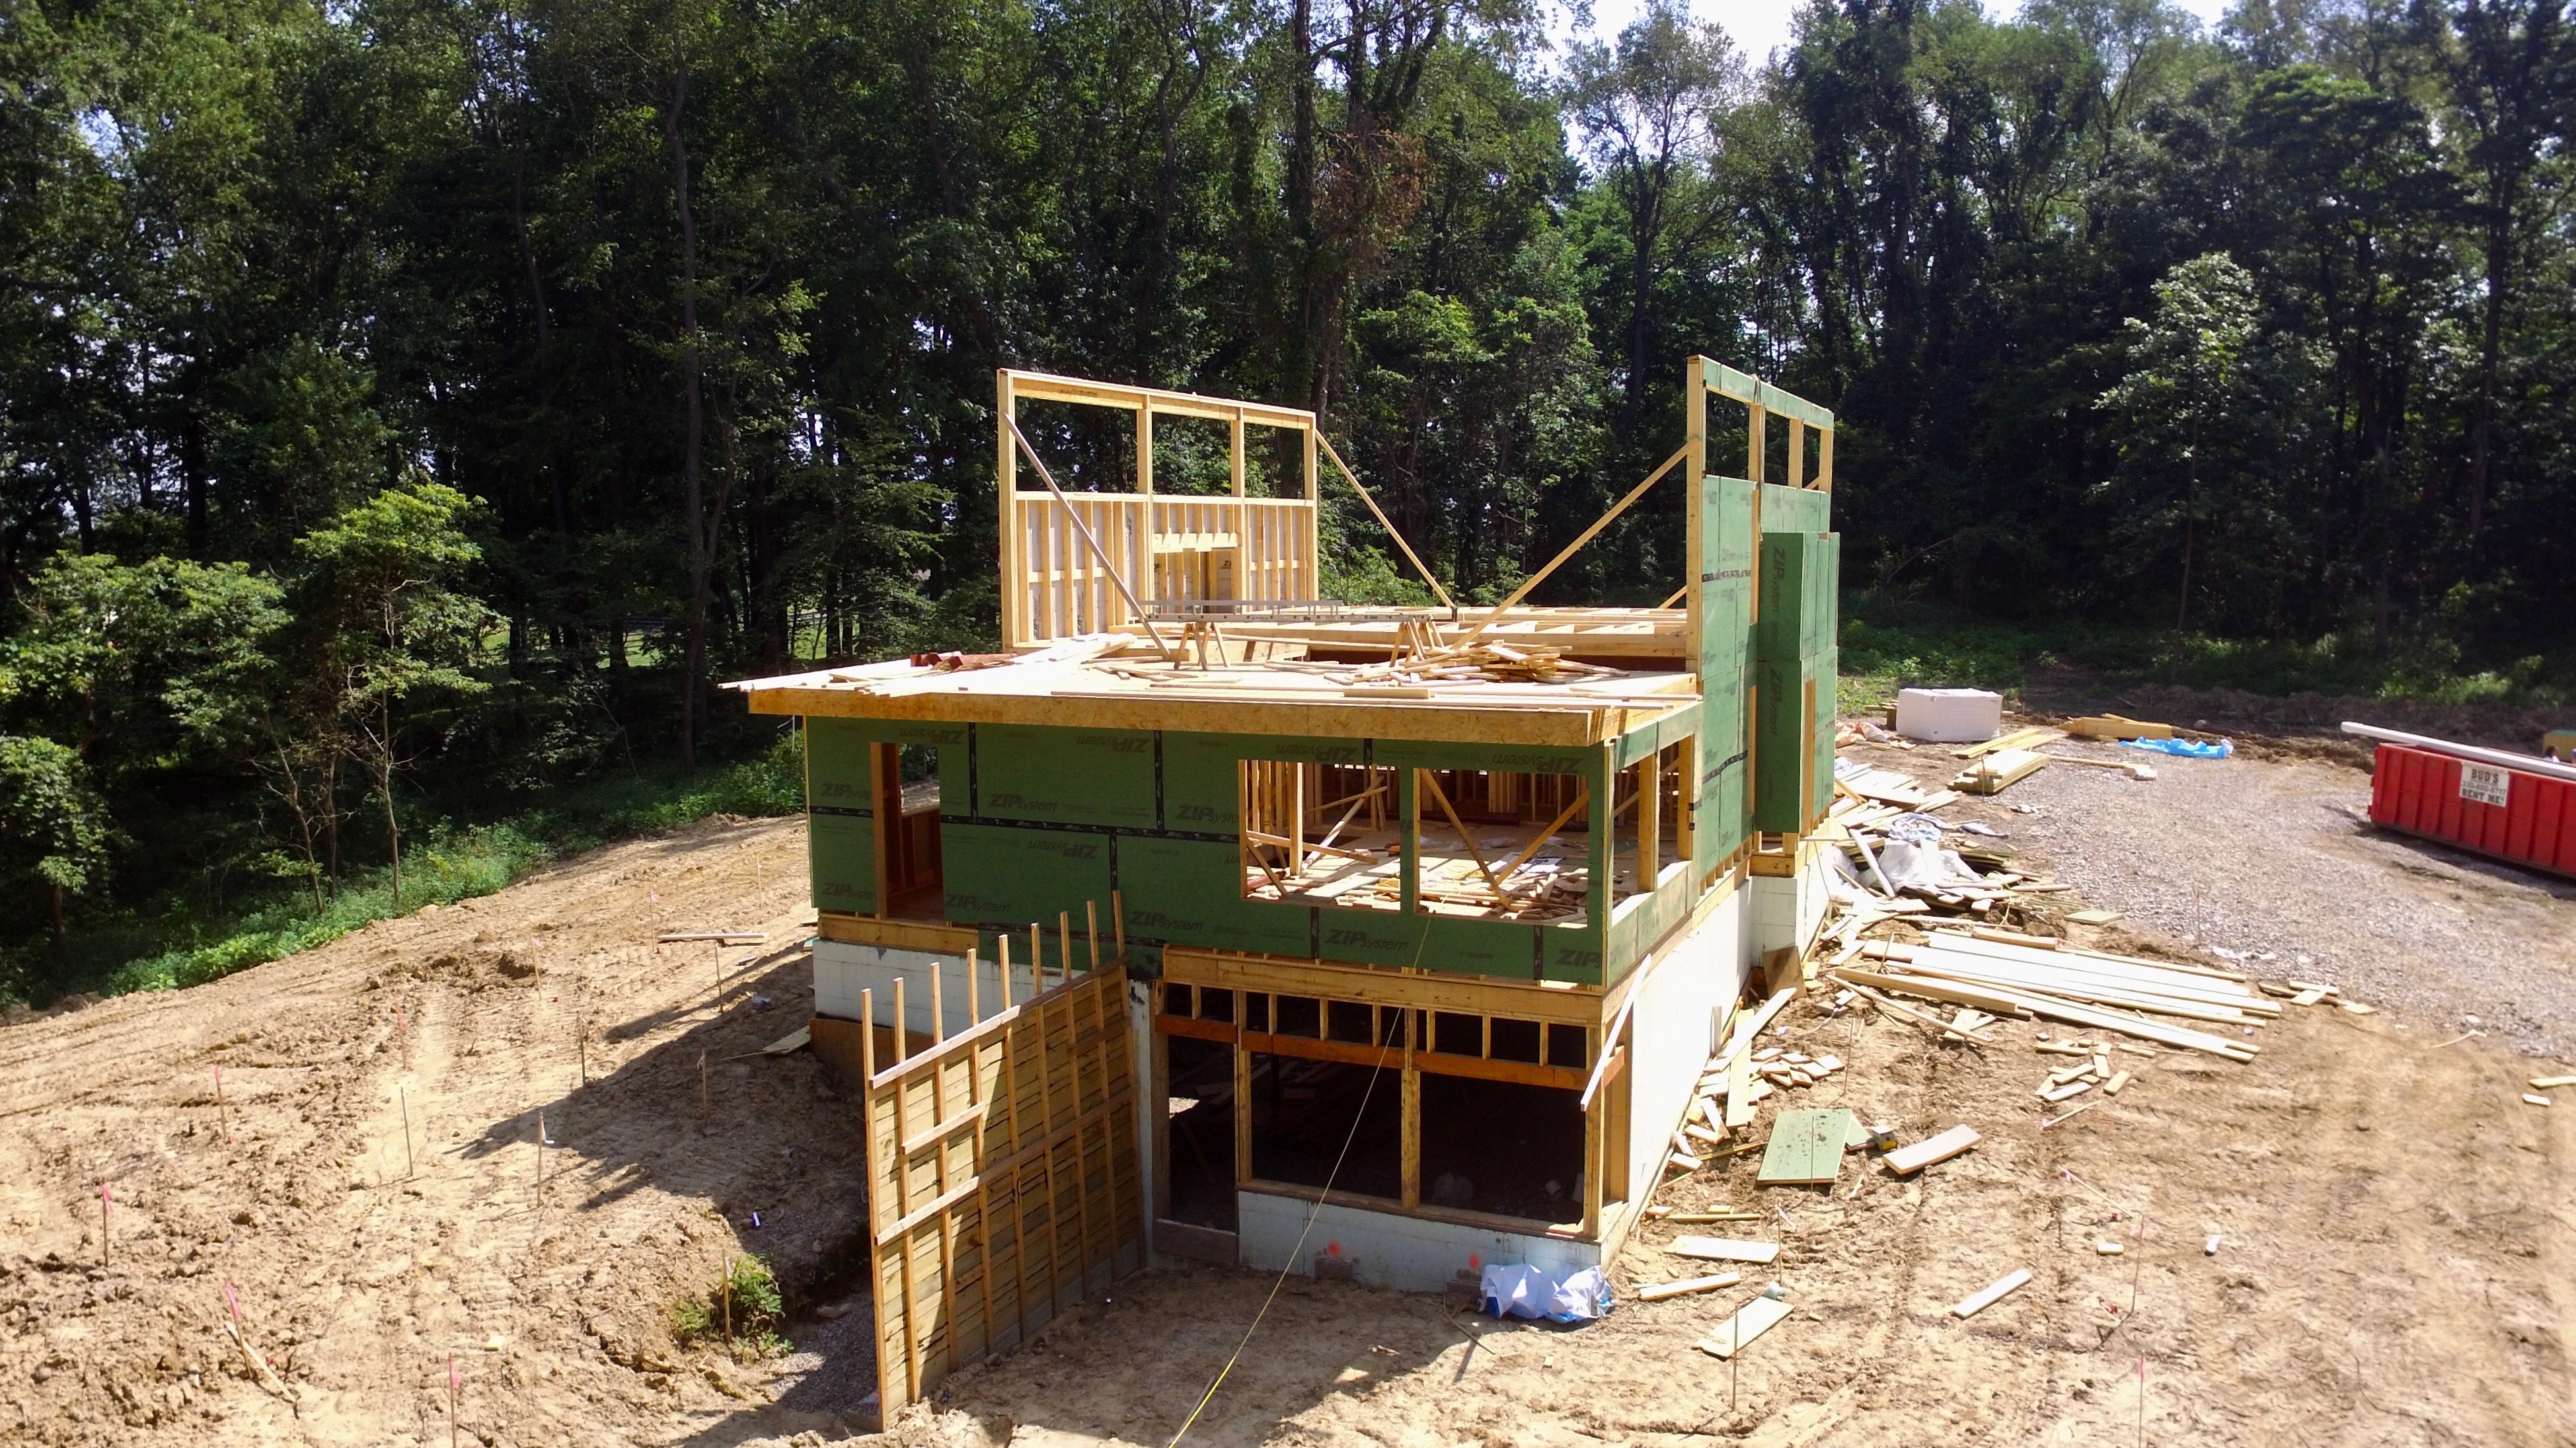
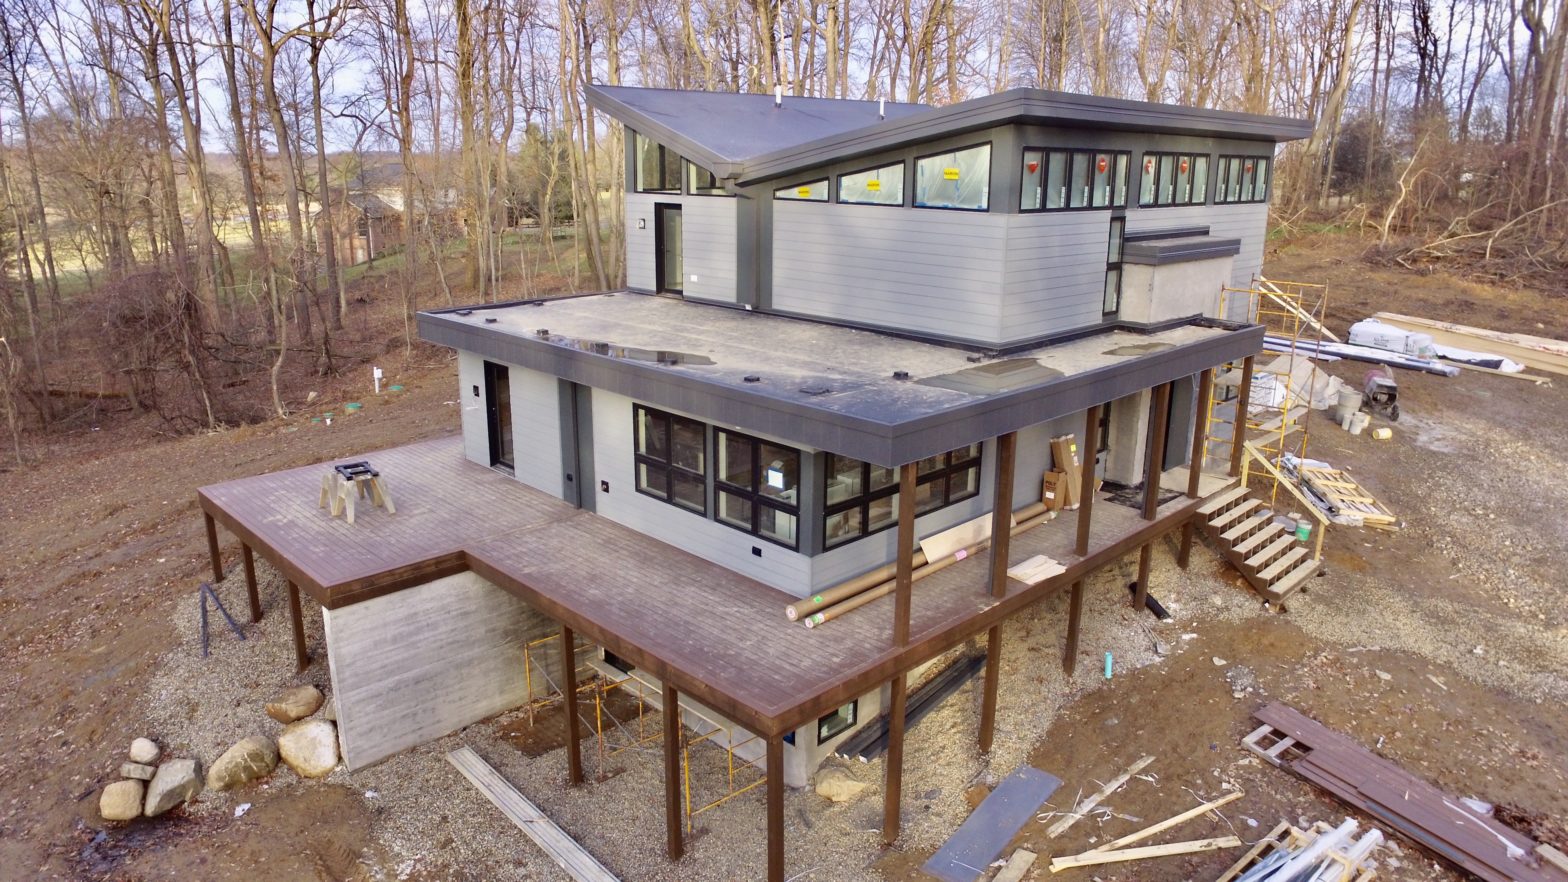
There were some things happening outside during the rough-in stage. One of the most exciting was the framing of the wrap around deck.

The deck and overhang really help to break down the scale of the house and also provides space for our family to interact with nature in different ways. A covered area on the front of the house offers space to be during inclement weather and the large area outside the kitchen offers space for outdoor dining and entertaining. The deck was something we almost cut out at the beginning but you will see in an upcoming blog post that we are putting some sweat equity into the deck to make it happen now.

Windows & Roof

When you design a house to include natural ventilation, daylight, and optimal views, window selection becomes extremely important. Not only did I need a window that would look good and fit with the aesthetic I was going for but it also needed to perform well and it had to fit within the budget. On top of that I was trying to achieve some pretty large openings and custom trapezoid shaped openings around the top of the house.

For all of these reasons I had started pricing windows before we even had a contractor on board. I knew it was going to be one of the larger costs and that there are a wide range of options out there. And since my work as an architect has been primarily in education in recreation, I don’t typically use residential windows. So I didn’t have a lot of insight as to which type and manufacturer may be best. Trust me, we explored lots of options and most decisions have been much simpler than this one!

We ultimately chose to go with Marvin’s Integrity All Ultrex window which is an all fiberglass window. (Note that they have already rebranded these so they are now called the ‘Essential Collection’ if you are trying to look them up) They checked all my boxes boasting clean, thin sight-lines, good thermal performance and they were also relatively affordable.

Obviously I was pretty pumped to see them being installed.

All of the rectilinear windows are now in. They wanted to wait to make the trapezoid windows until after the house was framed so that they could field measure the openings and order exact sizes. They should be arriving on site in the next week or so.

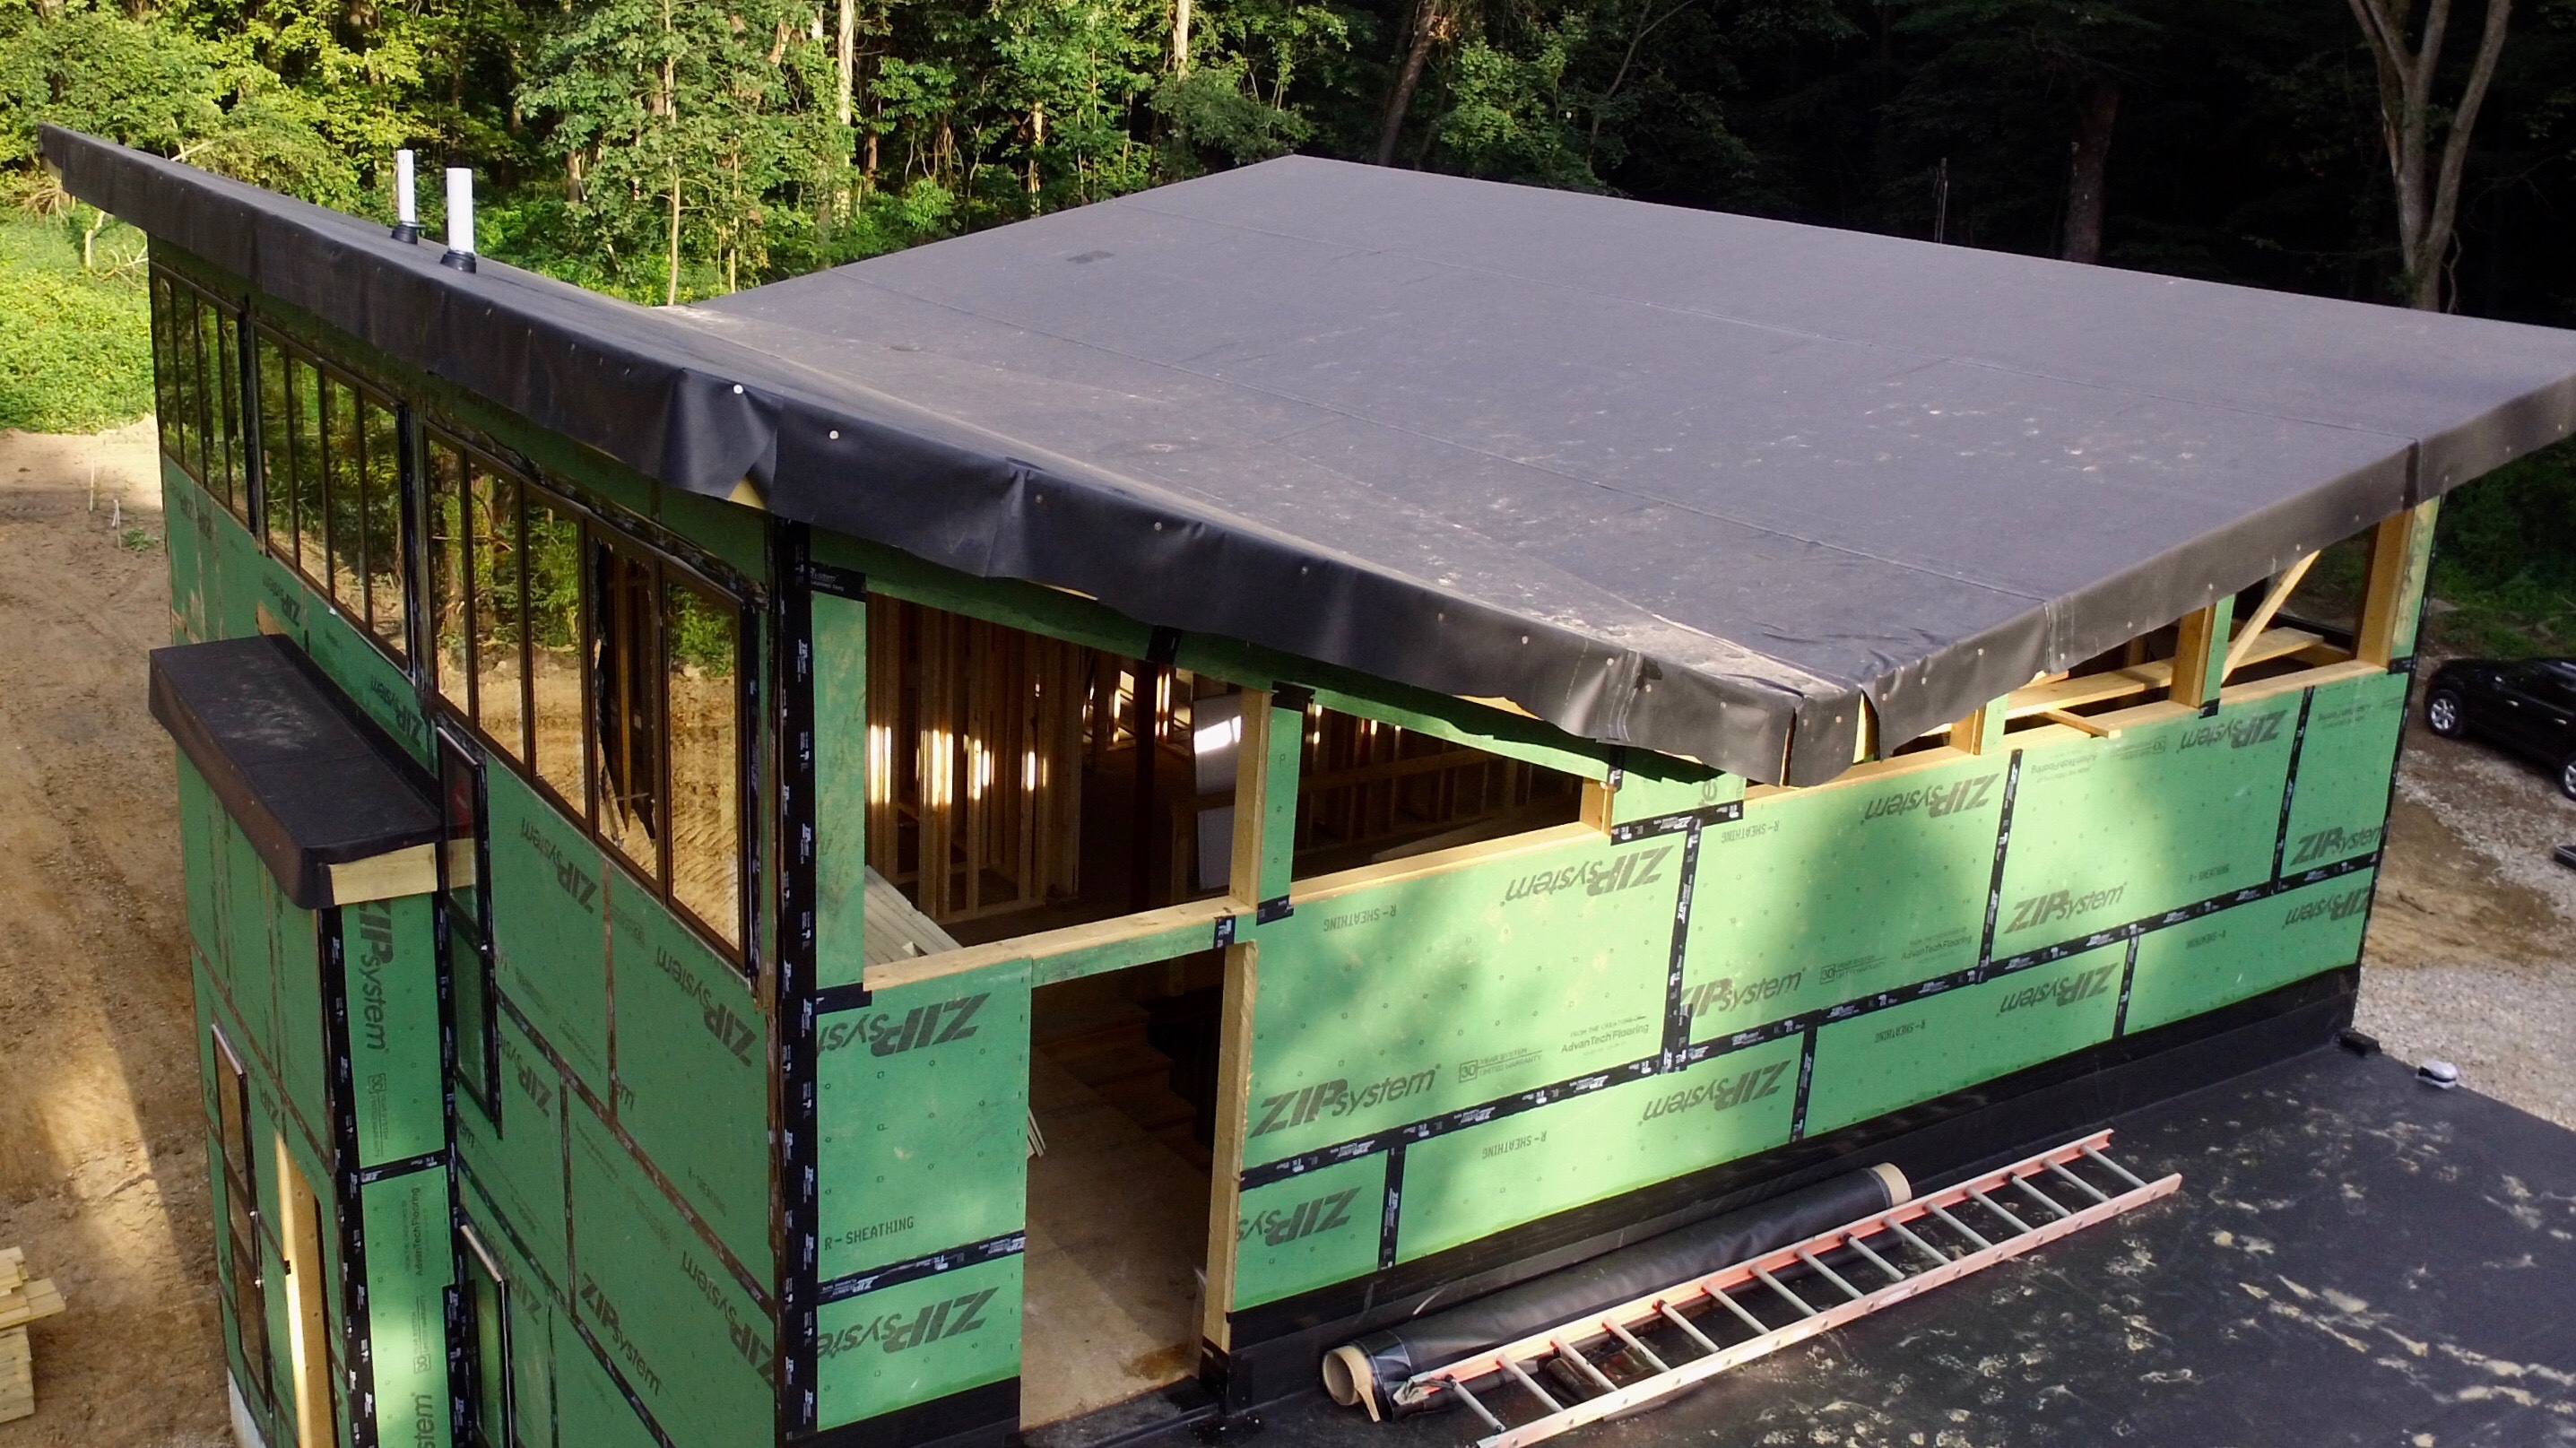
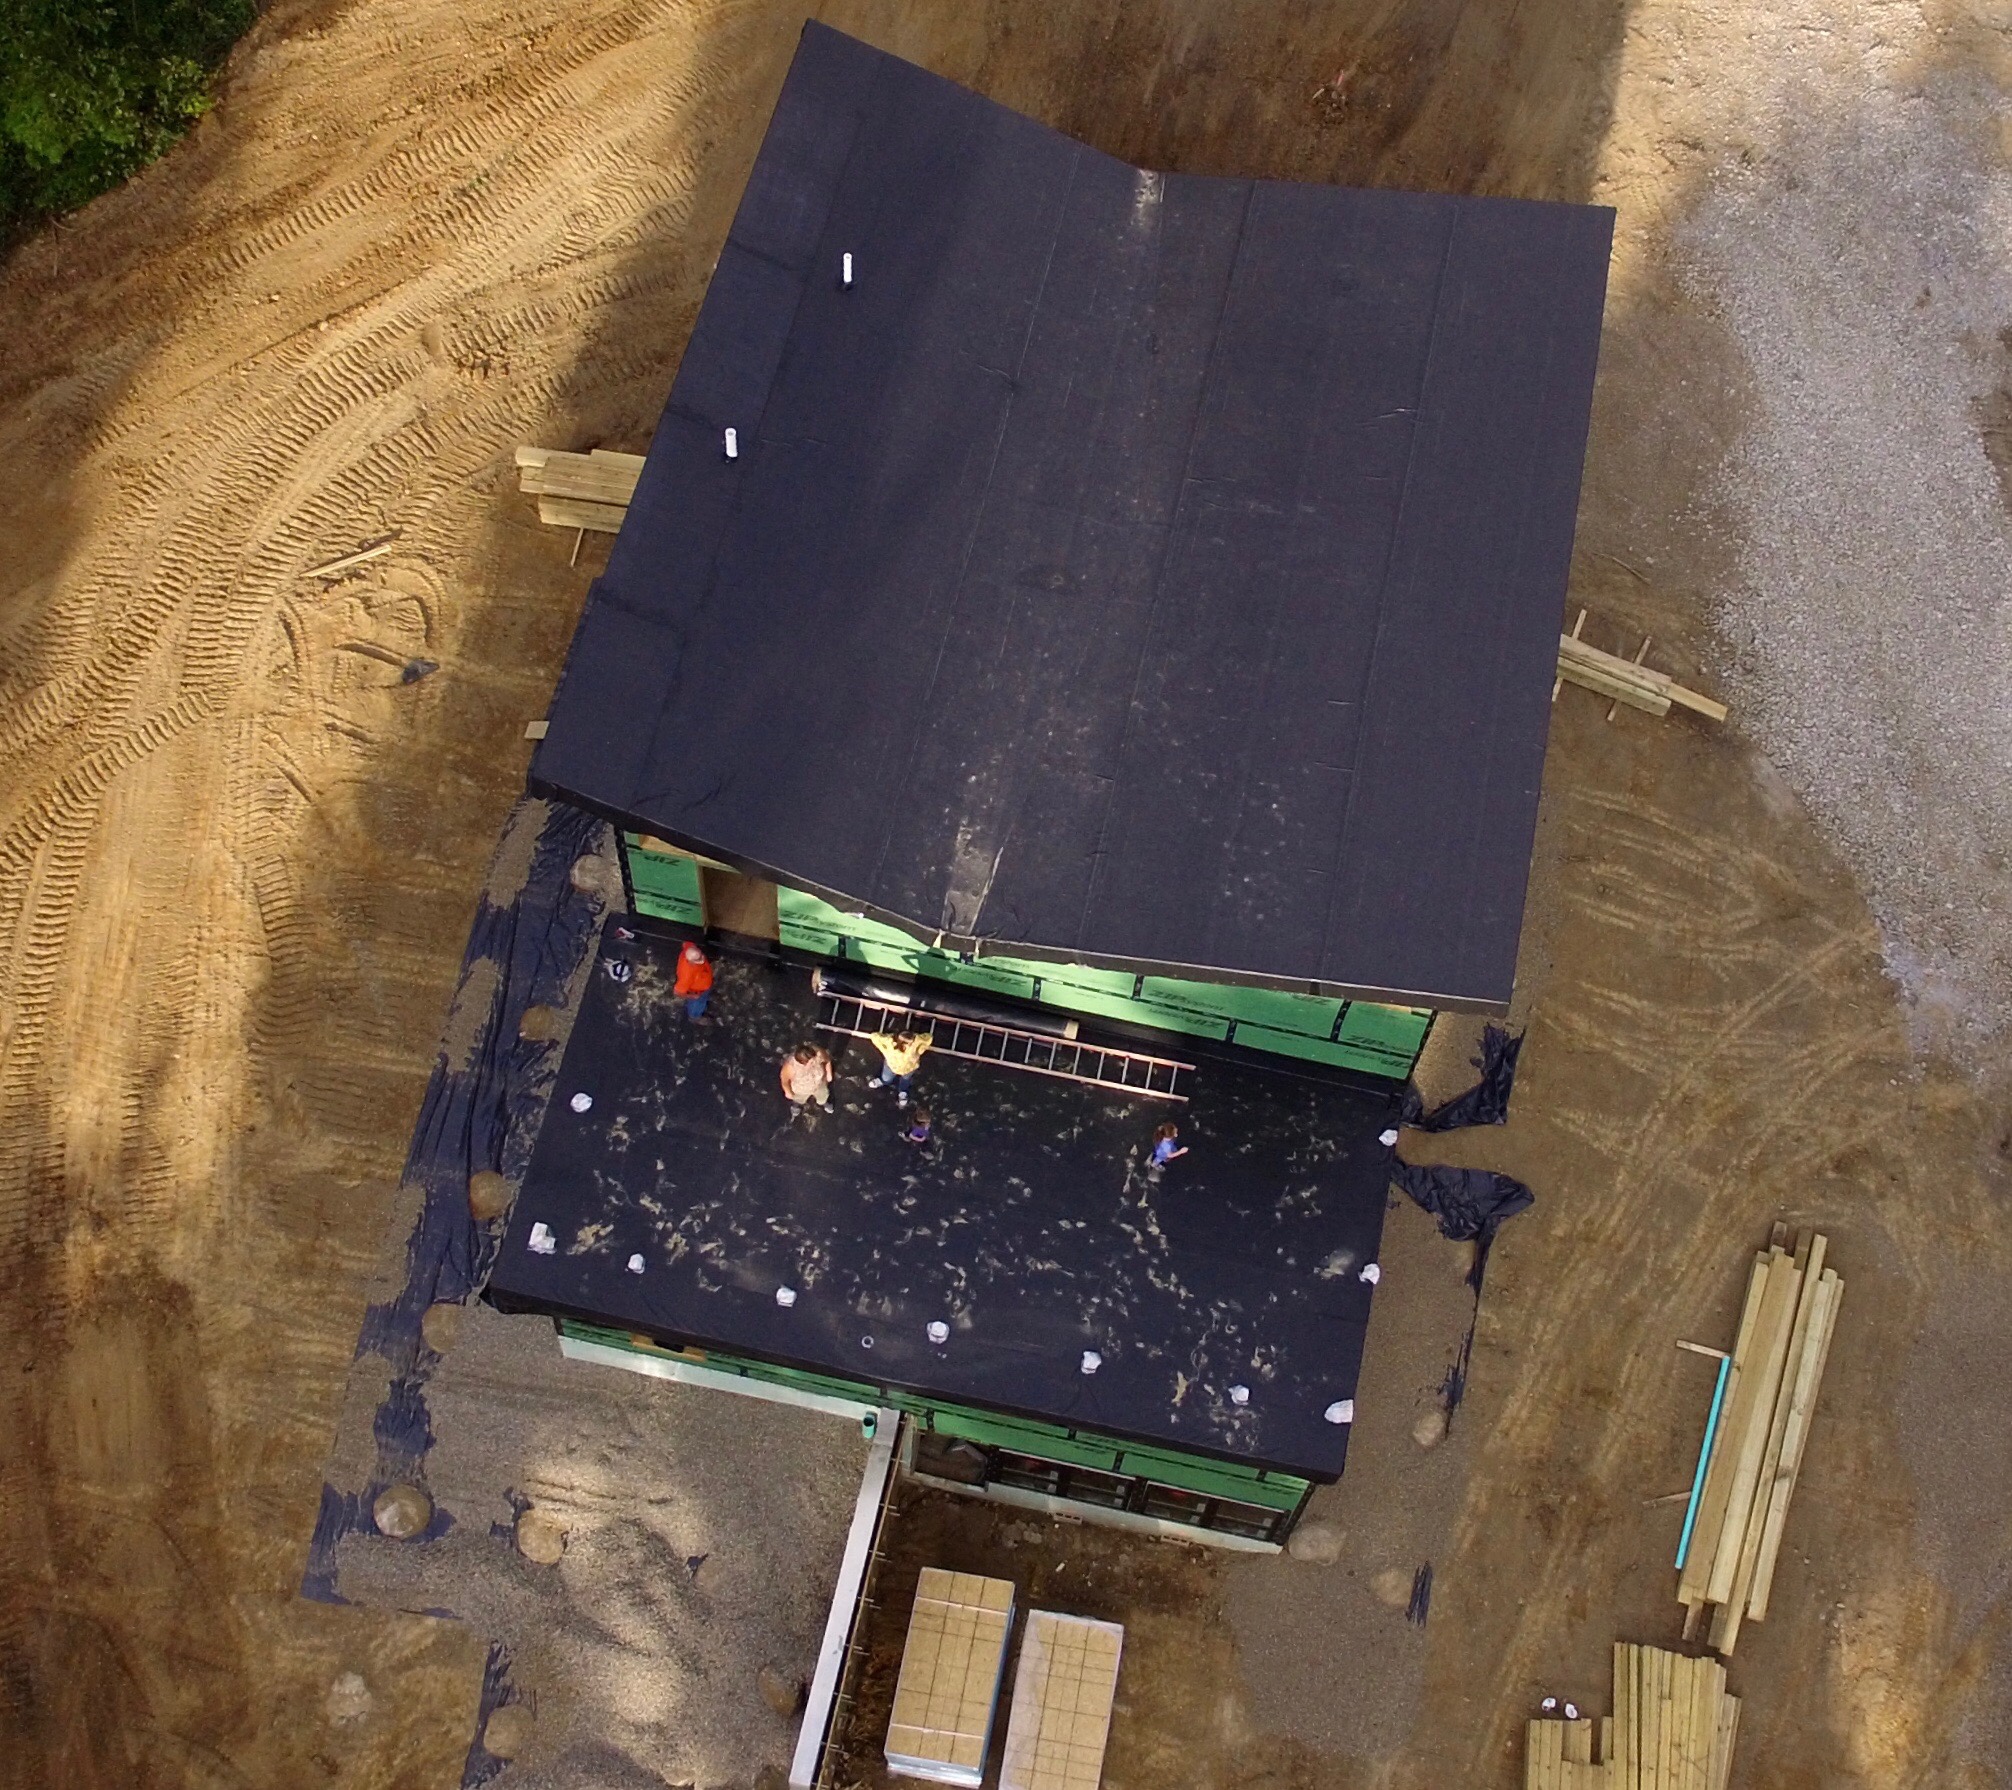
Our builder, Darren, also wanted to get the roof on as soon as possible to protect the roof sheathing and to keep the house dry. It may be obvious to most but you can’t install asphalt shingles on a roof like this. While Darren really hadn’t done a house with a membrane roof I was happy it didn’t scare him away. I promised to help oversee it and introduced him to a roofing contractor that I have worked with multiple times on my commercial projects. Roof leaks are a major headache so we both wanted to use someone we could count on. They installed a 60 mil reinforced EPDM membrane which should keep us worry free for 20 years (or more fingers crossed).

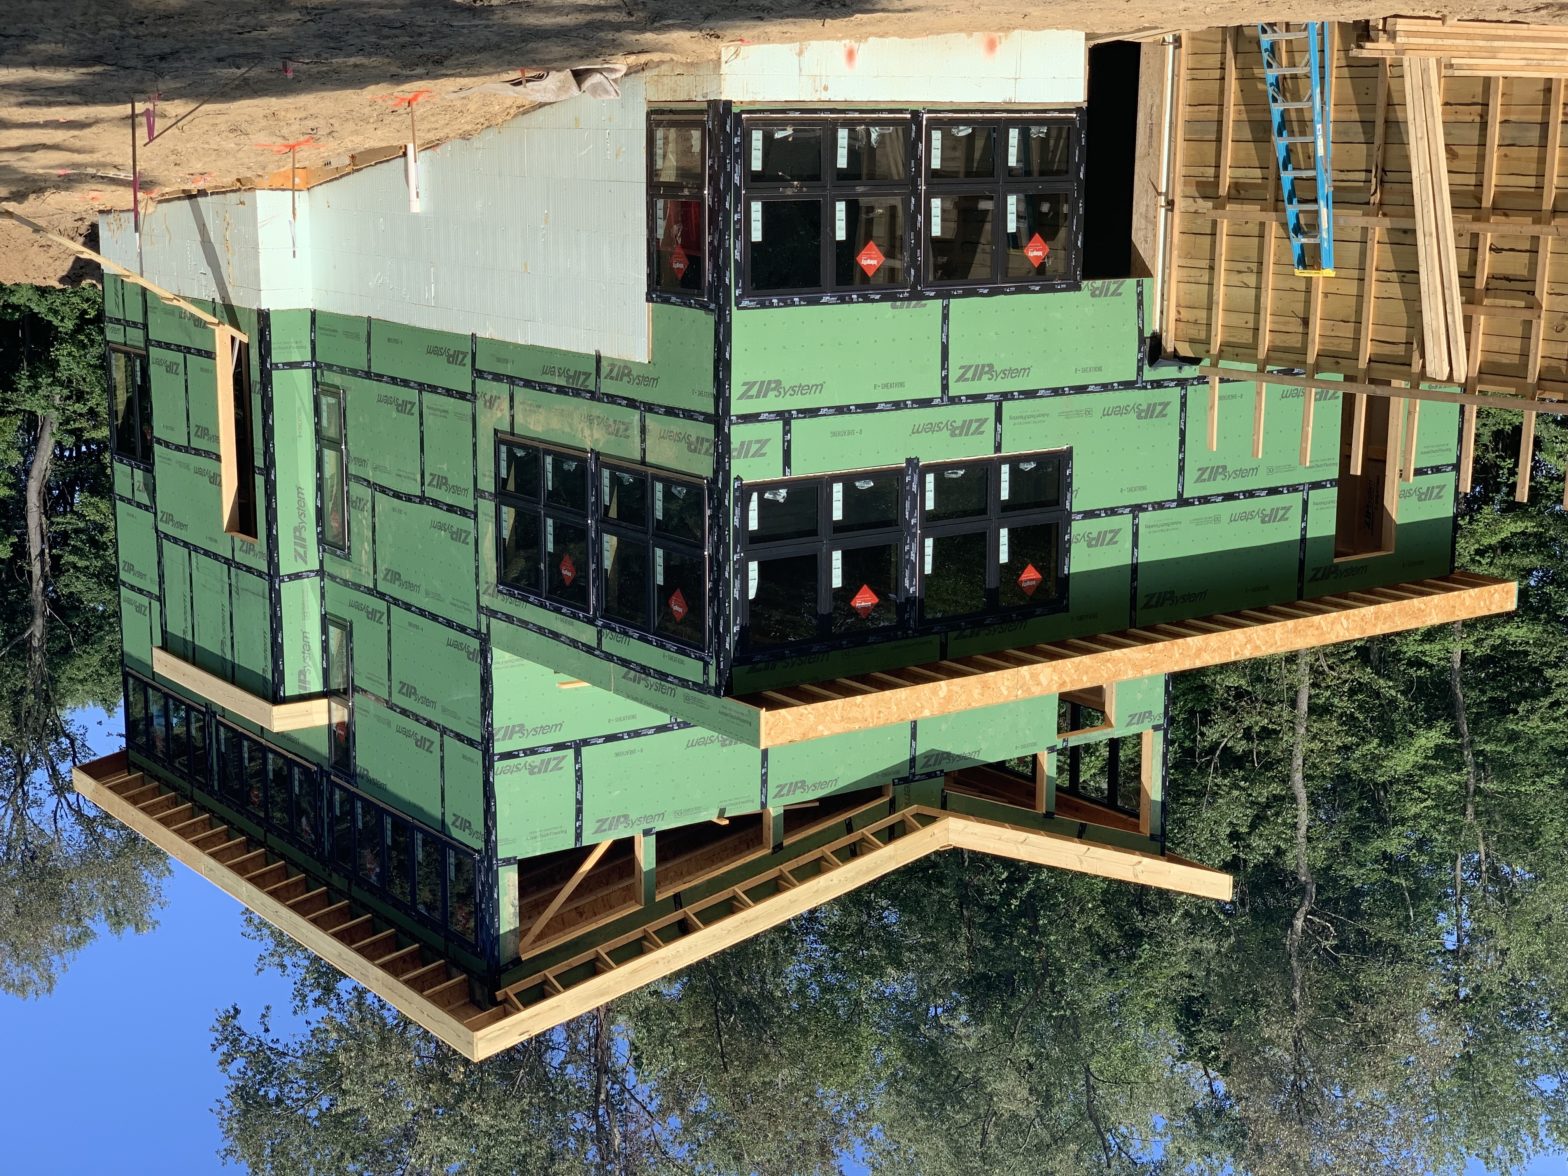
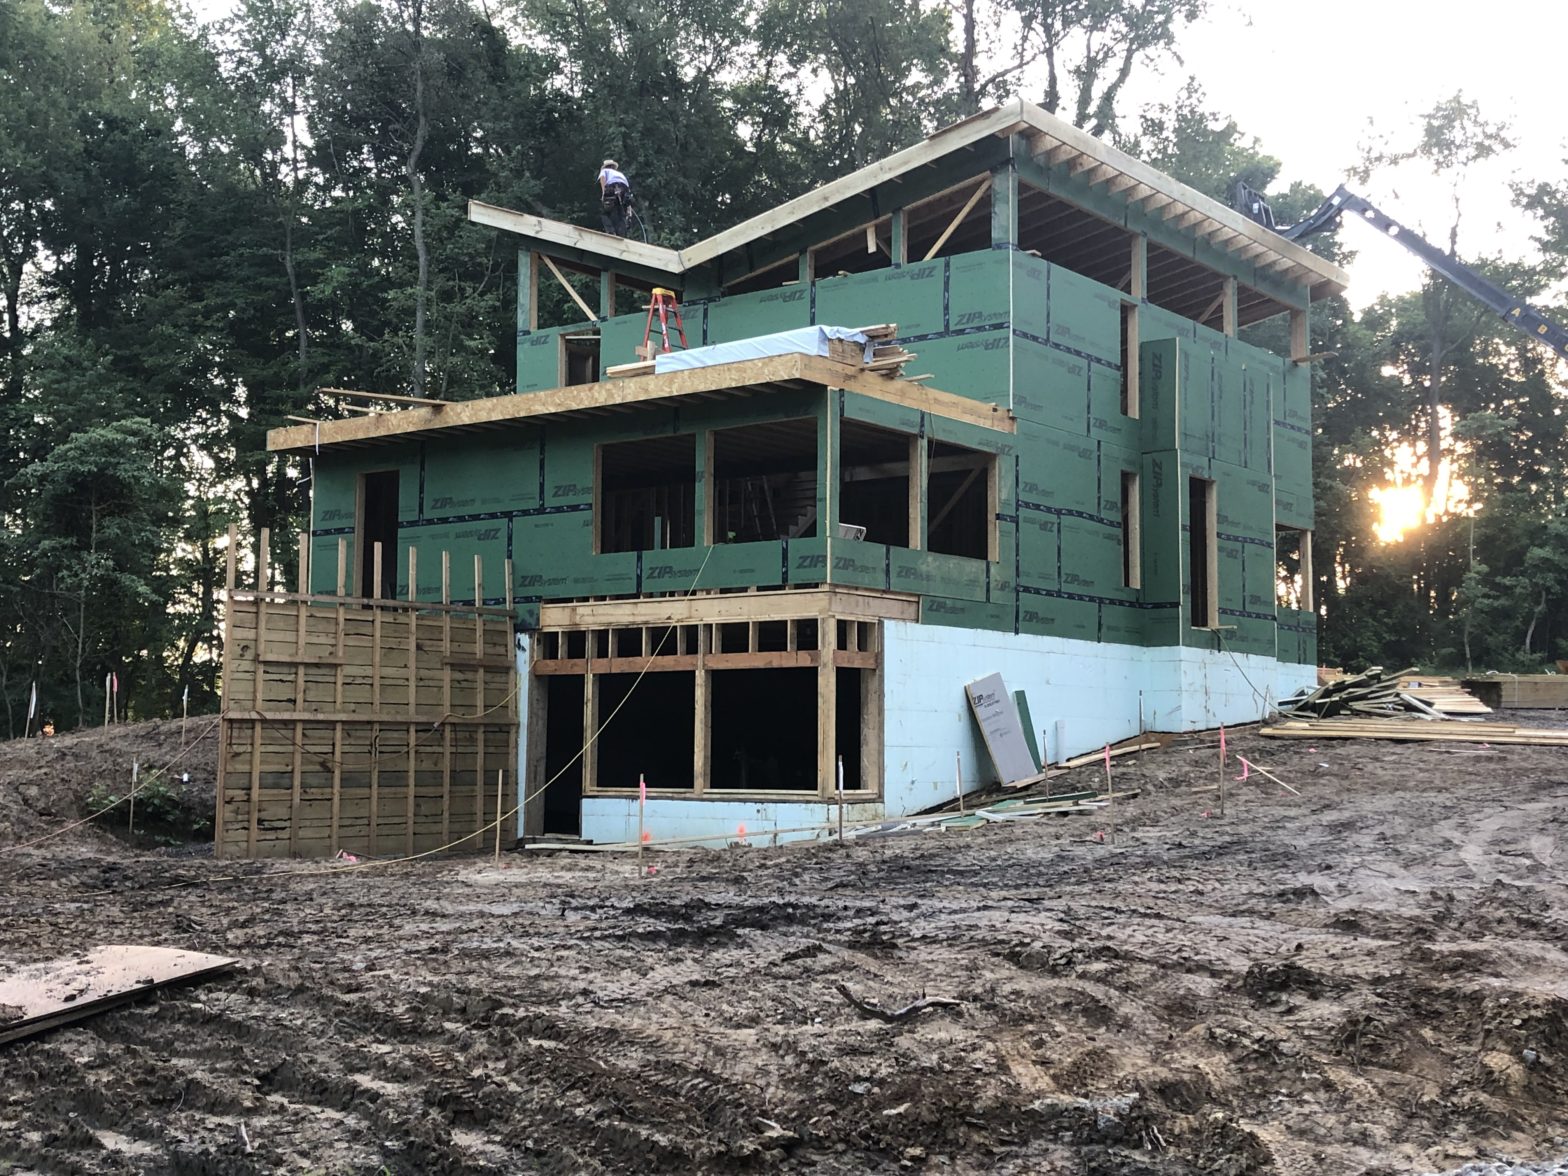
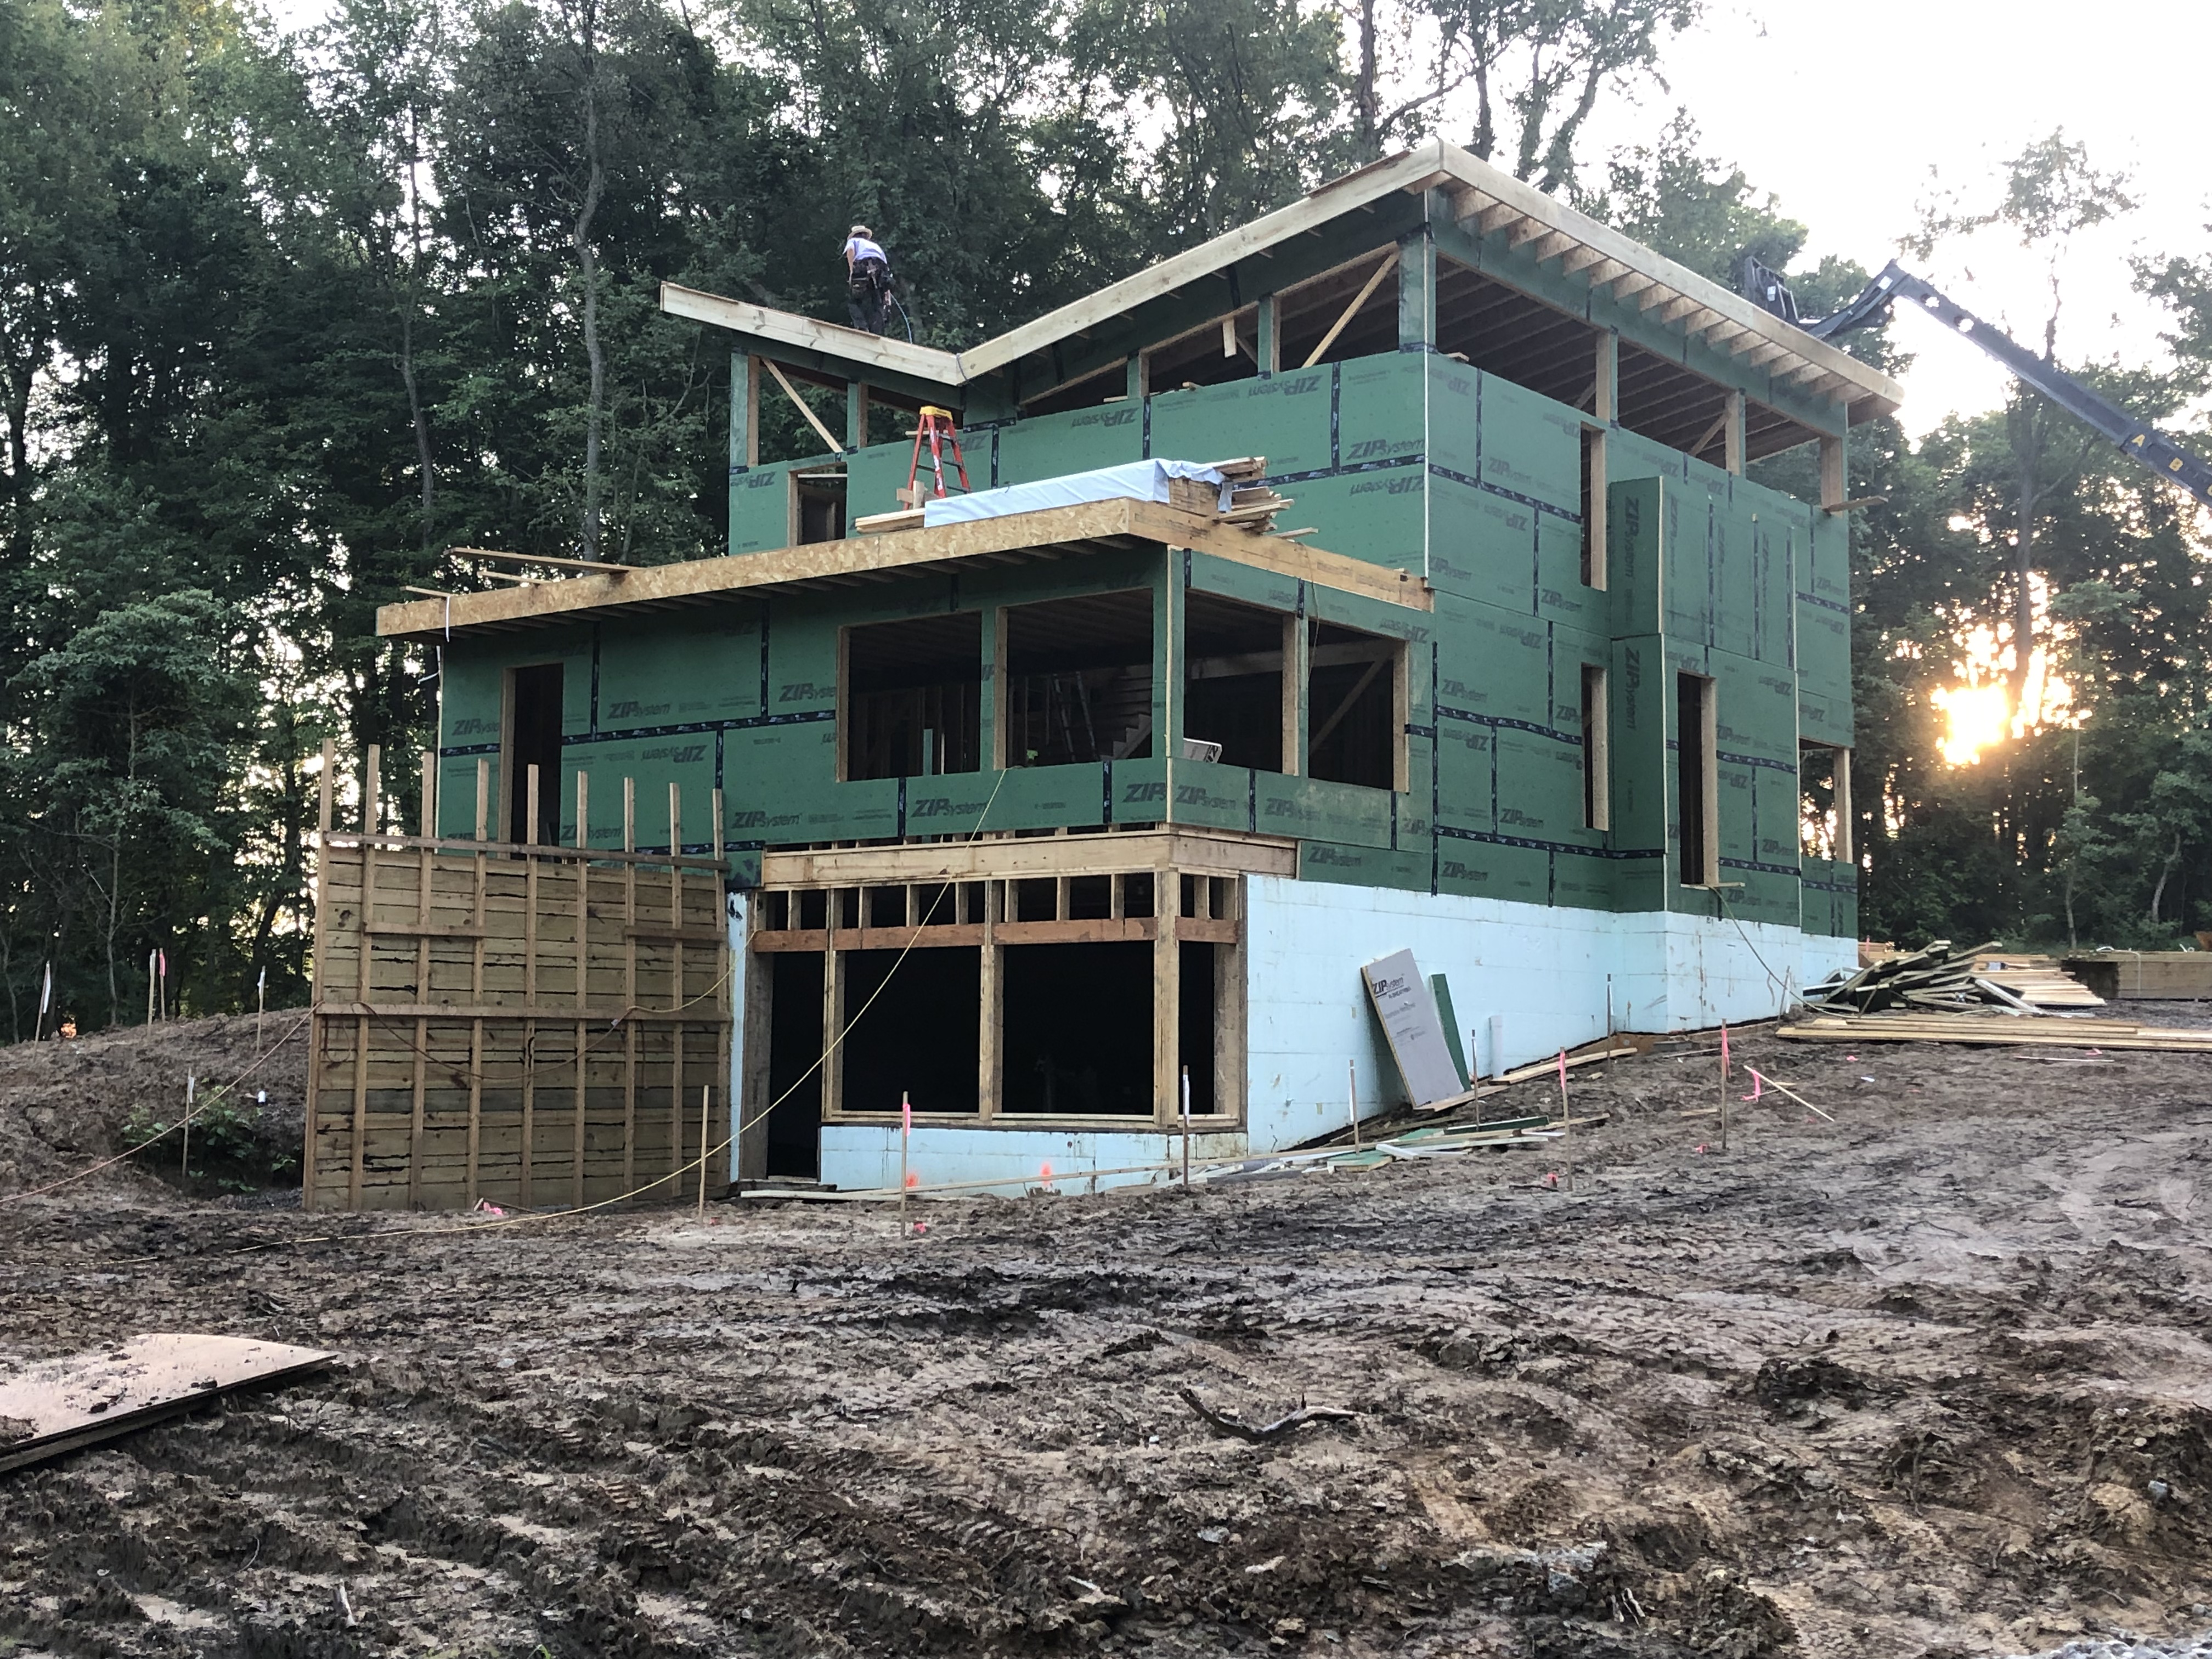
This photo was taken after the high roof was installed and before the low roof. You can see the tapered insulation wrapped in plastic sitting on the low roof. The low roof will eventually be a patio so it is flat. The tapered insulation will provide just enough slope to kick the water to the downspouts.

The wood wall is actually just a form for what will be a concrete retaining wall. It will hold back the hill allowing us to have a walk out basement. It will also support the edge of the deck off the kitchen.

It seems like a lot of progress was made in a short amount of time. Let’s hope it continues to feel this way. We love it out there and are already getting anxious to move in!

Framing

Well it’s been a bit longer than a week since my last post. (almost a month) Needless to say there is a lot going on at the house!

Last time they had just poured the basement walls. Next came waterproofing and backfill which you can probably understand wasn’t really blog-worthy. It was nice to be able to walk up to the house rather than observing from across or within the hole though.

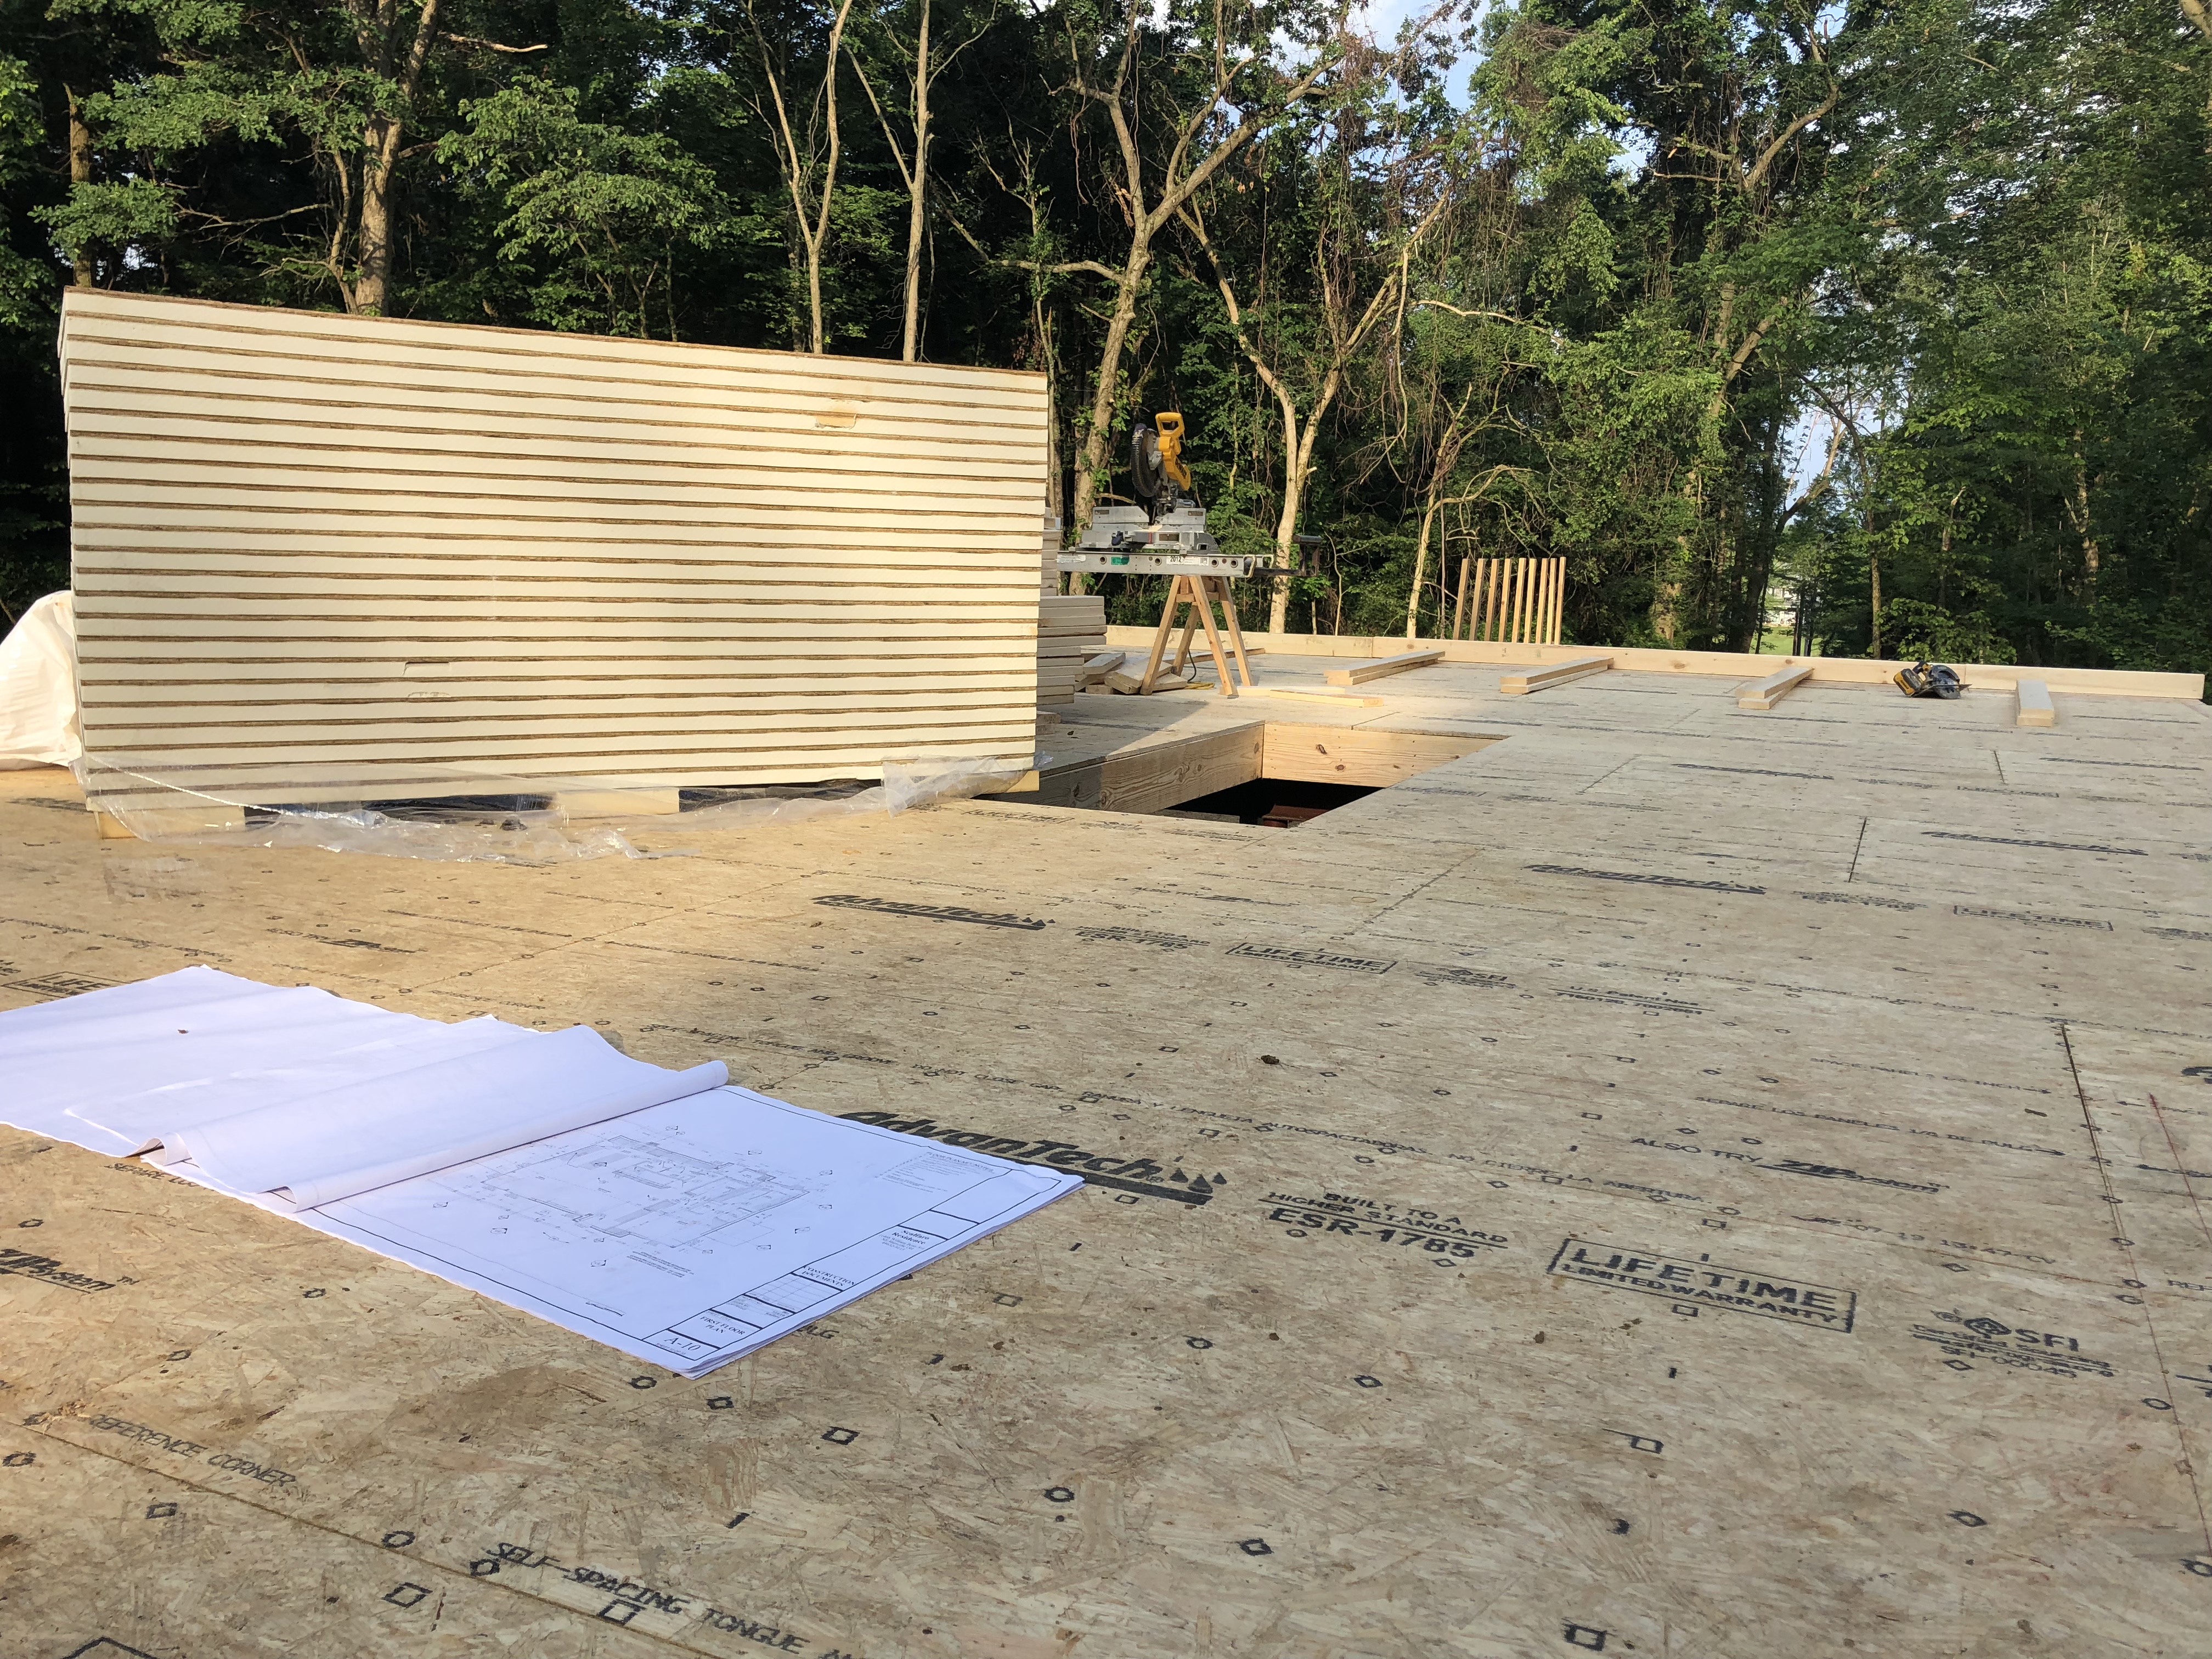
Then things really started to get exciting when the lumber and framing crew showed up! Of course as timing would have it they started two days before we left for vacation. I met the guys Friday before we left and tried to answer any questions they had and explain anything I thought may be confusing. They already had the first floor joists and deck on when I got there. We went with Advantech subfloor glued and fastened to prevent any future floor squeaks. I can’t imagine how much easier it would have been to sneak out of a sleeping baby’s room had we had this in our current house! It was hard to leave but Darren, our builder, promised to send pictures and FaceTime if needed for questions.

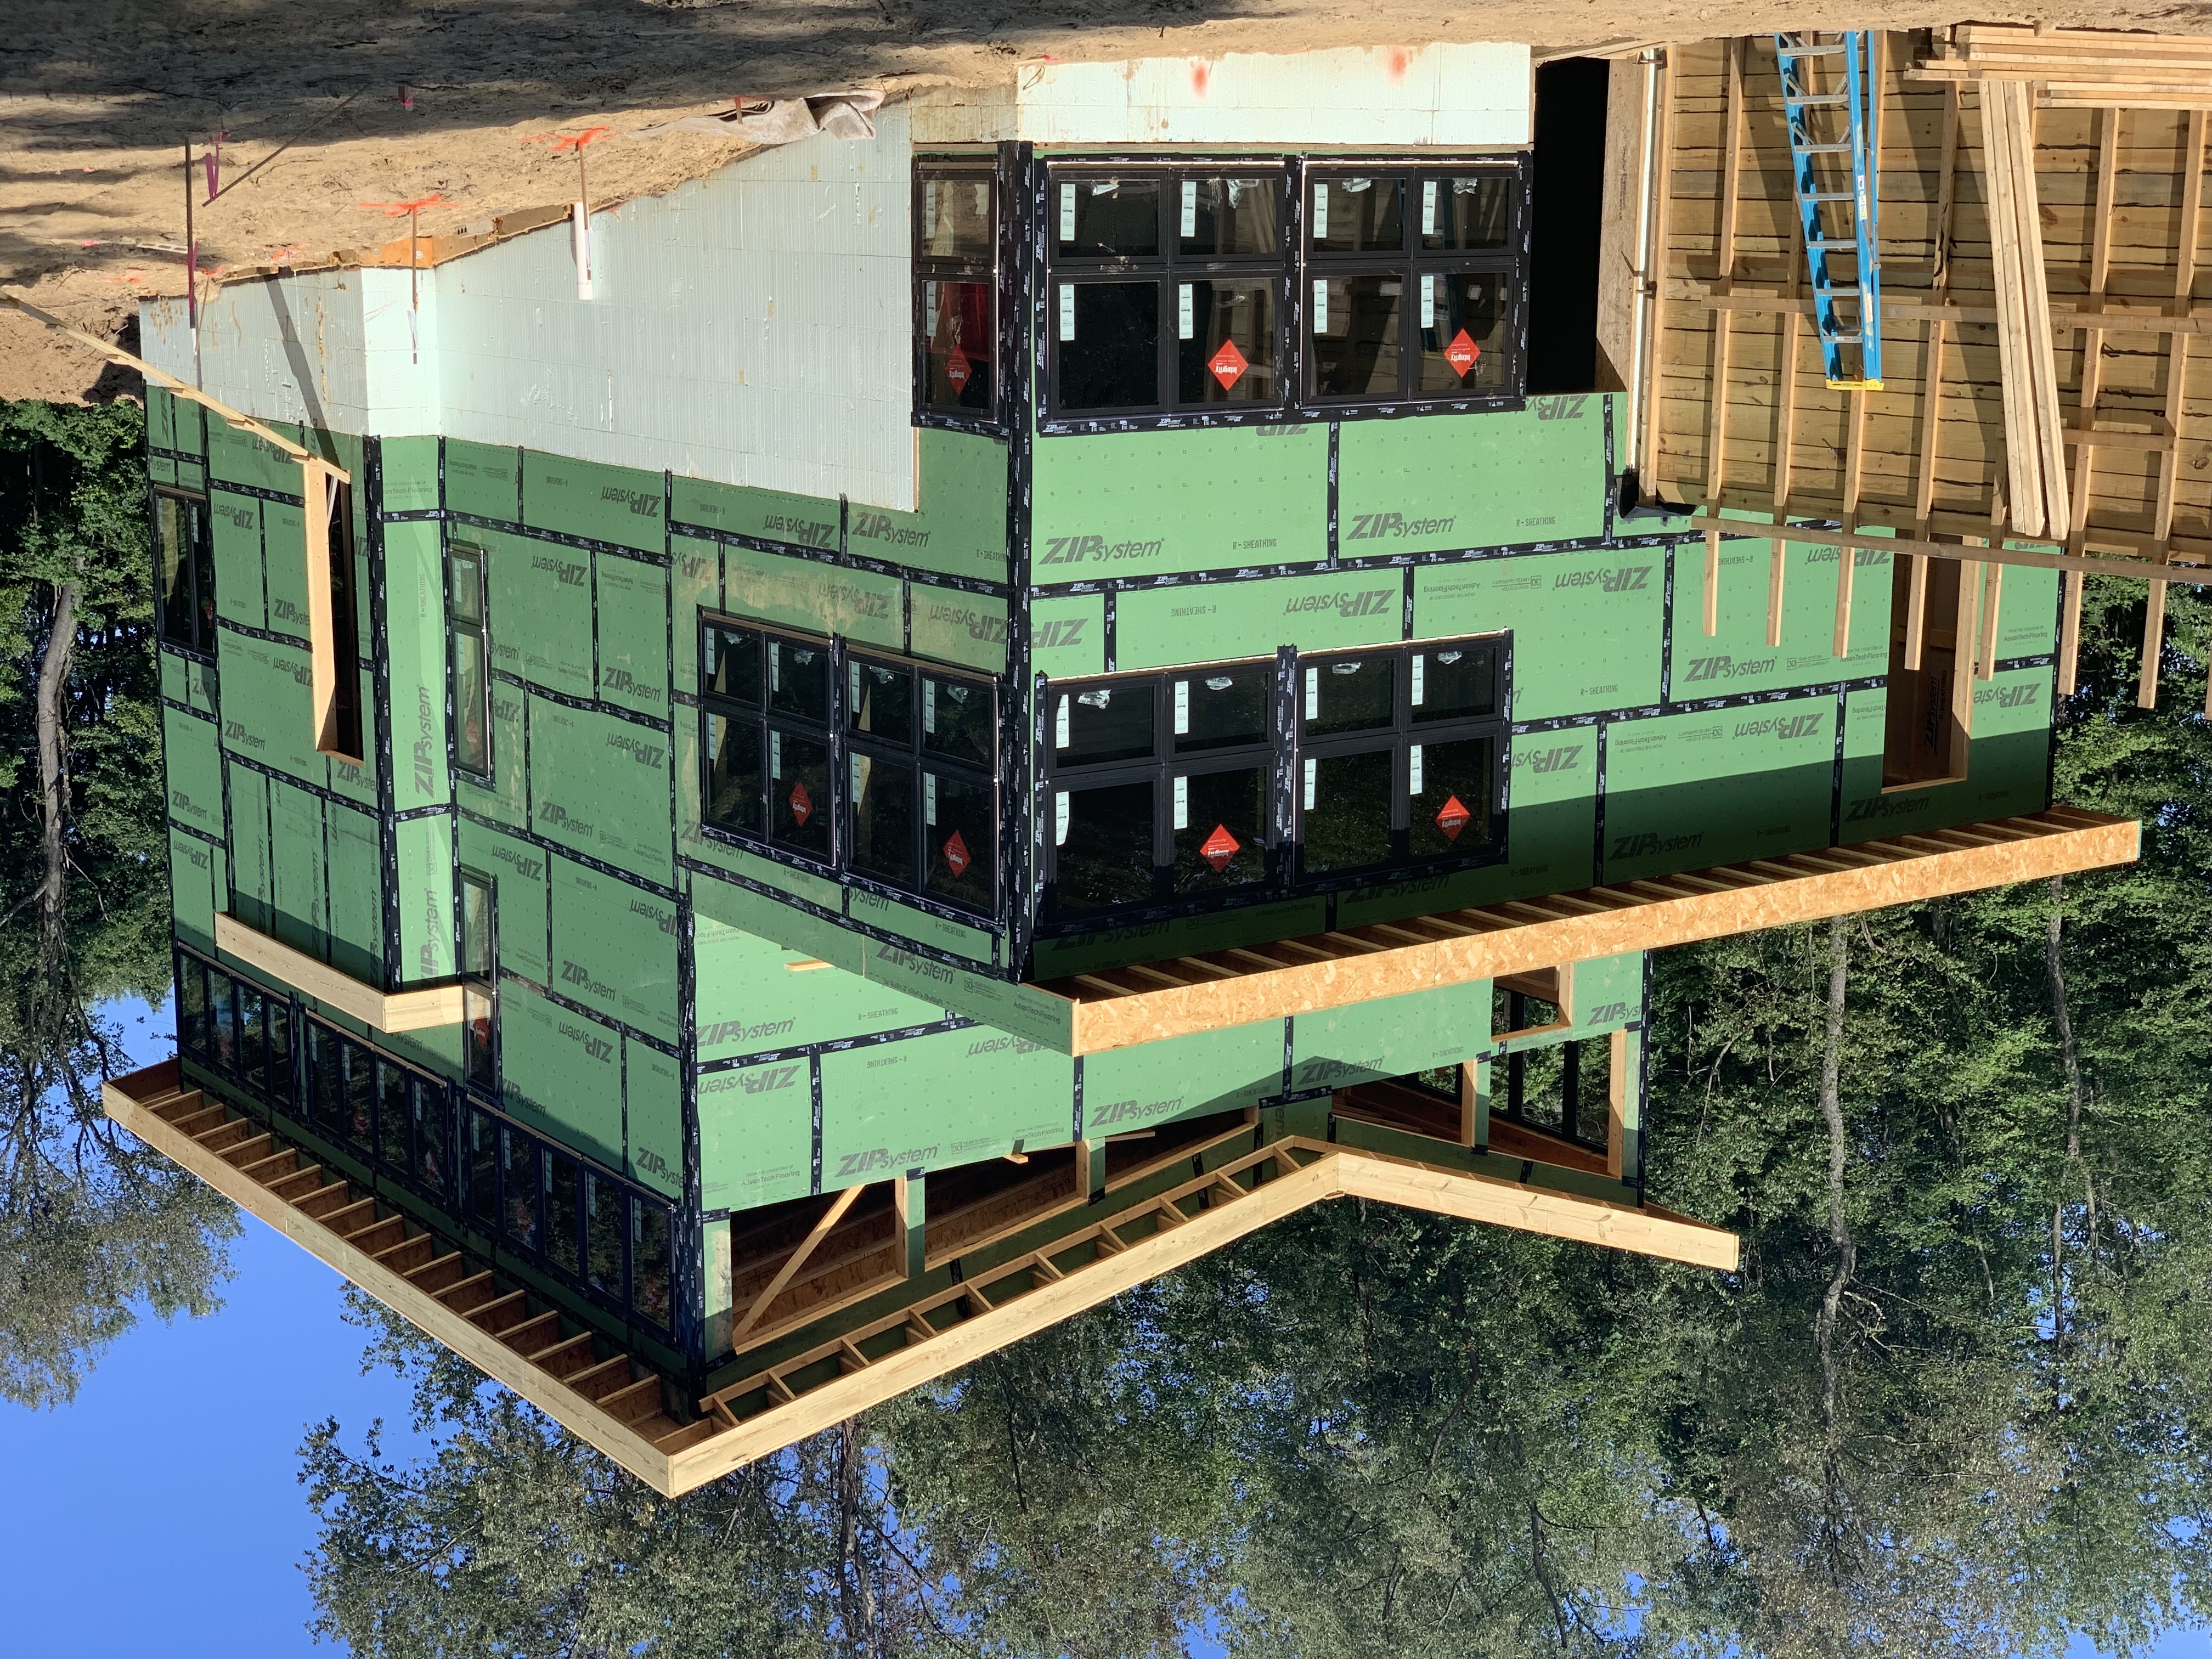
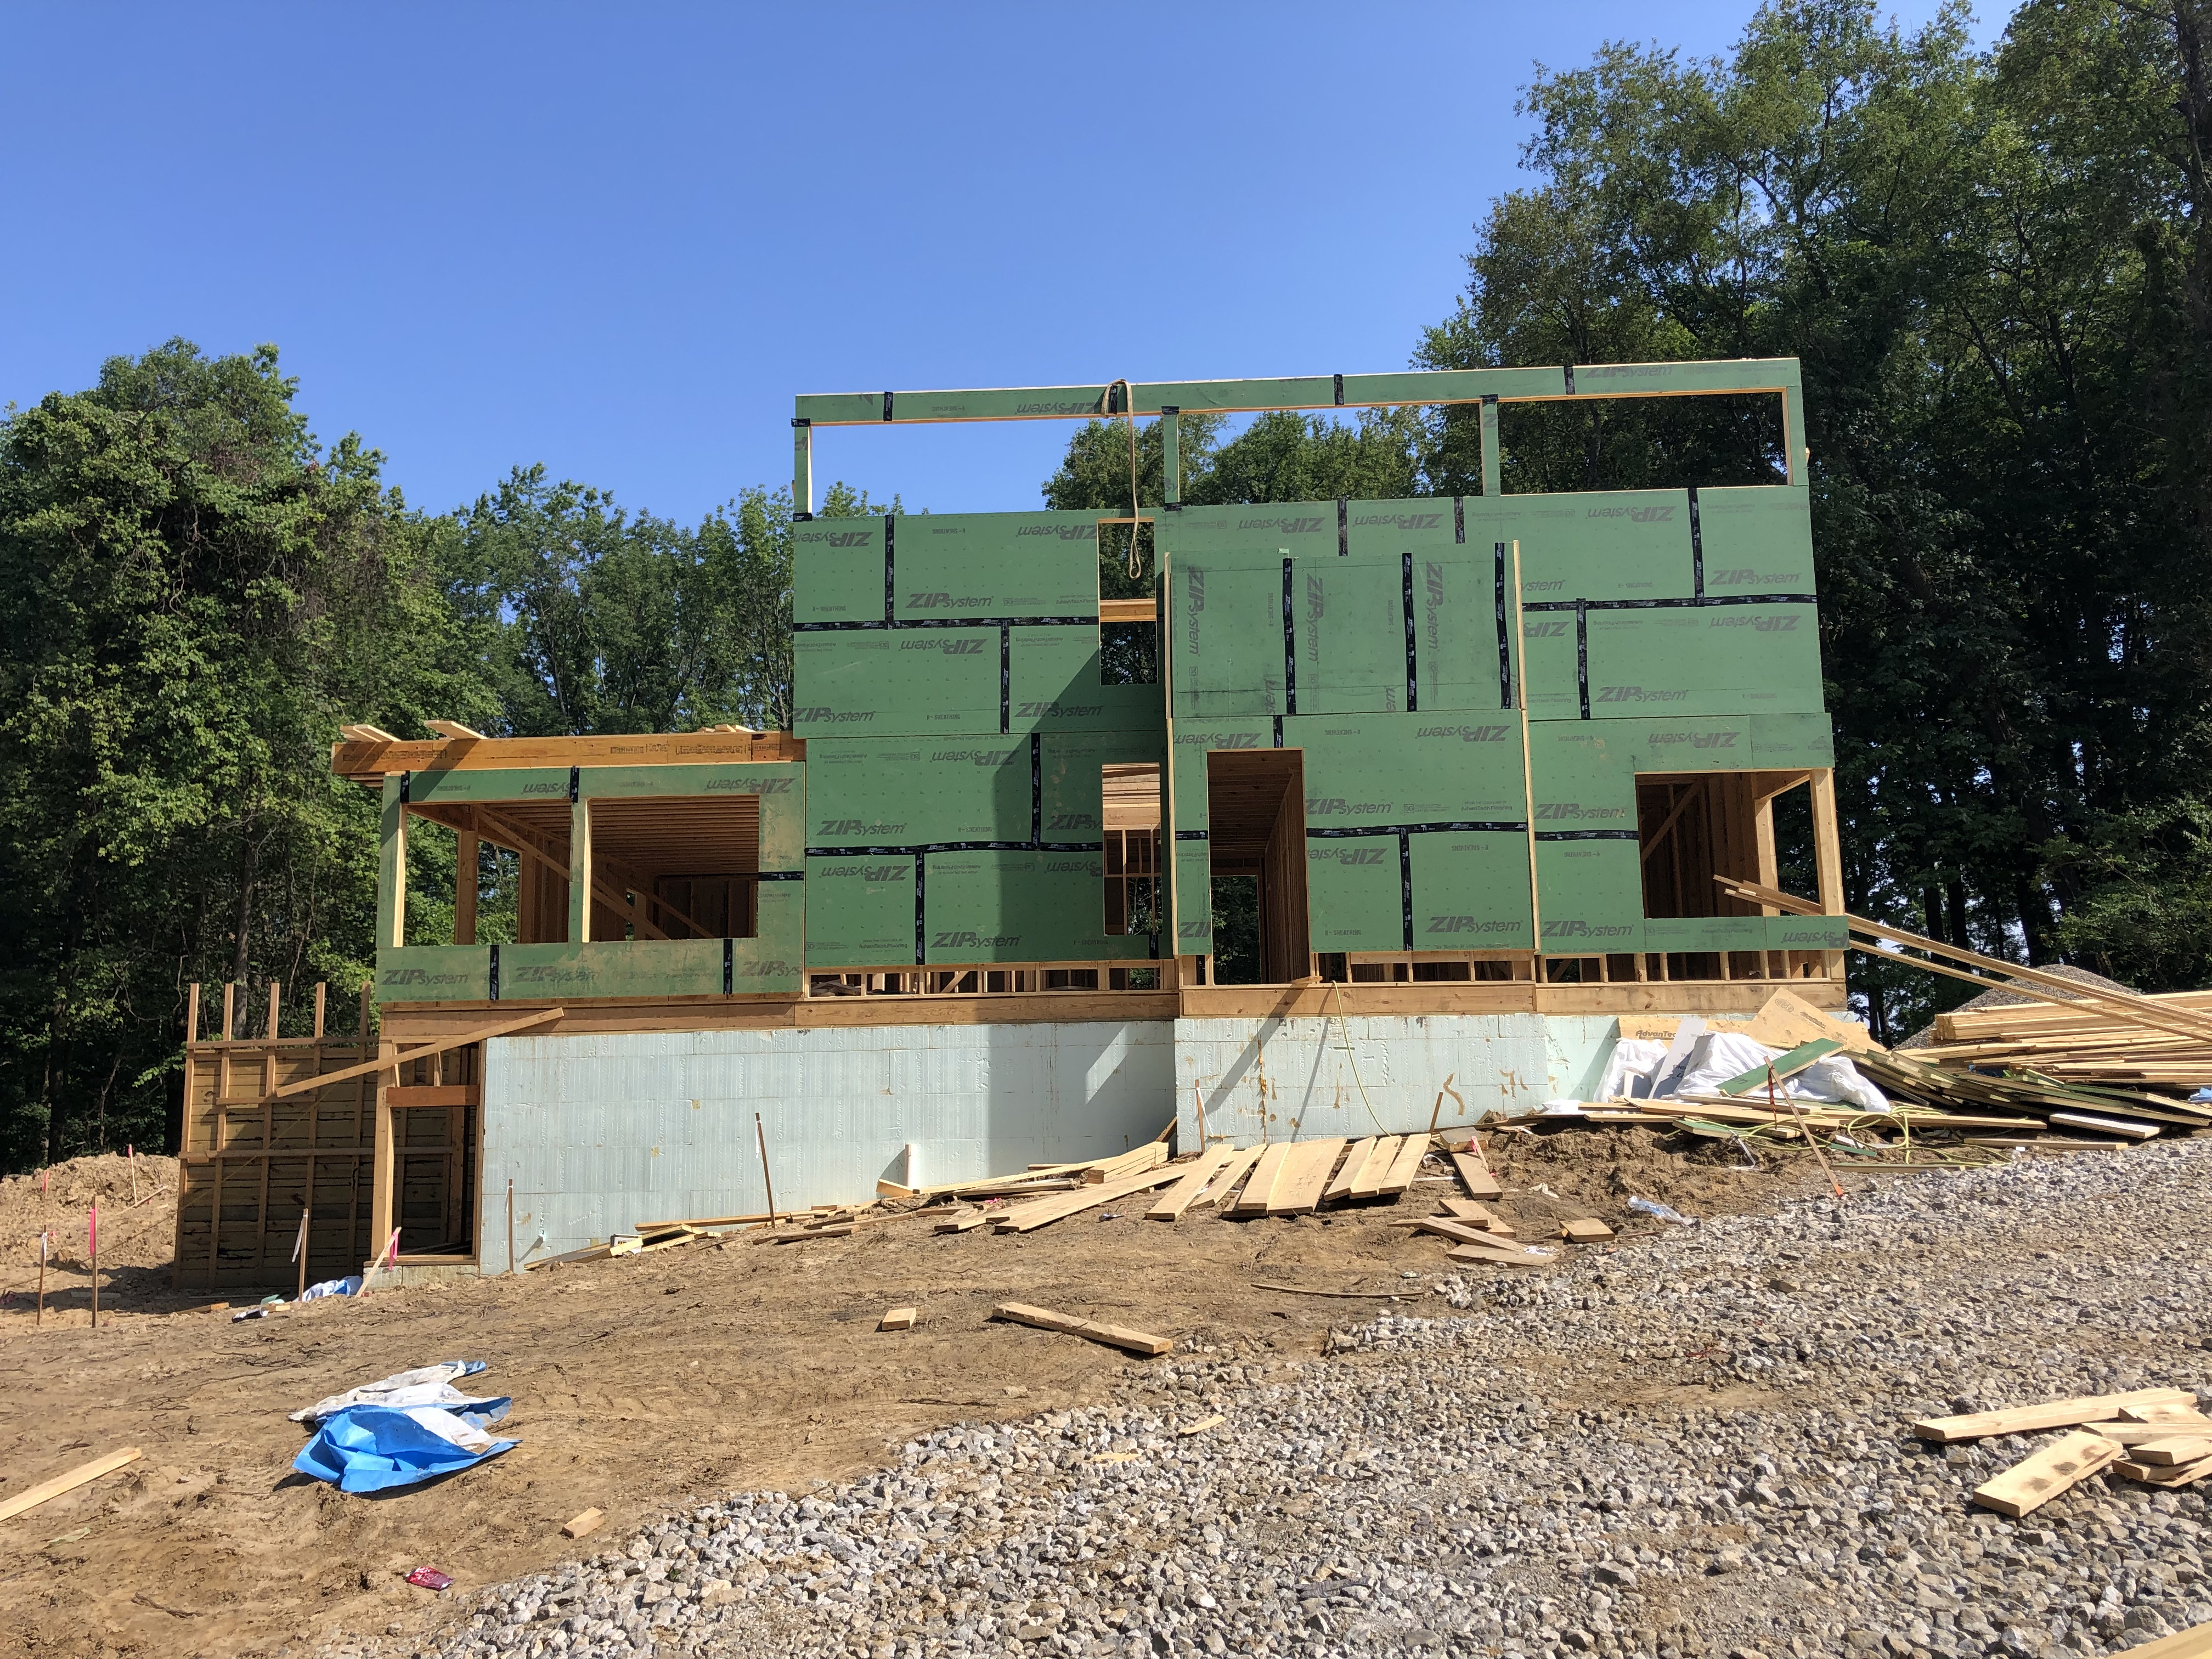
We had an amazing vacation in the Outer Banks but were excited to get back and see the progress on the house ourselves. As you can see in the photos in a week they had the entire first floor and lower roof complete. They also had two of the exterior walls for the second floor in place. Our walls are 2×6 framing at 24″ o.c. versus the conventional 2×4’s at 16″ o.c. This allows for less wood and more insulation.

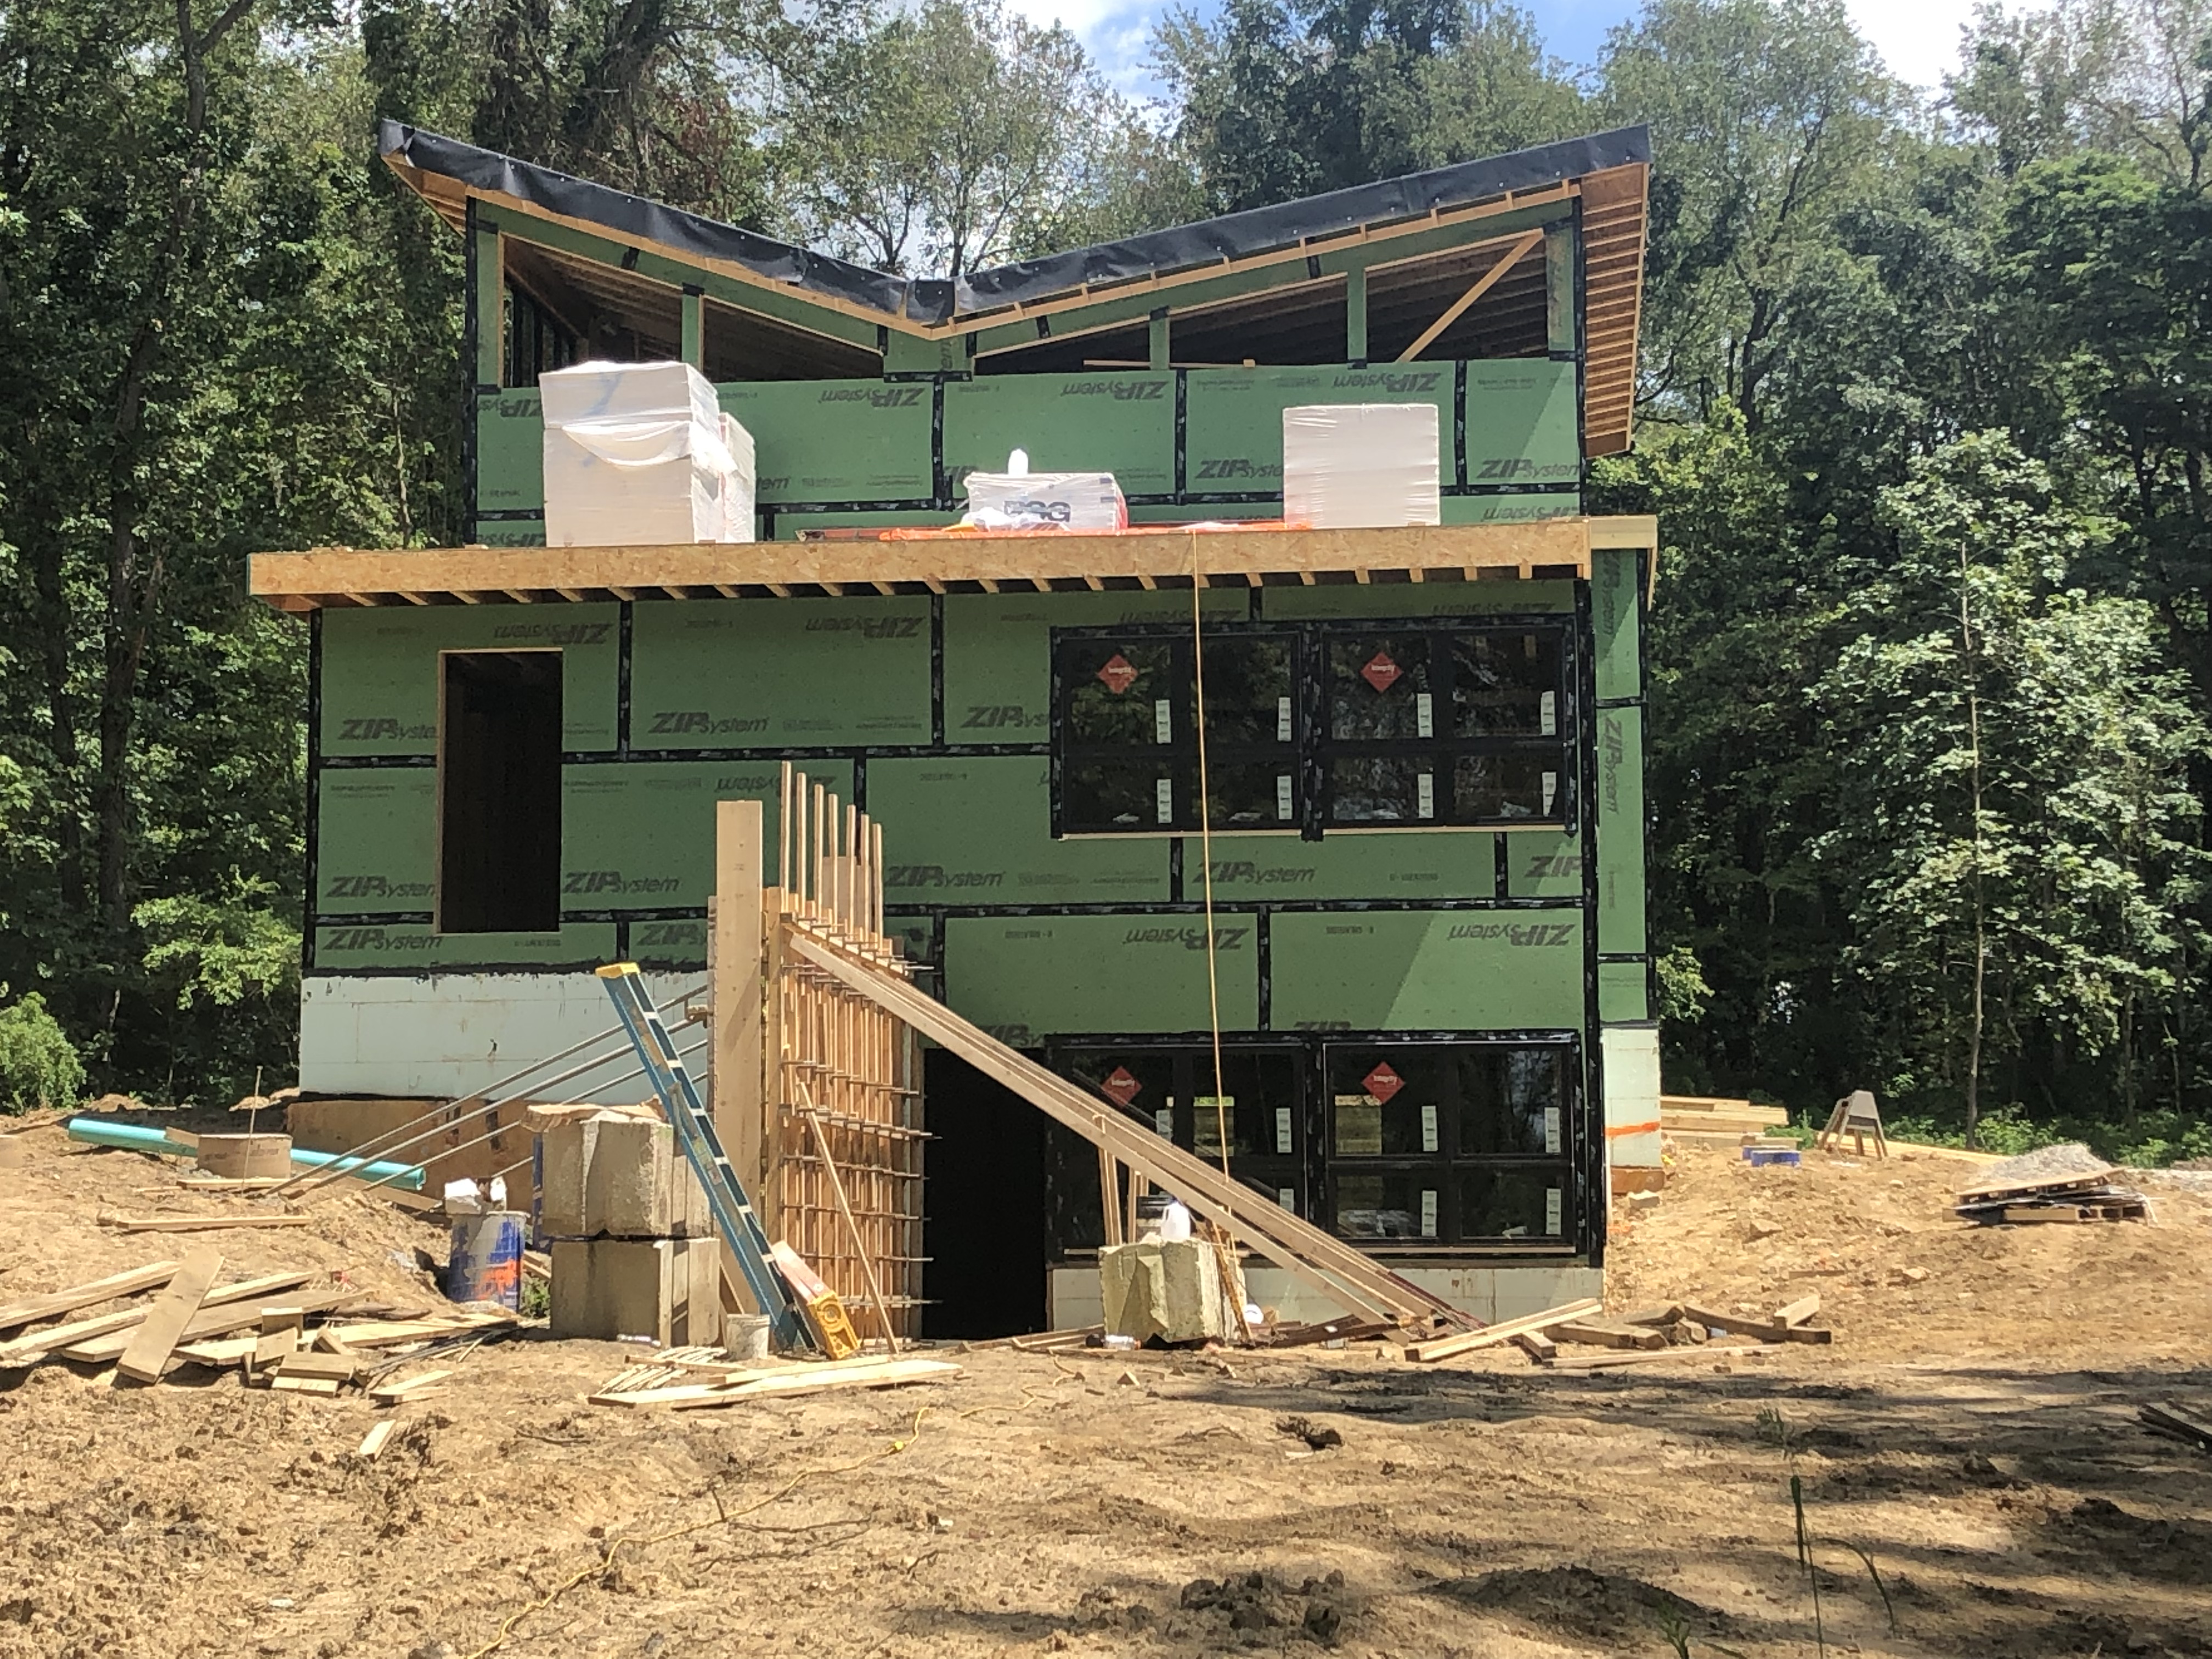
You may be wondering why the outside of the walls are green. We are using a Zip R-Panel in lieu of OSB on the outside of the studs. The panel is made up of OSB laminated to polyiso insulation and the green is the air & vapor barrier that comes factory applied on the outside of the OSB. Installing this one product gives us three things; structural sheathing, continuous insulation, and air & vapor barrier. The seams are taped and rolled to ensure adhesion and to keep the air & vapor barrier continuous. It’s no secret that buildings lose energy from all the drafts and leaks through the exterior walls and windows. This system should minimize any potential gaps and keep the house super tight.

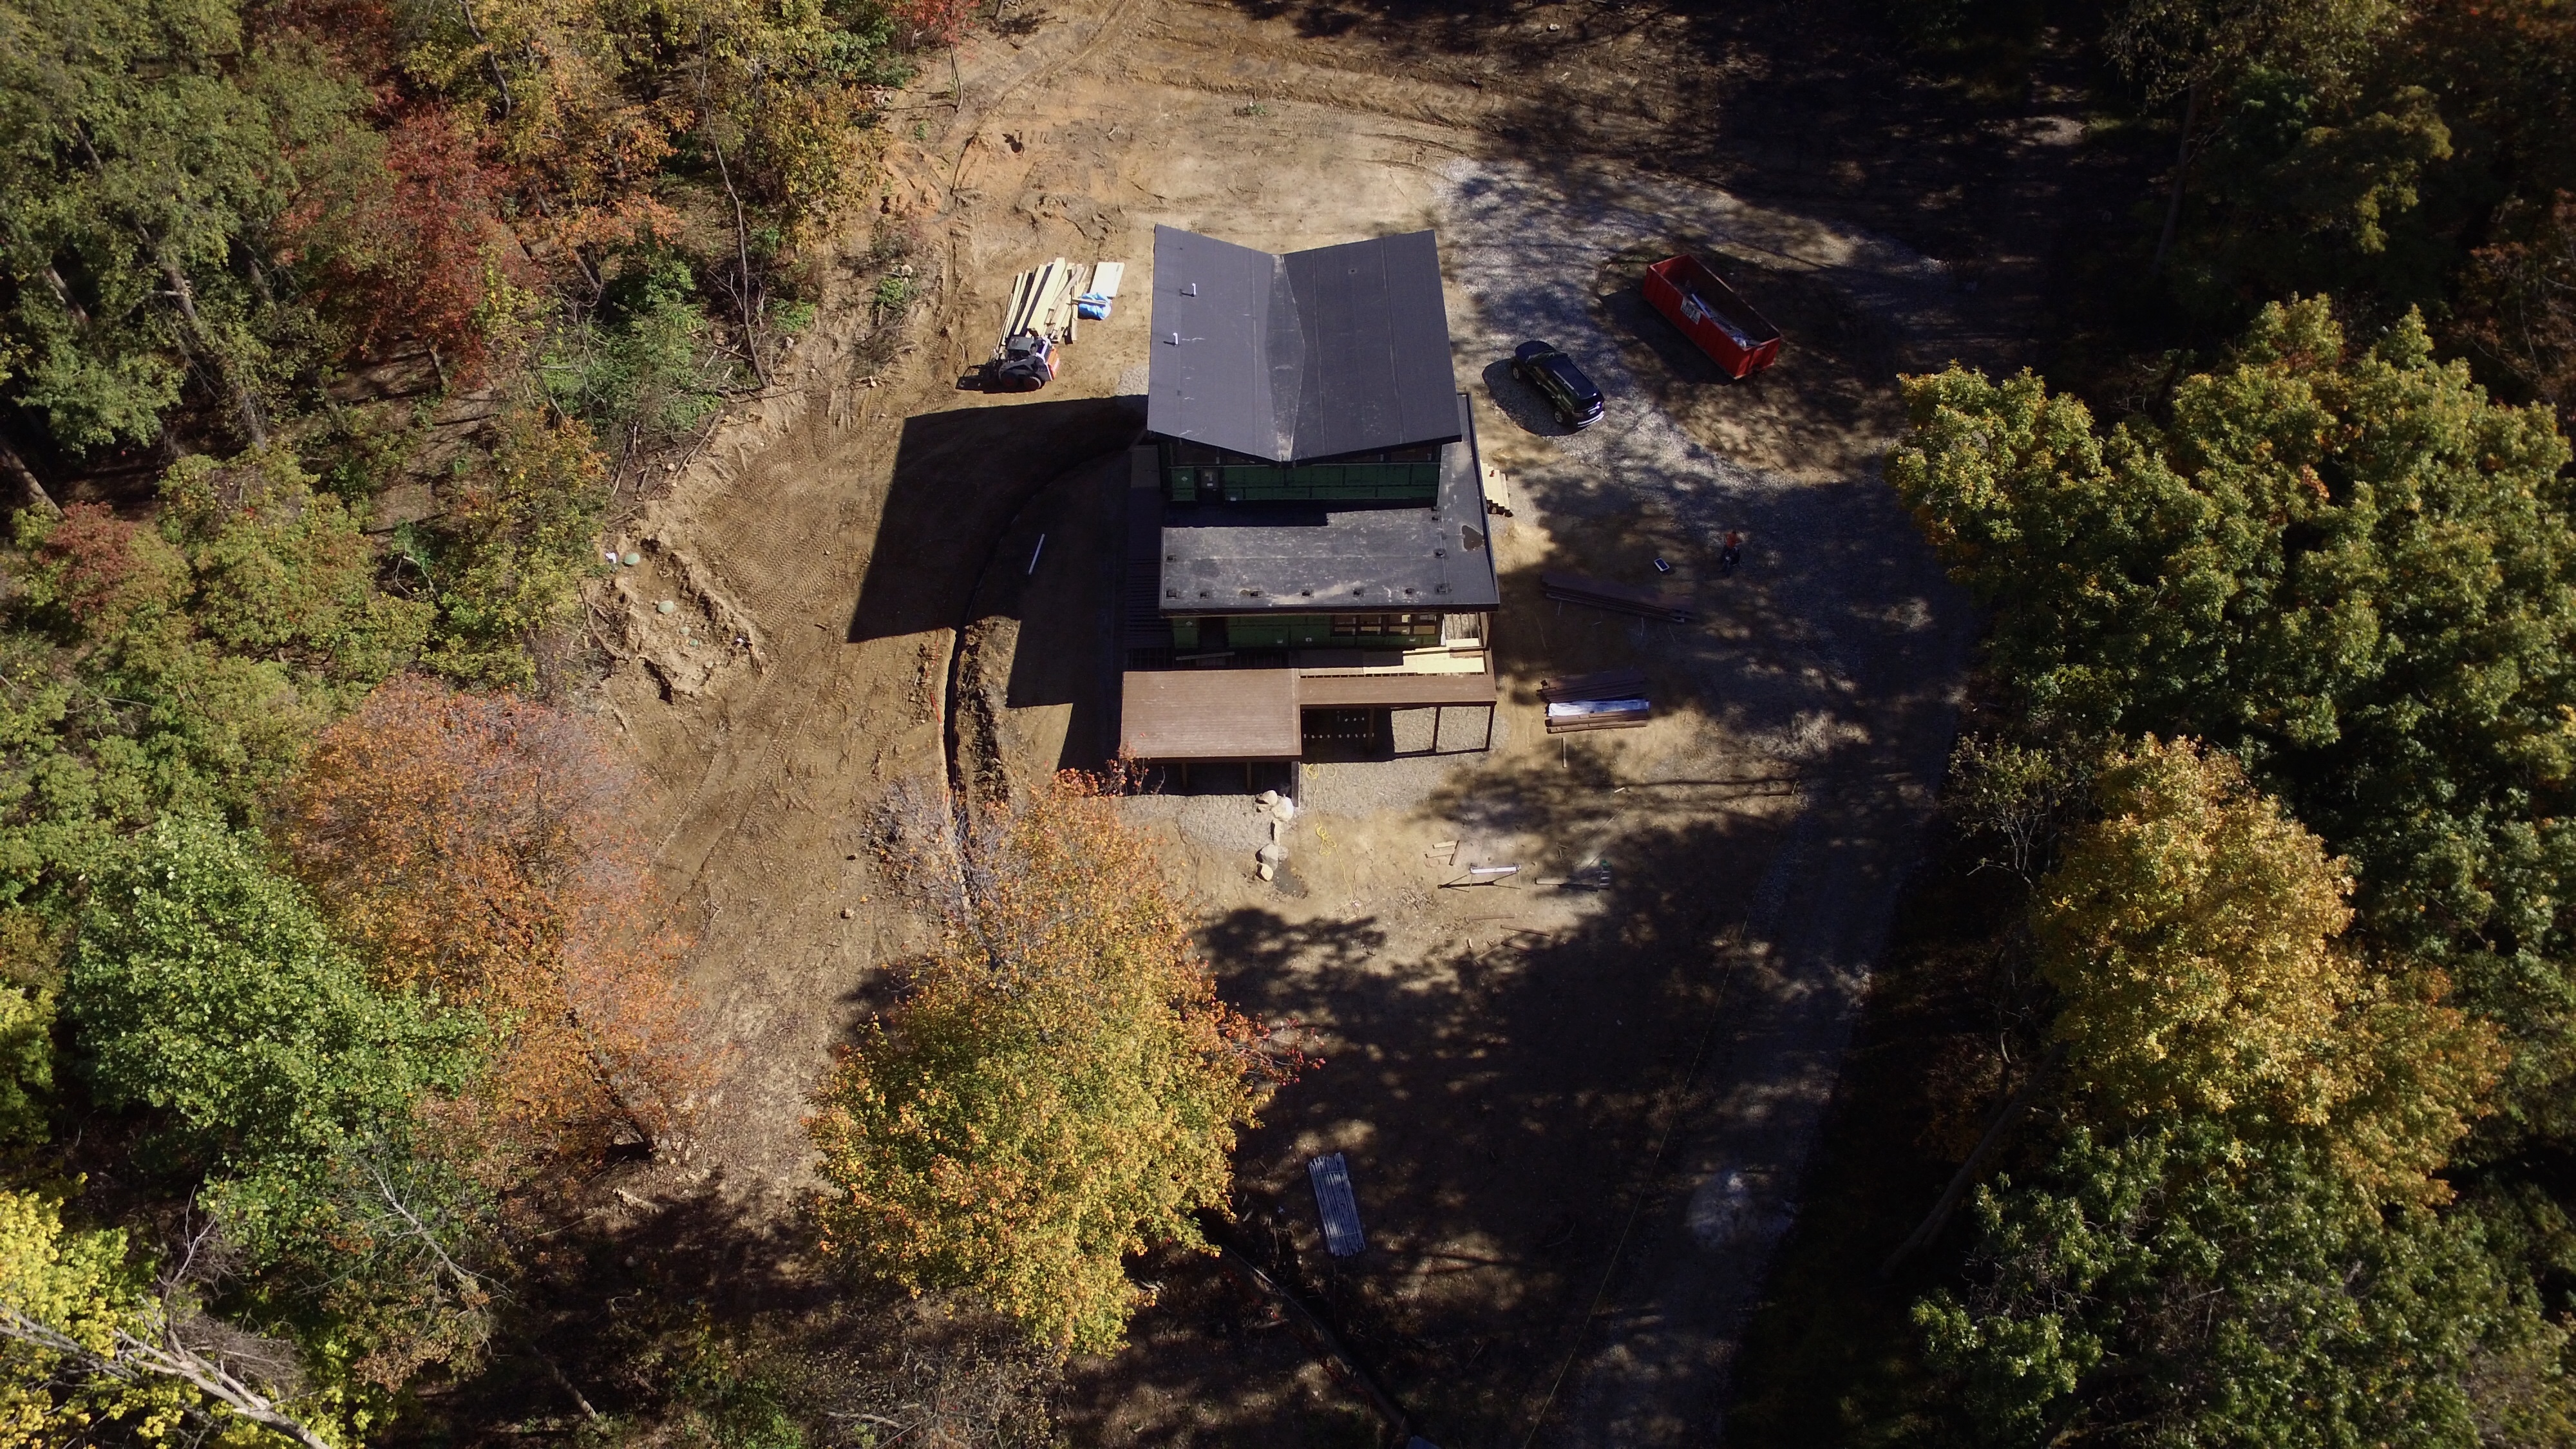
It’s taken me two days to find the time to finish this post and in the meantime we now have a roof! I cannot express how happy I am to finally see the butterfly roof come to life!

The handoff

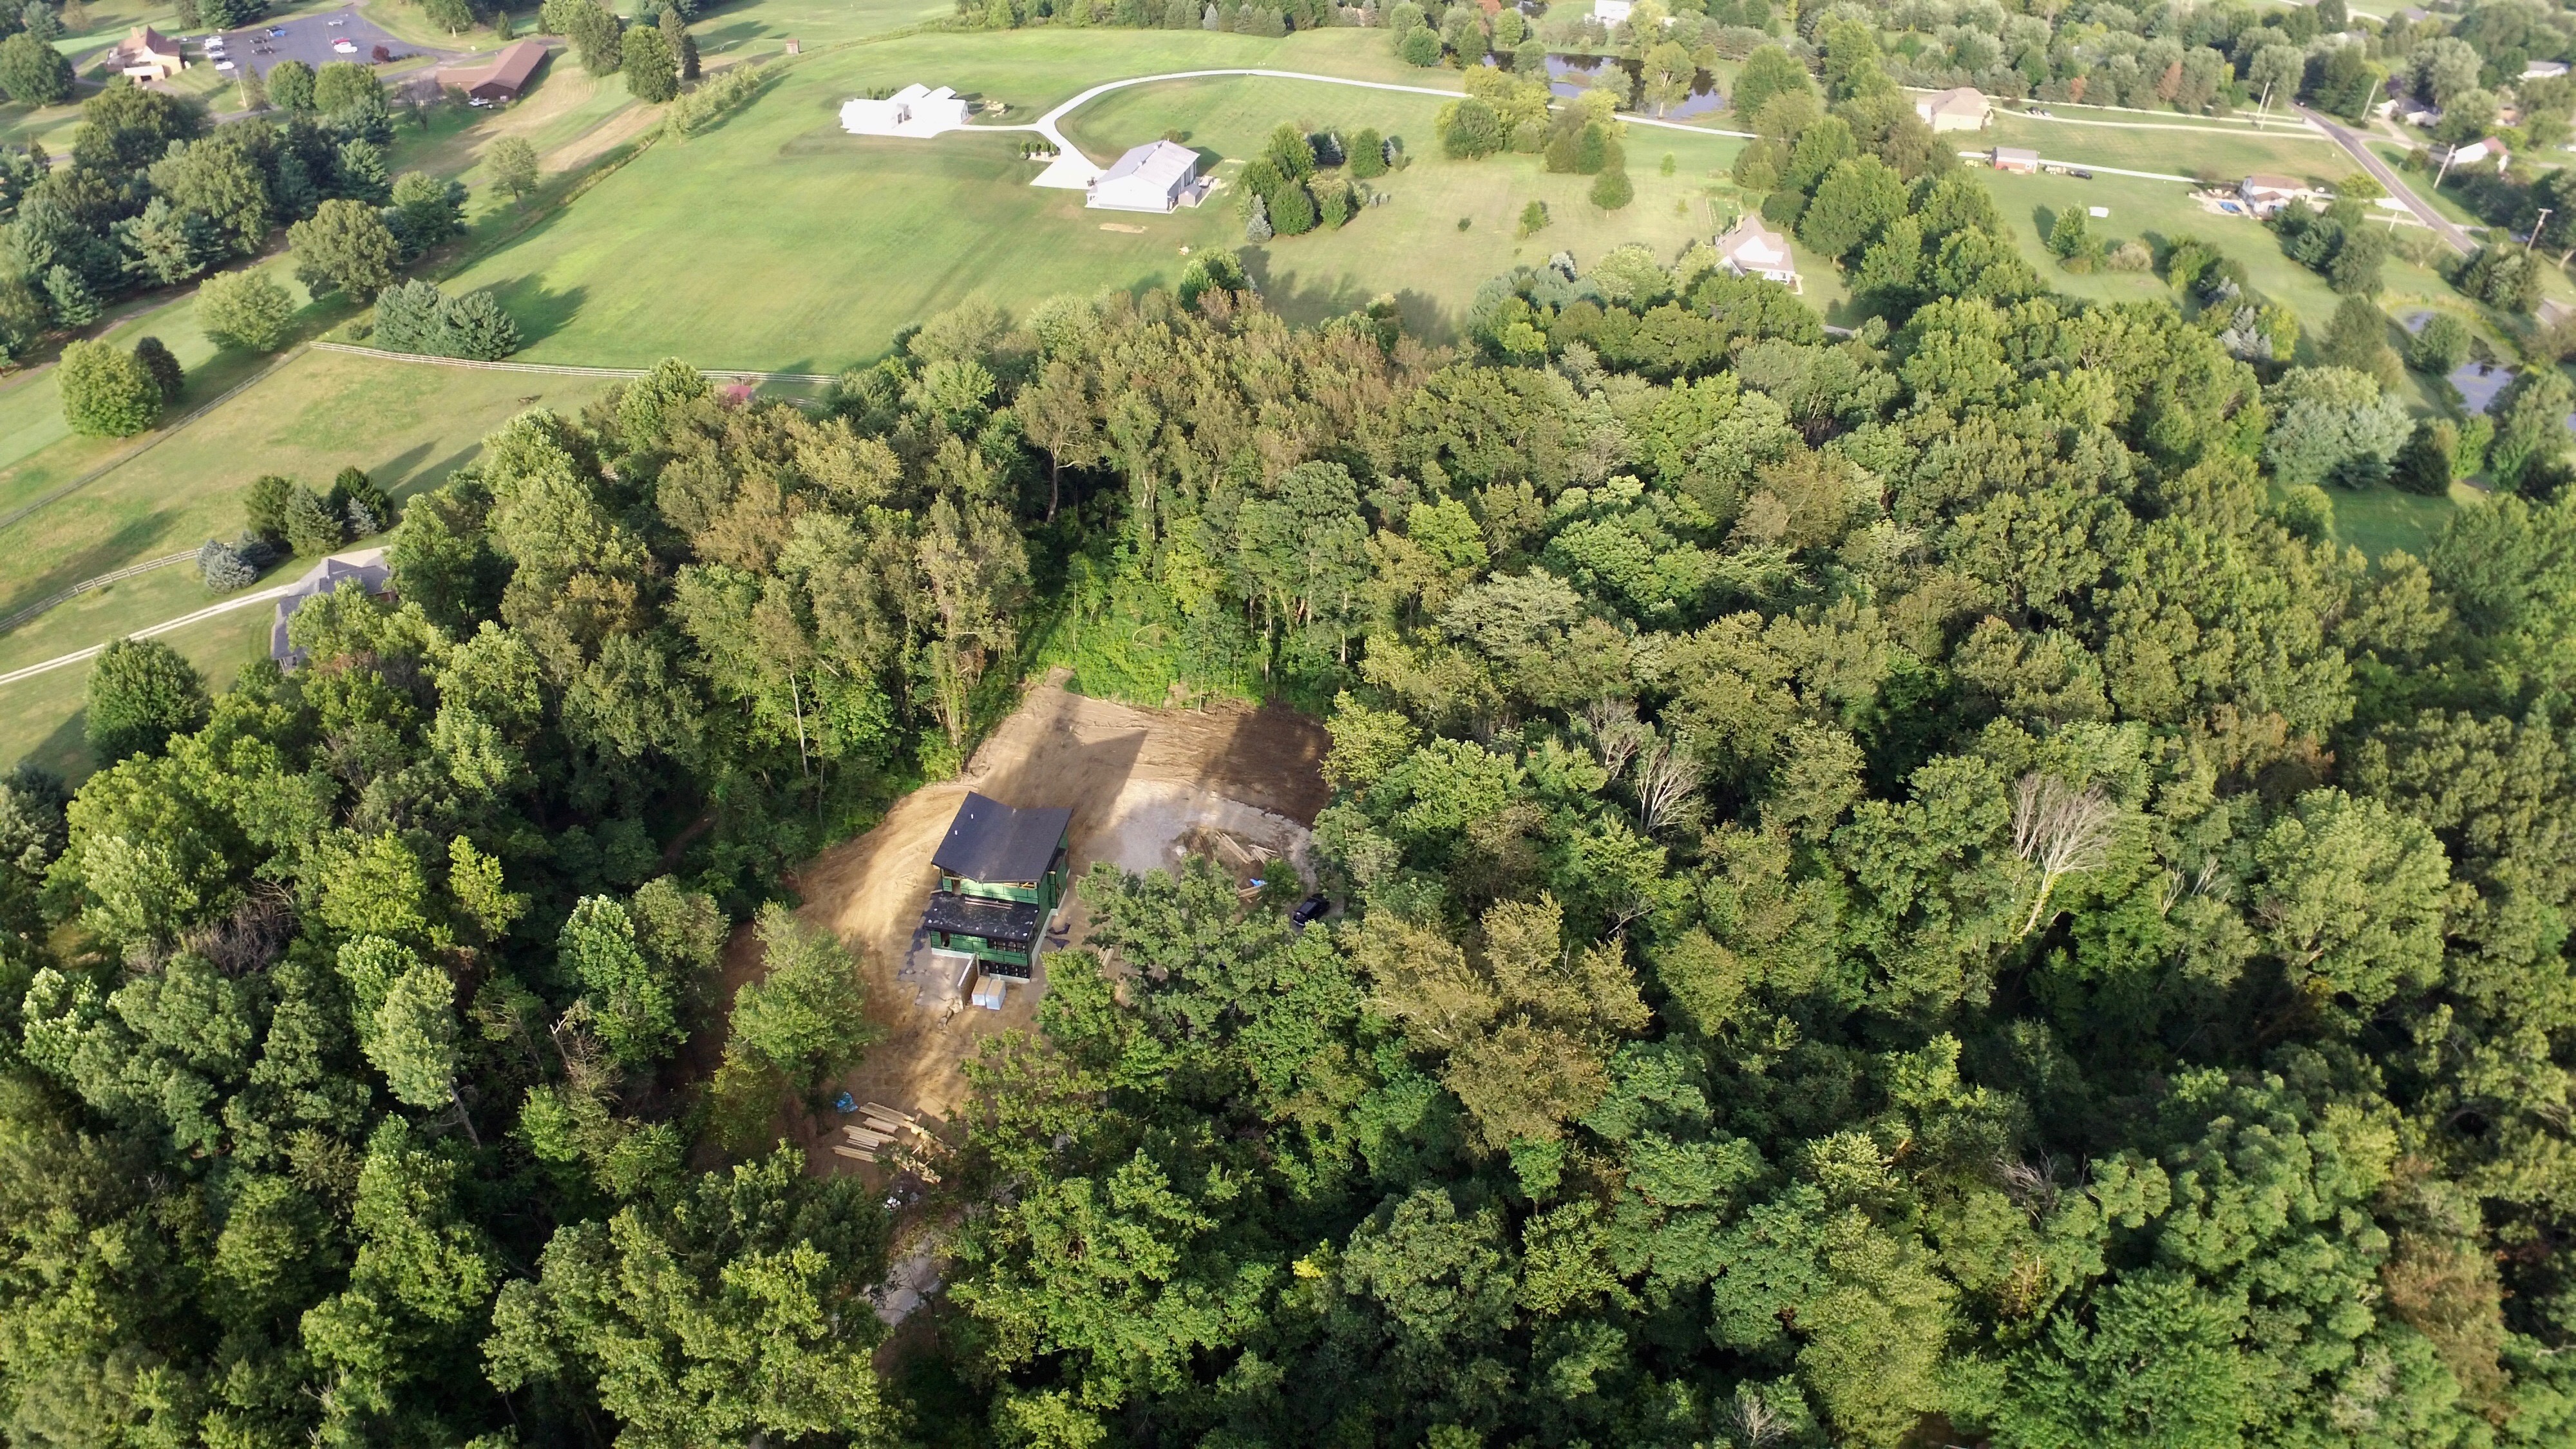
The beginning of most construction projects is a bit slow. There is a lot of major work that needs to be scheduled and completed in a certain order. Our builder started by cleaning up the stumps and remaining brush. We had met our breaking point and were happy to handoff the project to the pros.

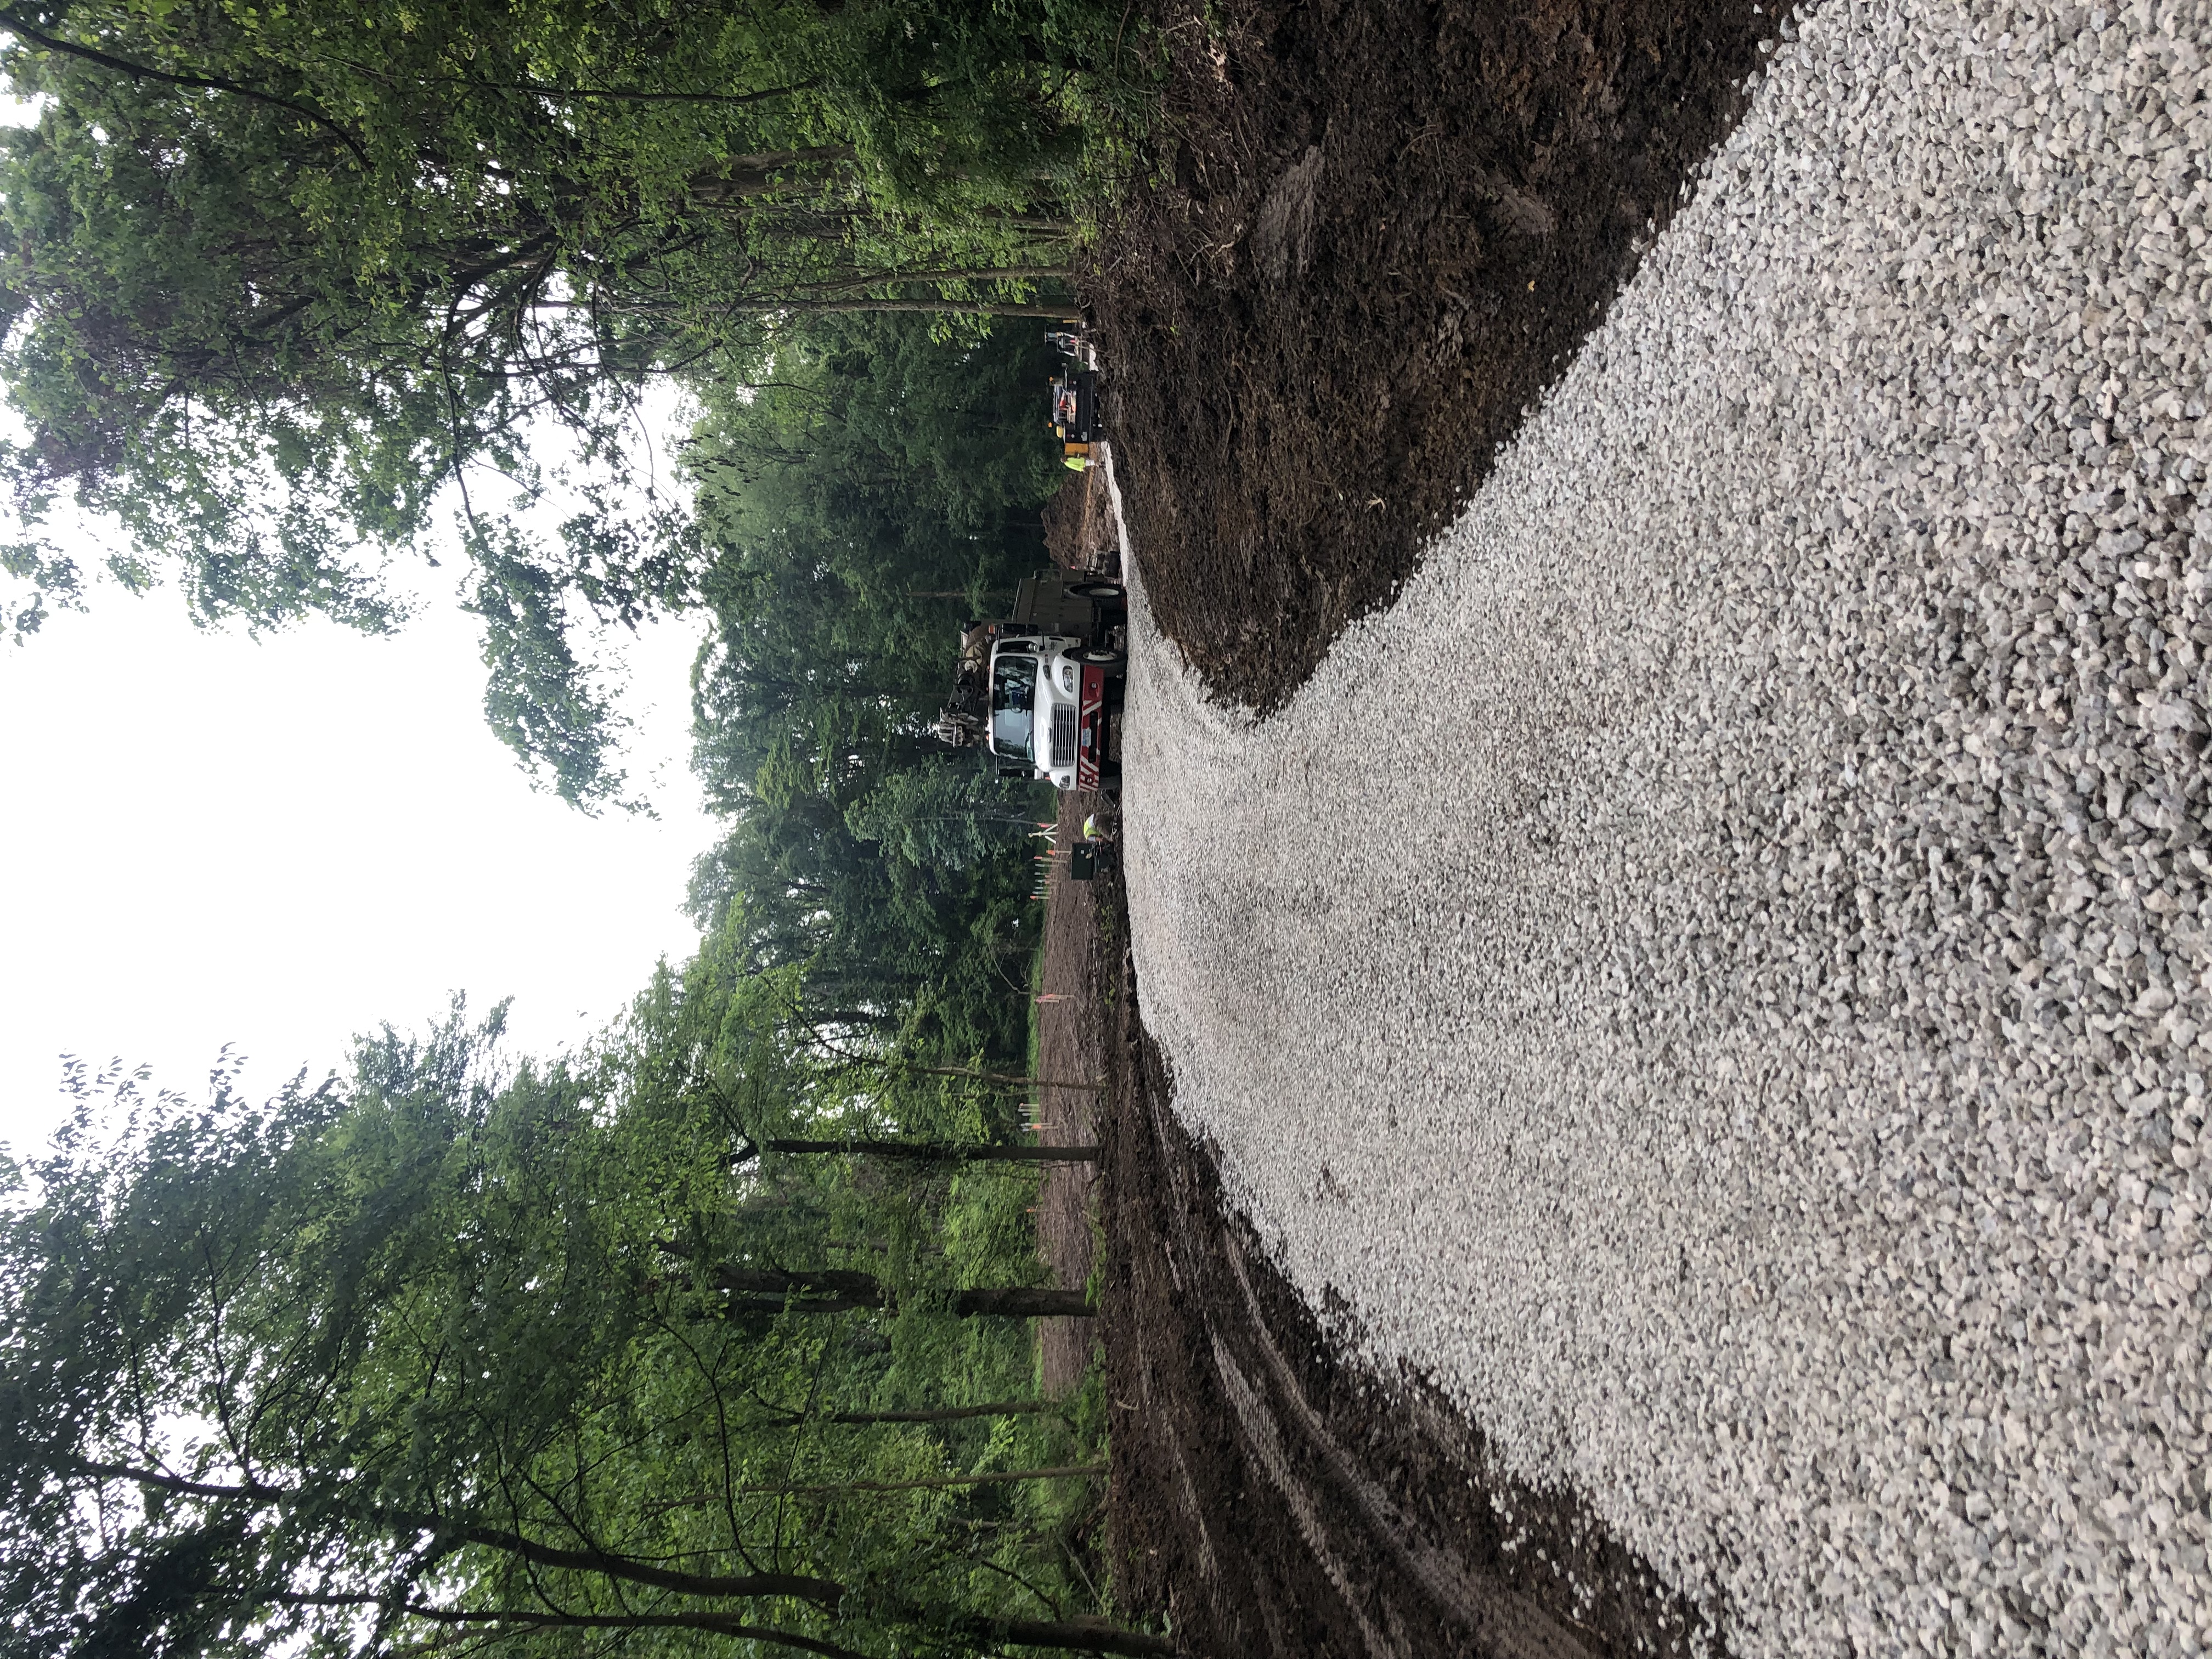
The heavy equipment showed up on Joe’s birthday and by the end of the week there was a driveway the Prius could finally make it up and a hole for the house!

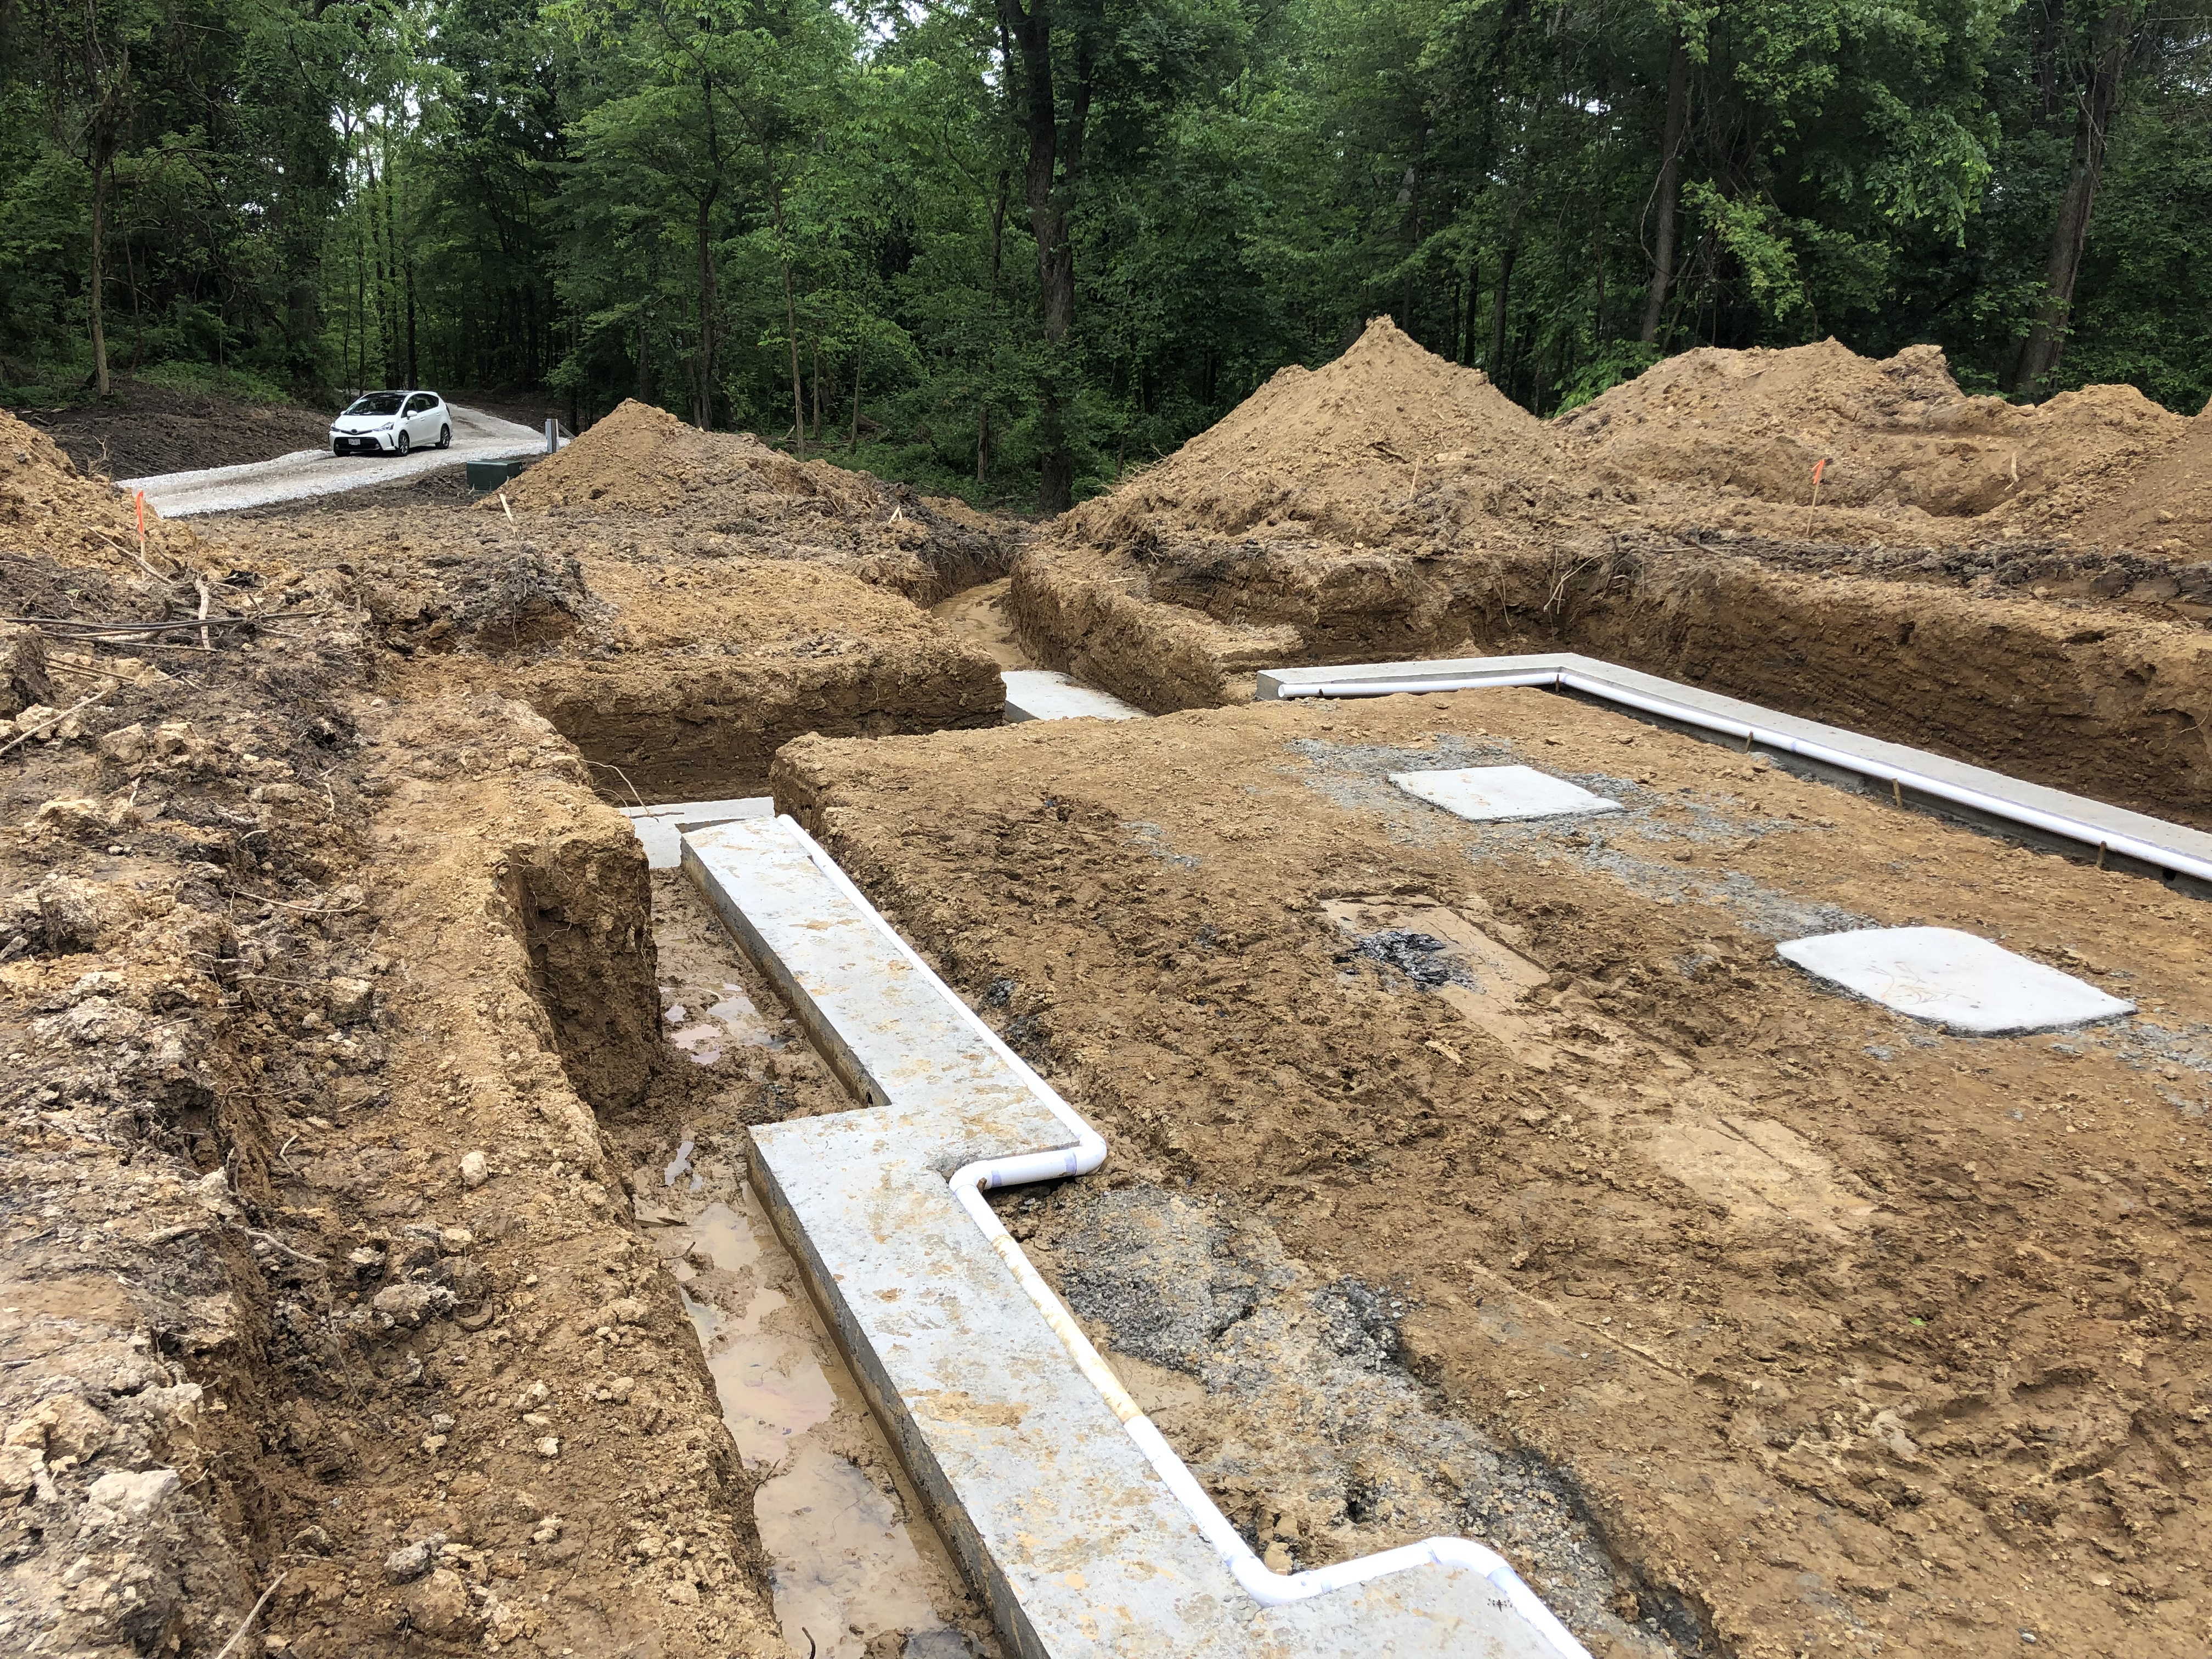
The following week they formed and poured the footers.

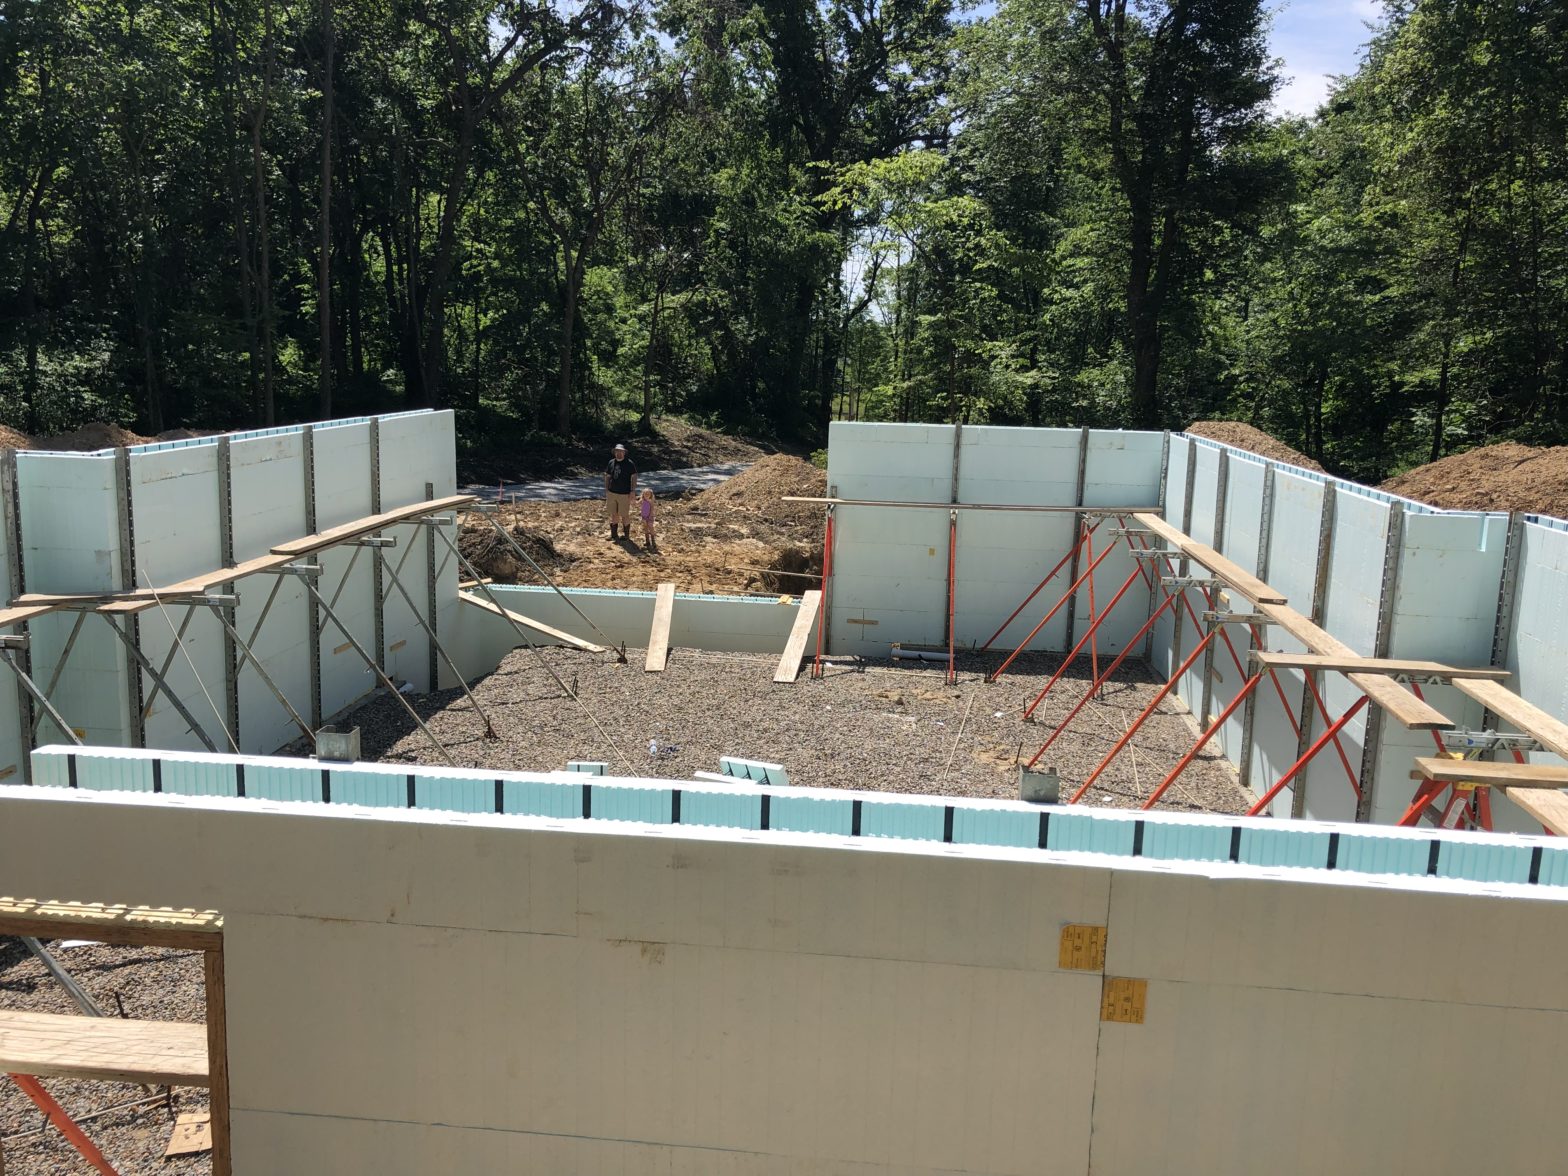
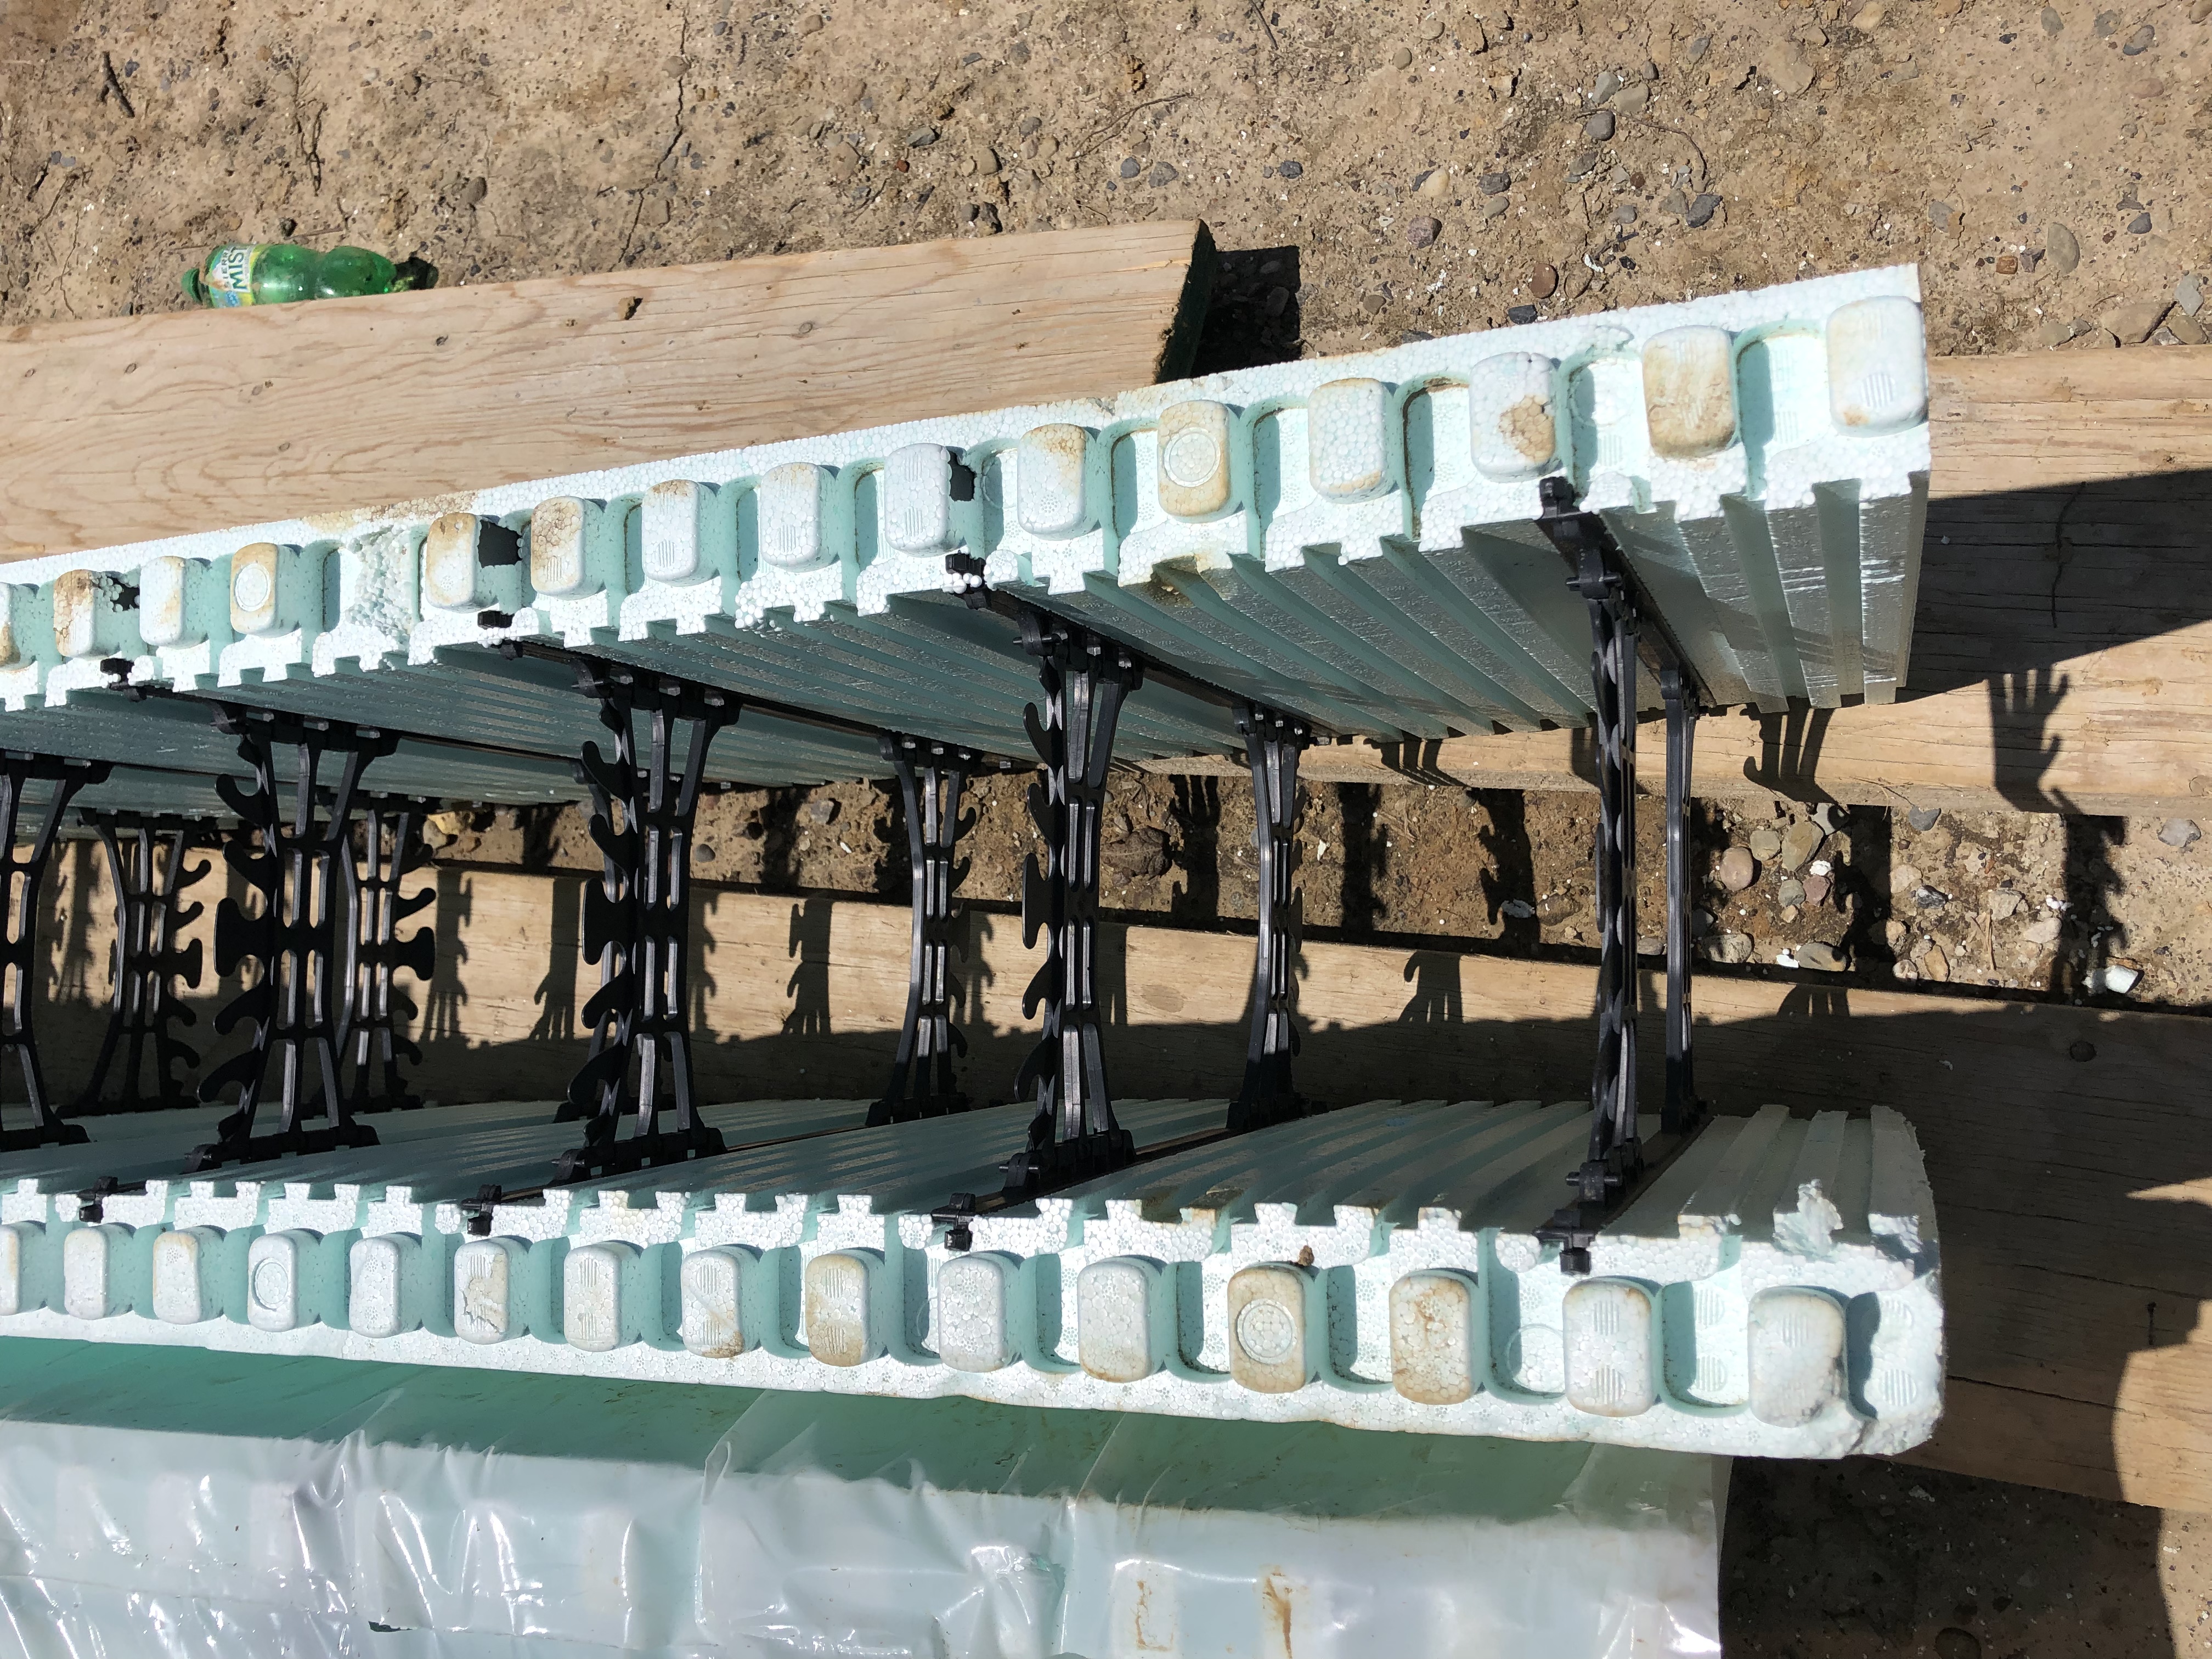
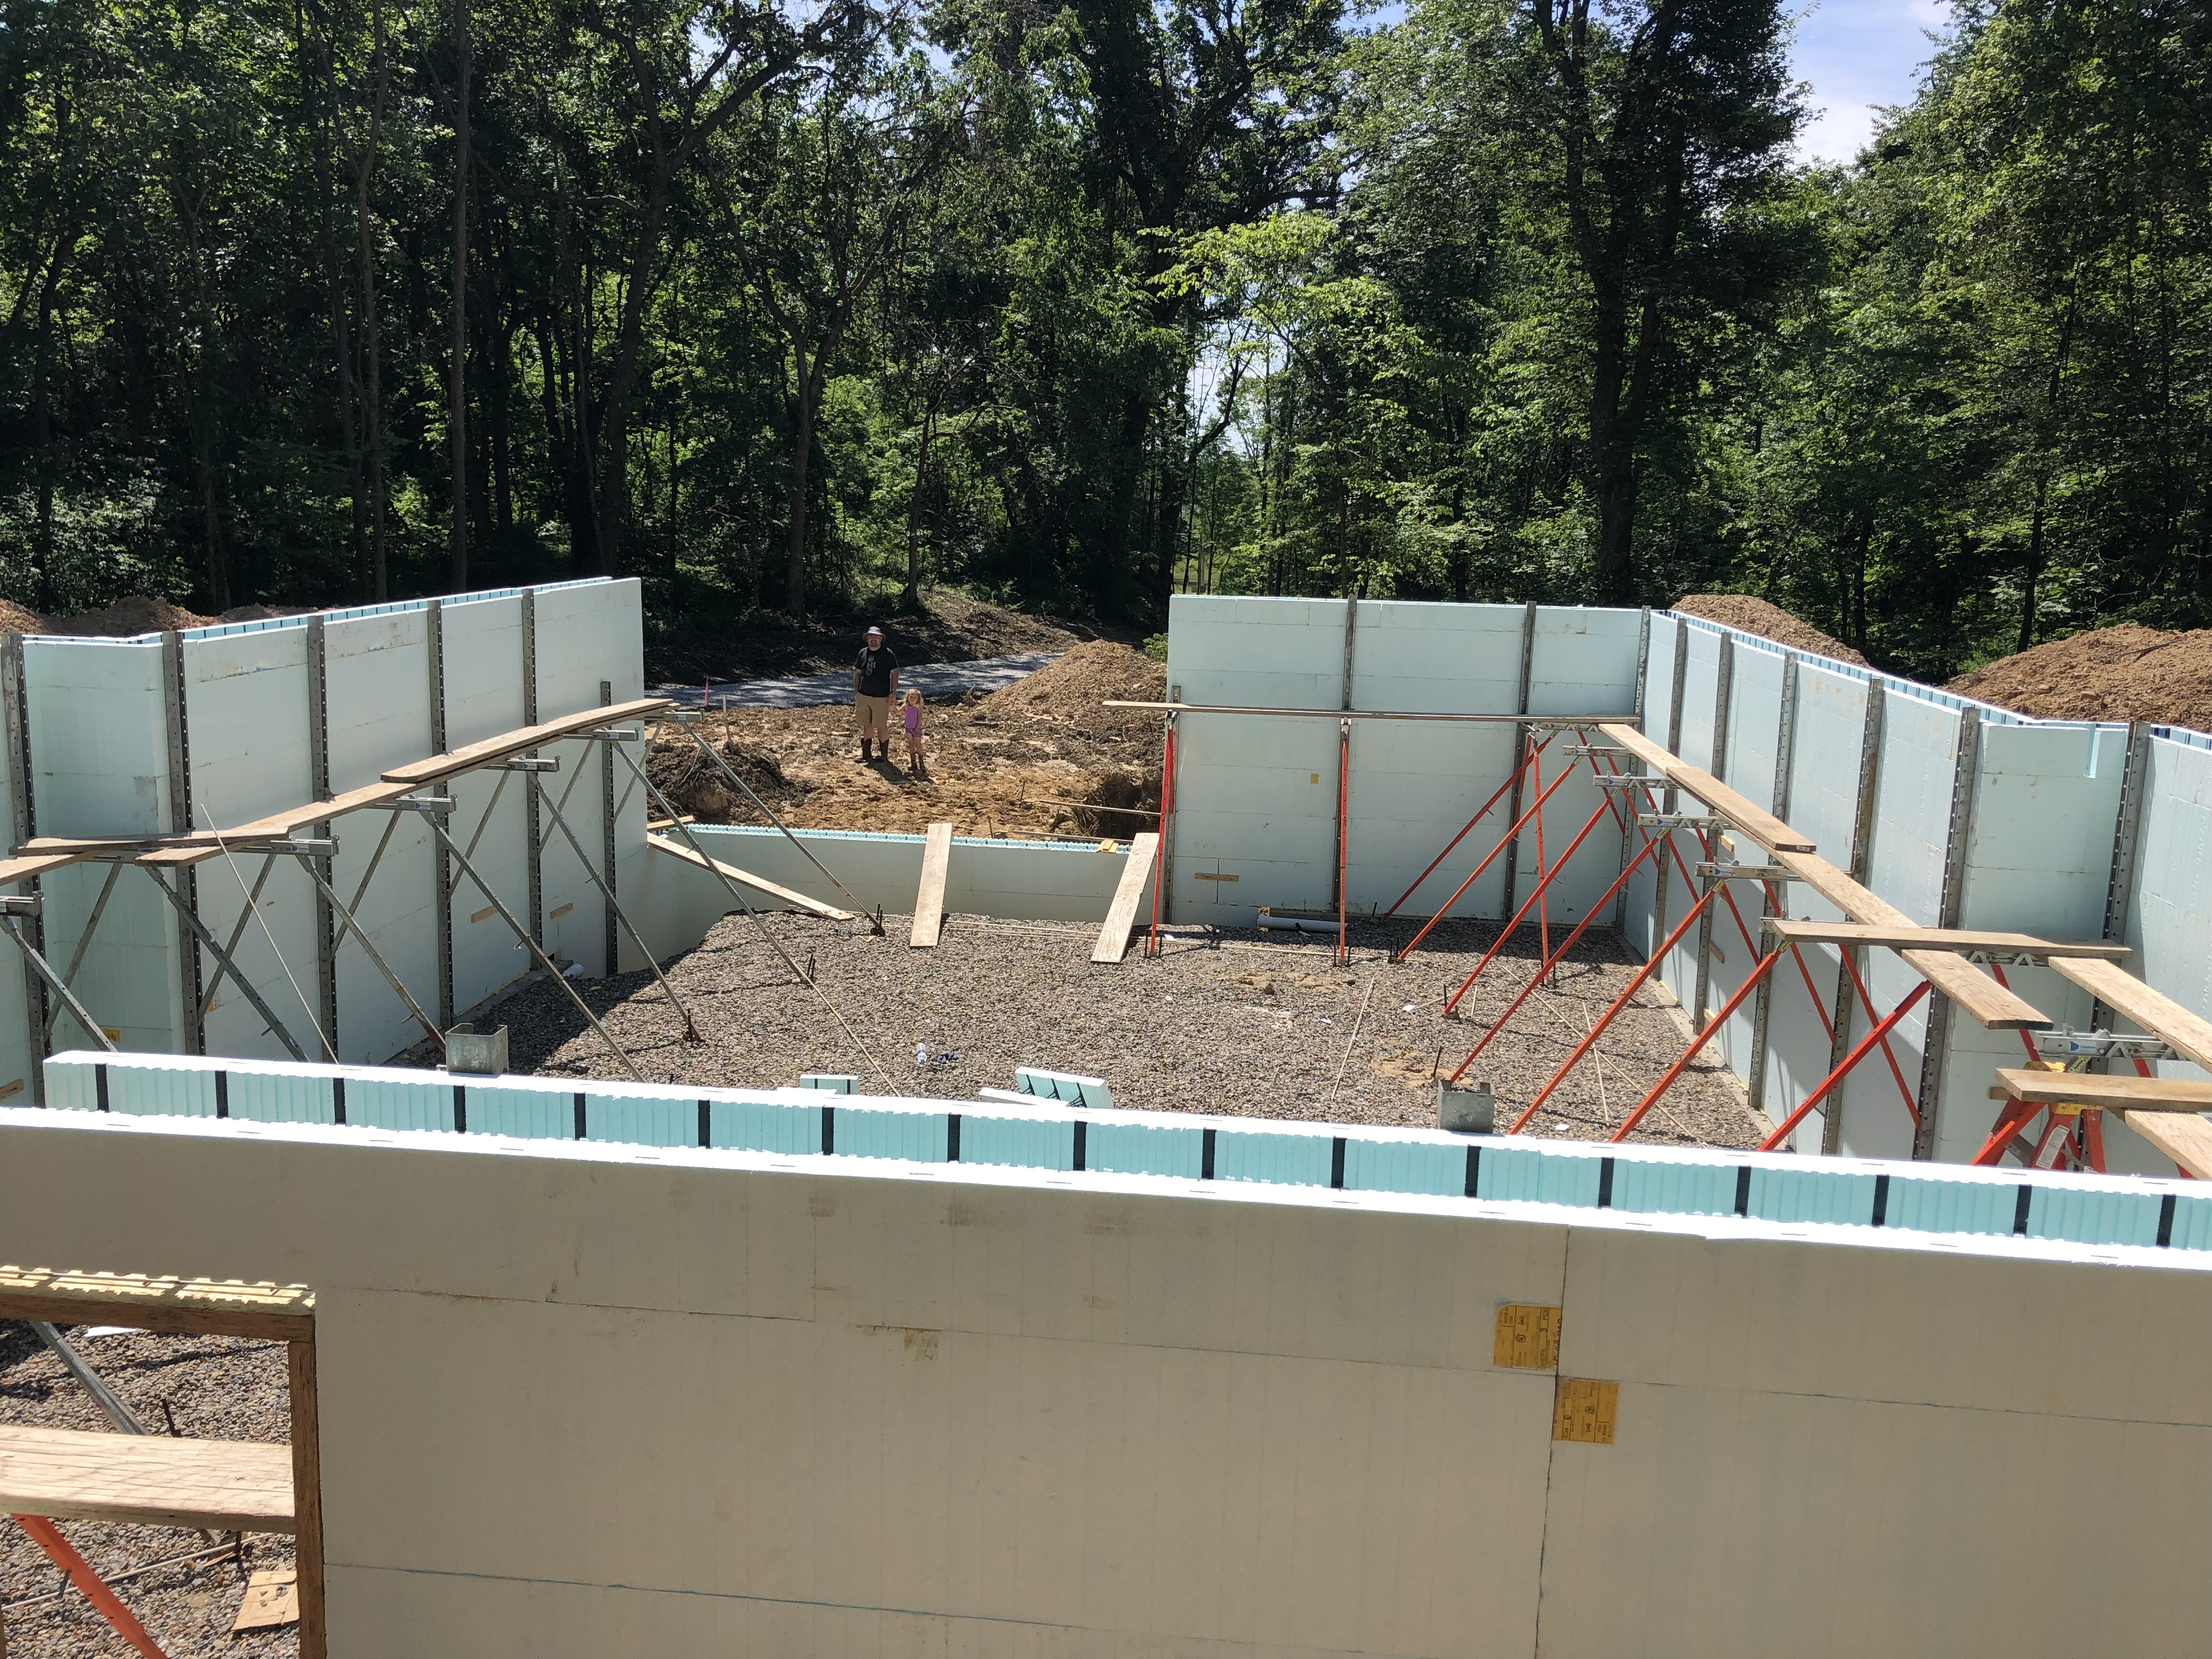
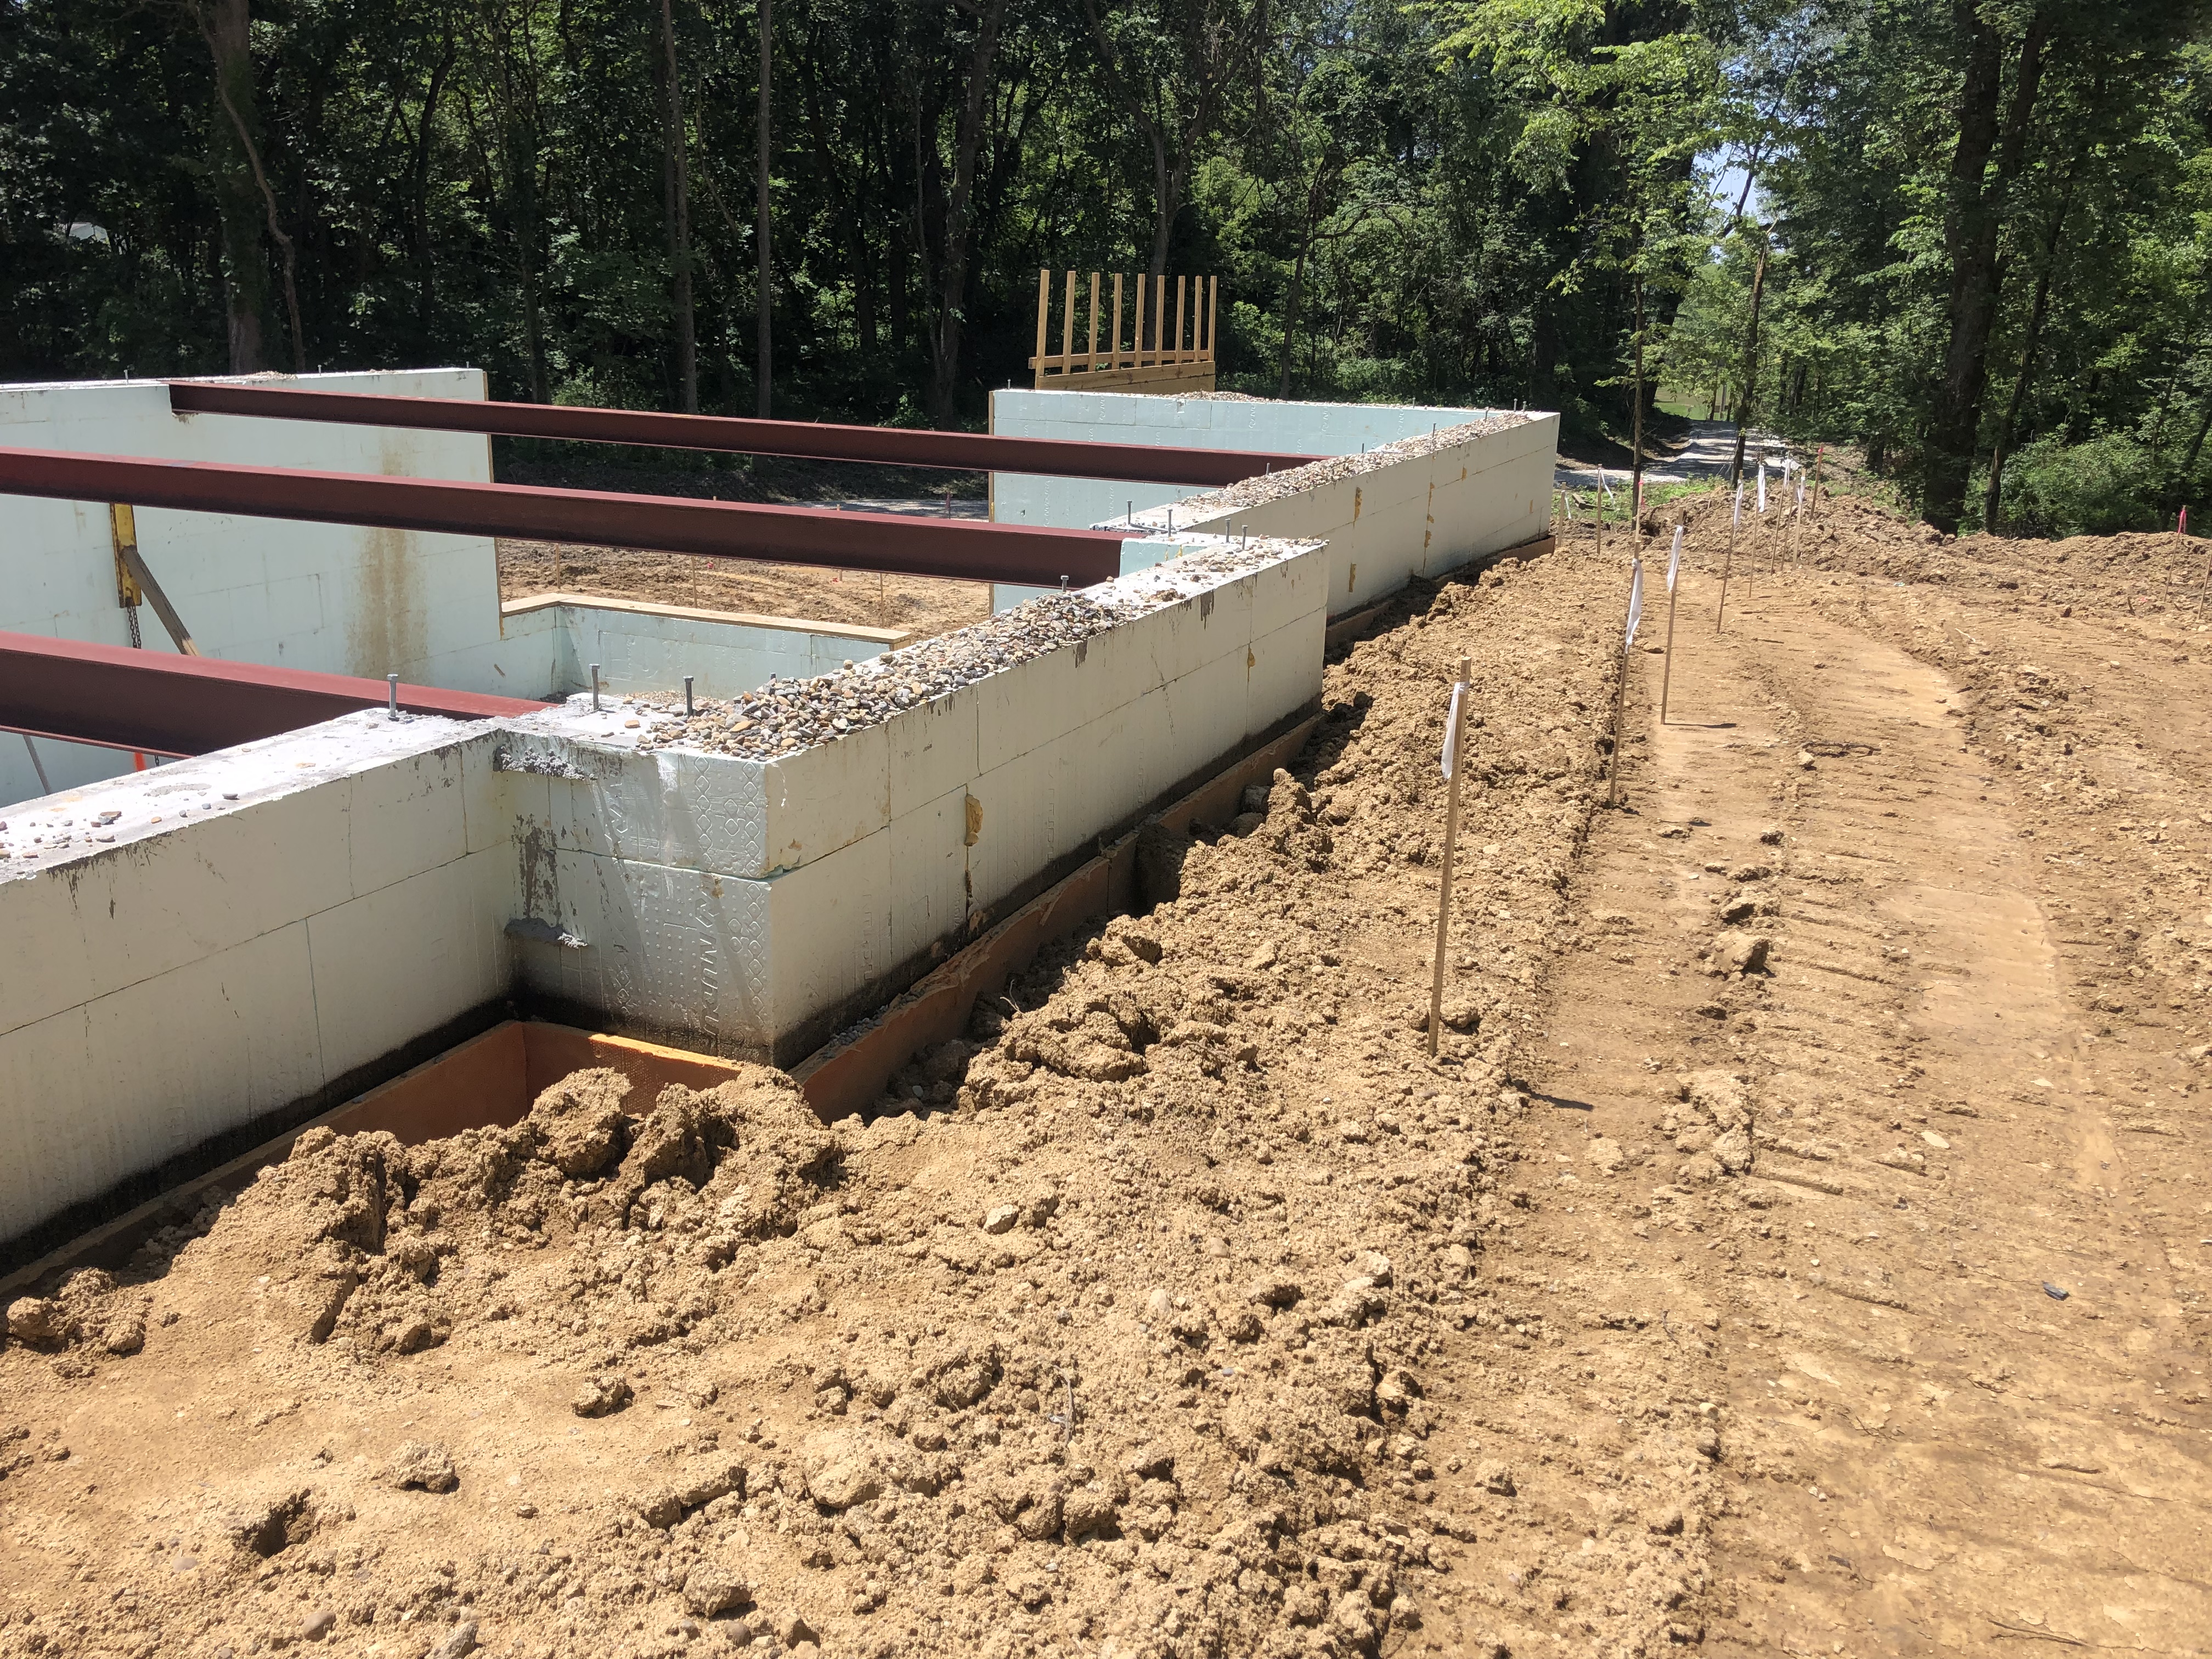
Then the ICF’s arrived! For those of you who don’t know, ICF’s are Insulated Concrete Forms. They consist of two foam faces that are tied together by plastic webs that also hold the wall reinforcing. They basically go together like giant legos then the core gets filled with concrete.

My original drawings actually showed a typical poured concrete foundation wall with 2″ of exterior foam insulation. Even though most of the basement walls are below grade, it is still beneficial to insulate your walls and floor to minimize heat loss. I thought that I was using two somewhat standard materials so it would be the most cost effective way to achieve what we wanted. However our builder, Darren, is just as excited about energy efficiency as I am so he had already been working with ICF’s and showed us that it was actually going to be the same cost or less to use them. (Disclaimer: This isn’t true for every contractor or every location) Since the ICF walls have insulation both inside and outside the concrete they perform better too.

We used the Nudura brand ICF’s. Their ‘blocks’ are one of the largest on the market. They are 18″ high x 8′ long. It only took the crew about two days to set them in place.

There are houses out there that use ICF’s all the way up to the roof but with the layout of our walls and size of our windows on the upper floors, it didn’t make sense to continue them beyond the basement.

Bri was pretty sure she could have put the ICF’s together but luckily they were done by the time she showed up for an inspection. On a side note, I really hope the girls remember building the house when they are older..but in the event that they don’t I guess they can always read this!

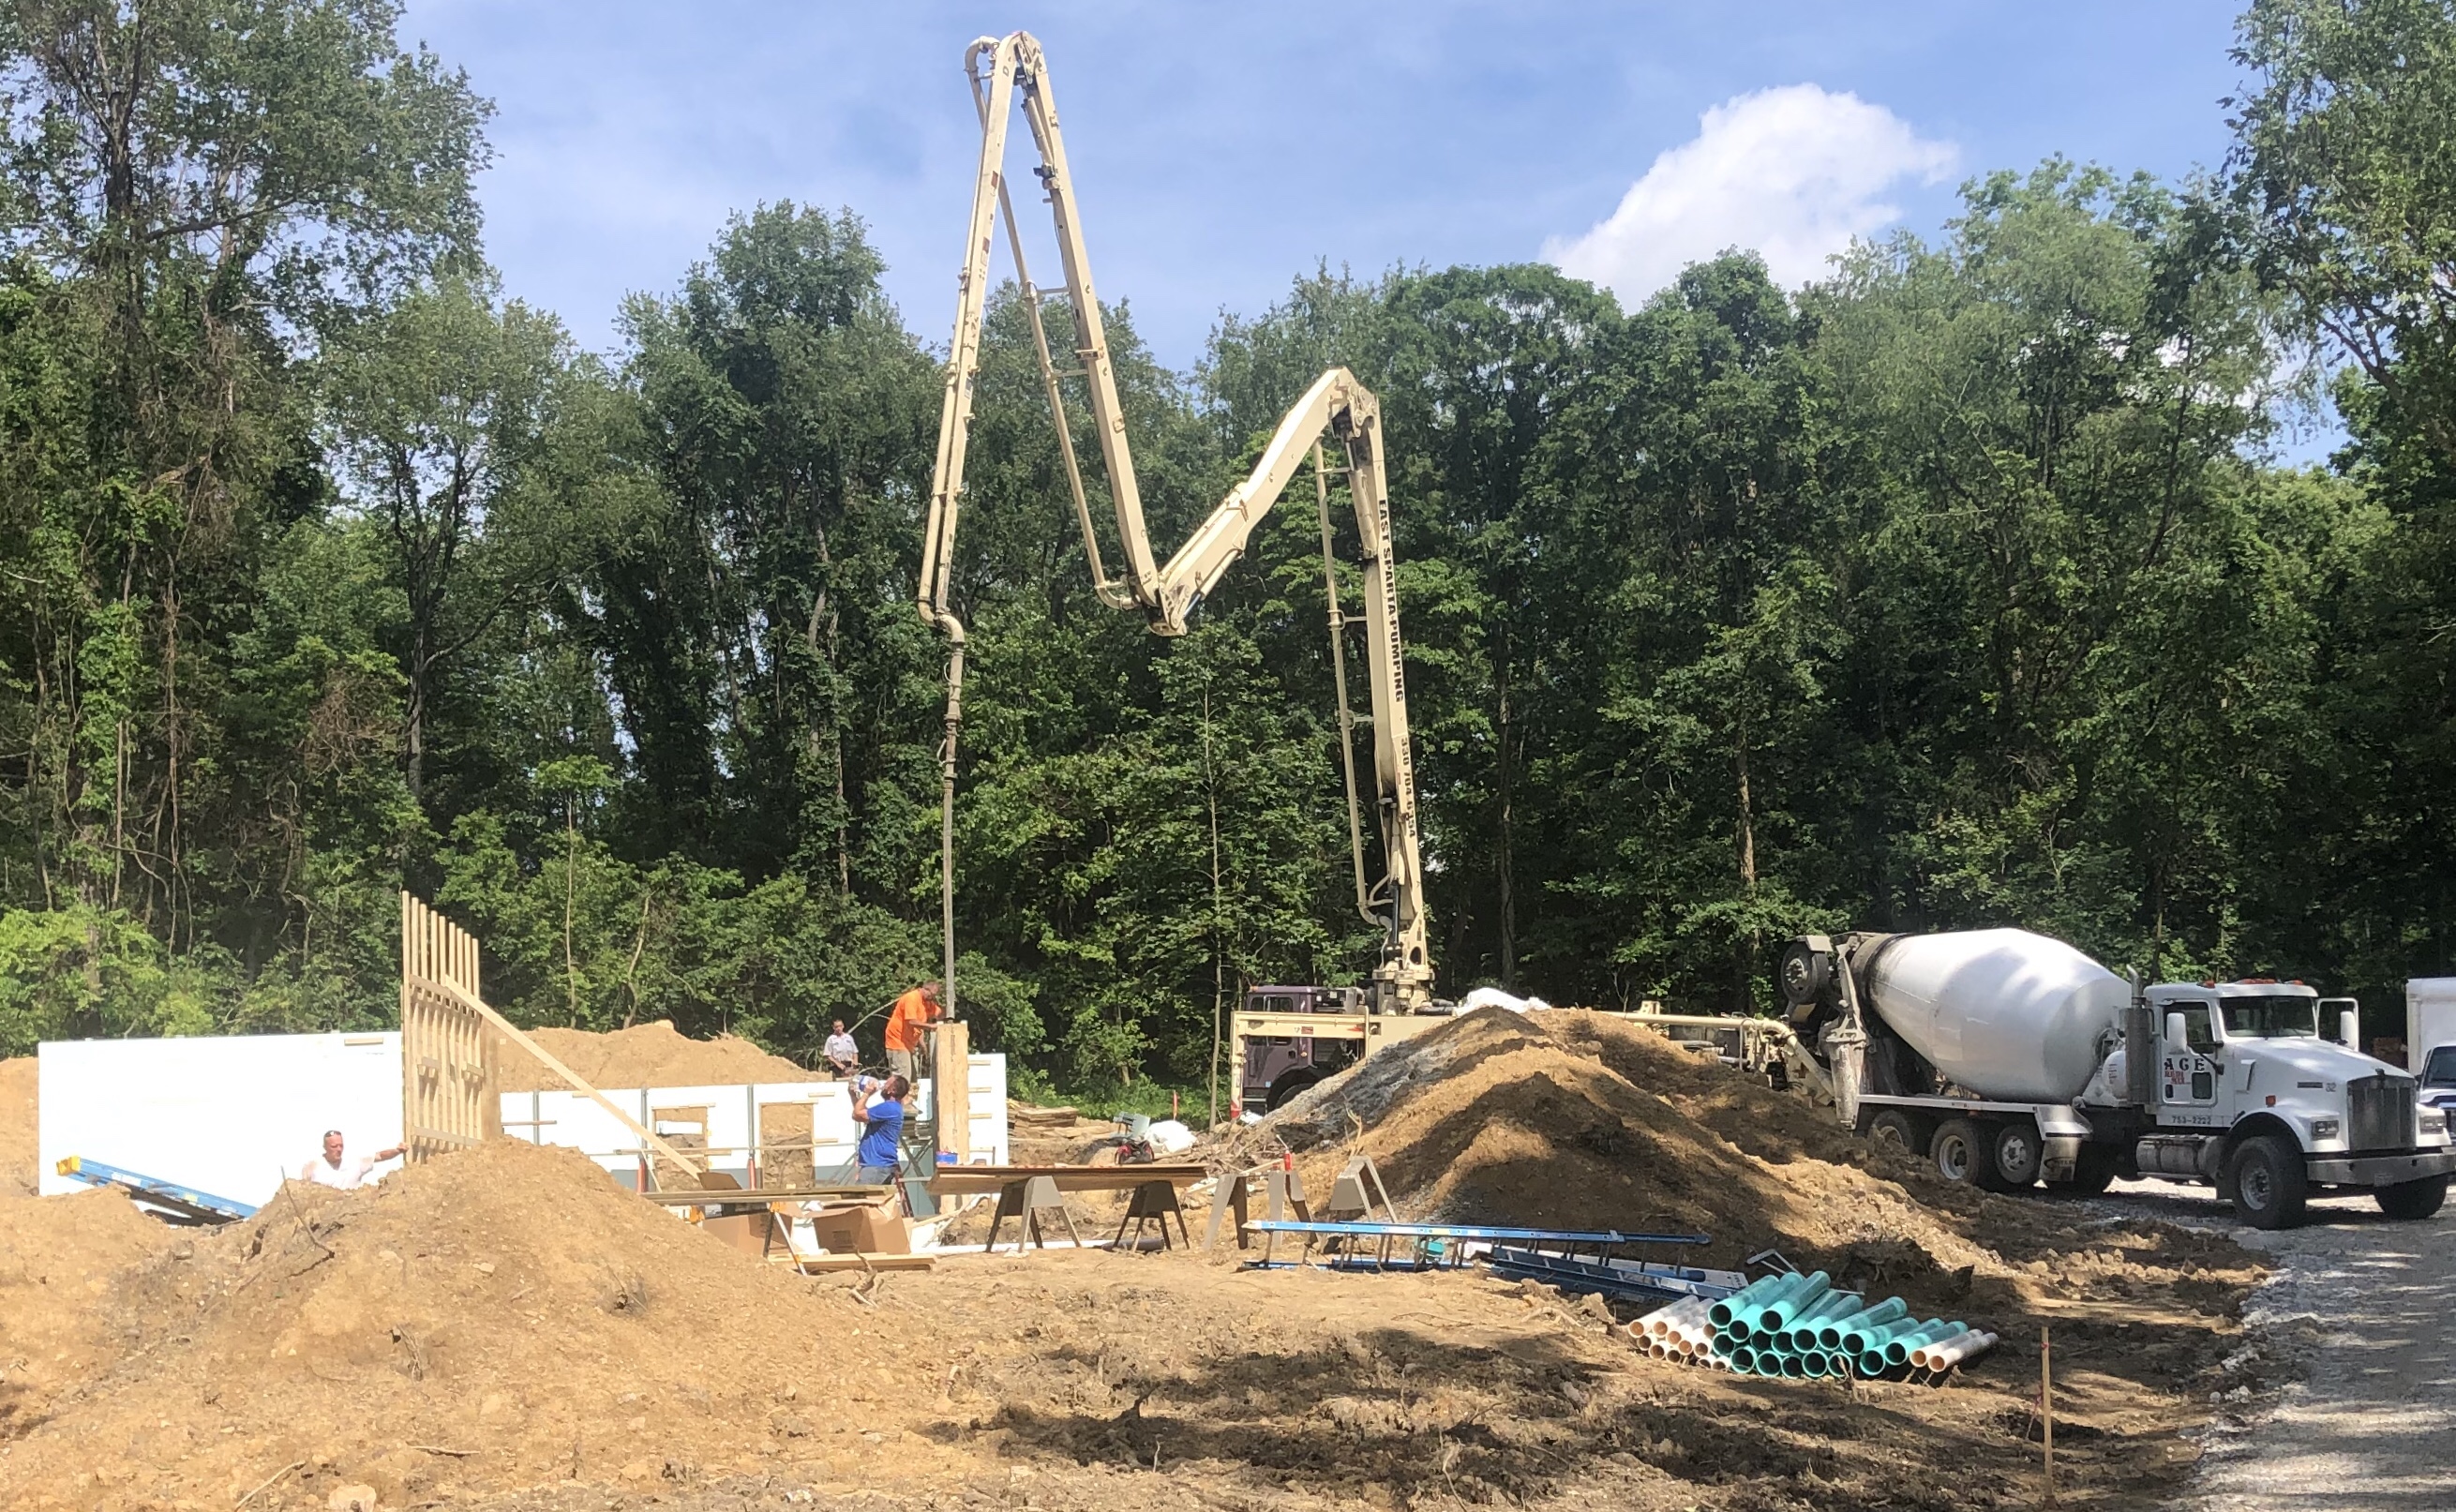
Between the rain we have been getting and coordinating schedules, it took a little over a week to get the concrete pour scheduled. Yesterday was the big day. I stopped by just before the pumper truck and first concrete truck showed up and stuck around to watch them start the pour. I’ve seen a lot of concrete being poured in the past but it’s way more exciting watching it on your own house. I had to take off but they said it took about 5 trucks worth of concrete. 

Stay tuned! I’m hoping to write posts weekly from here on out talking about what’s going on and will continue to document why we chose the materials that we did.

Getting Started

Before I update you all on what’s going on right now I’m going to fill you in on all the hard work that we put in to prep the site for the house.

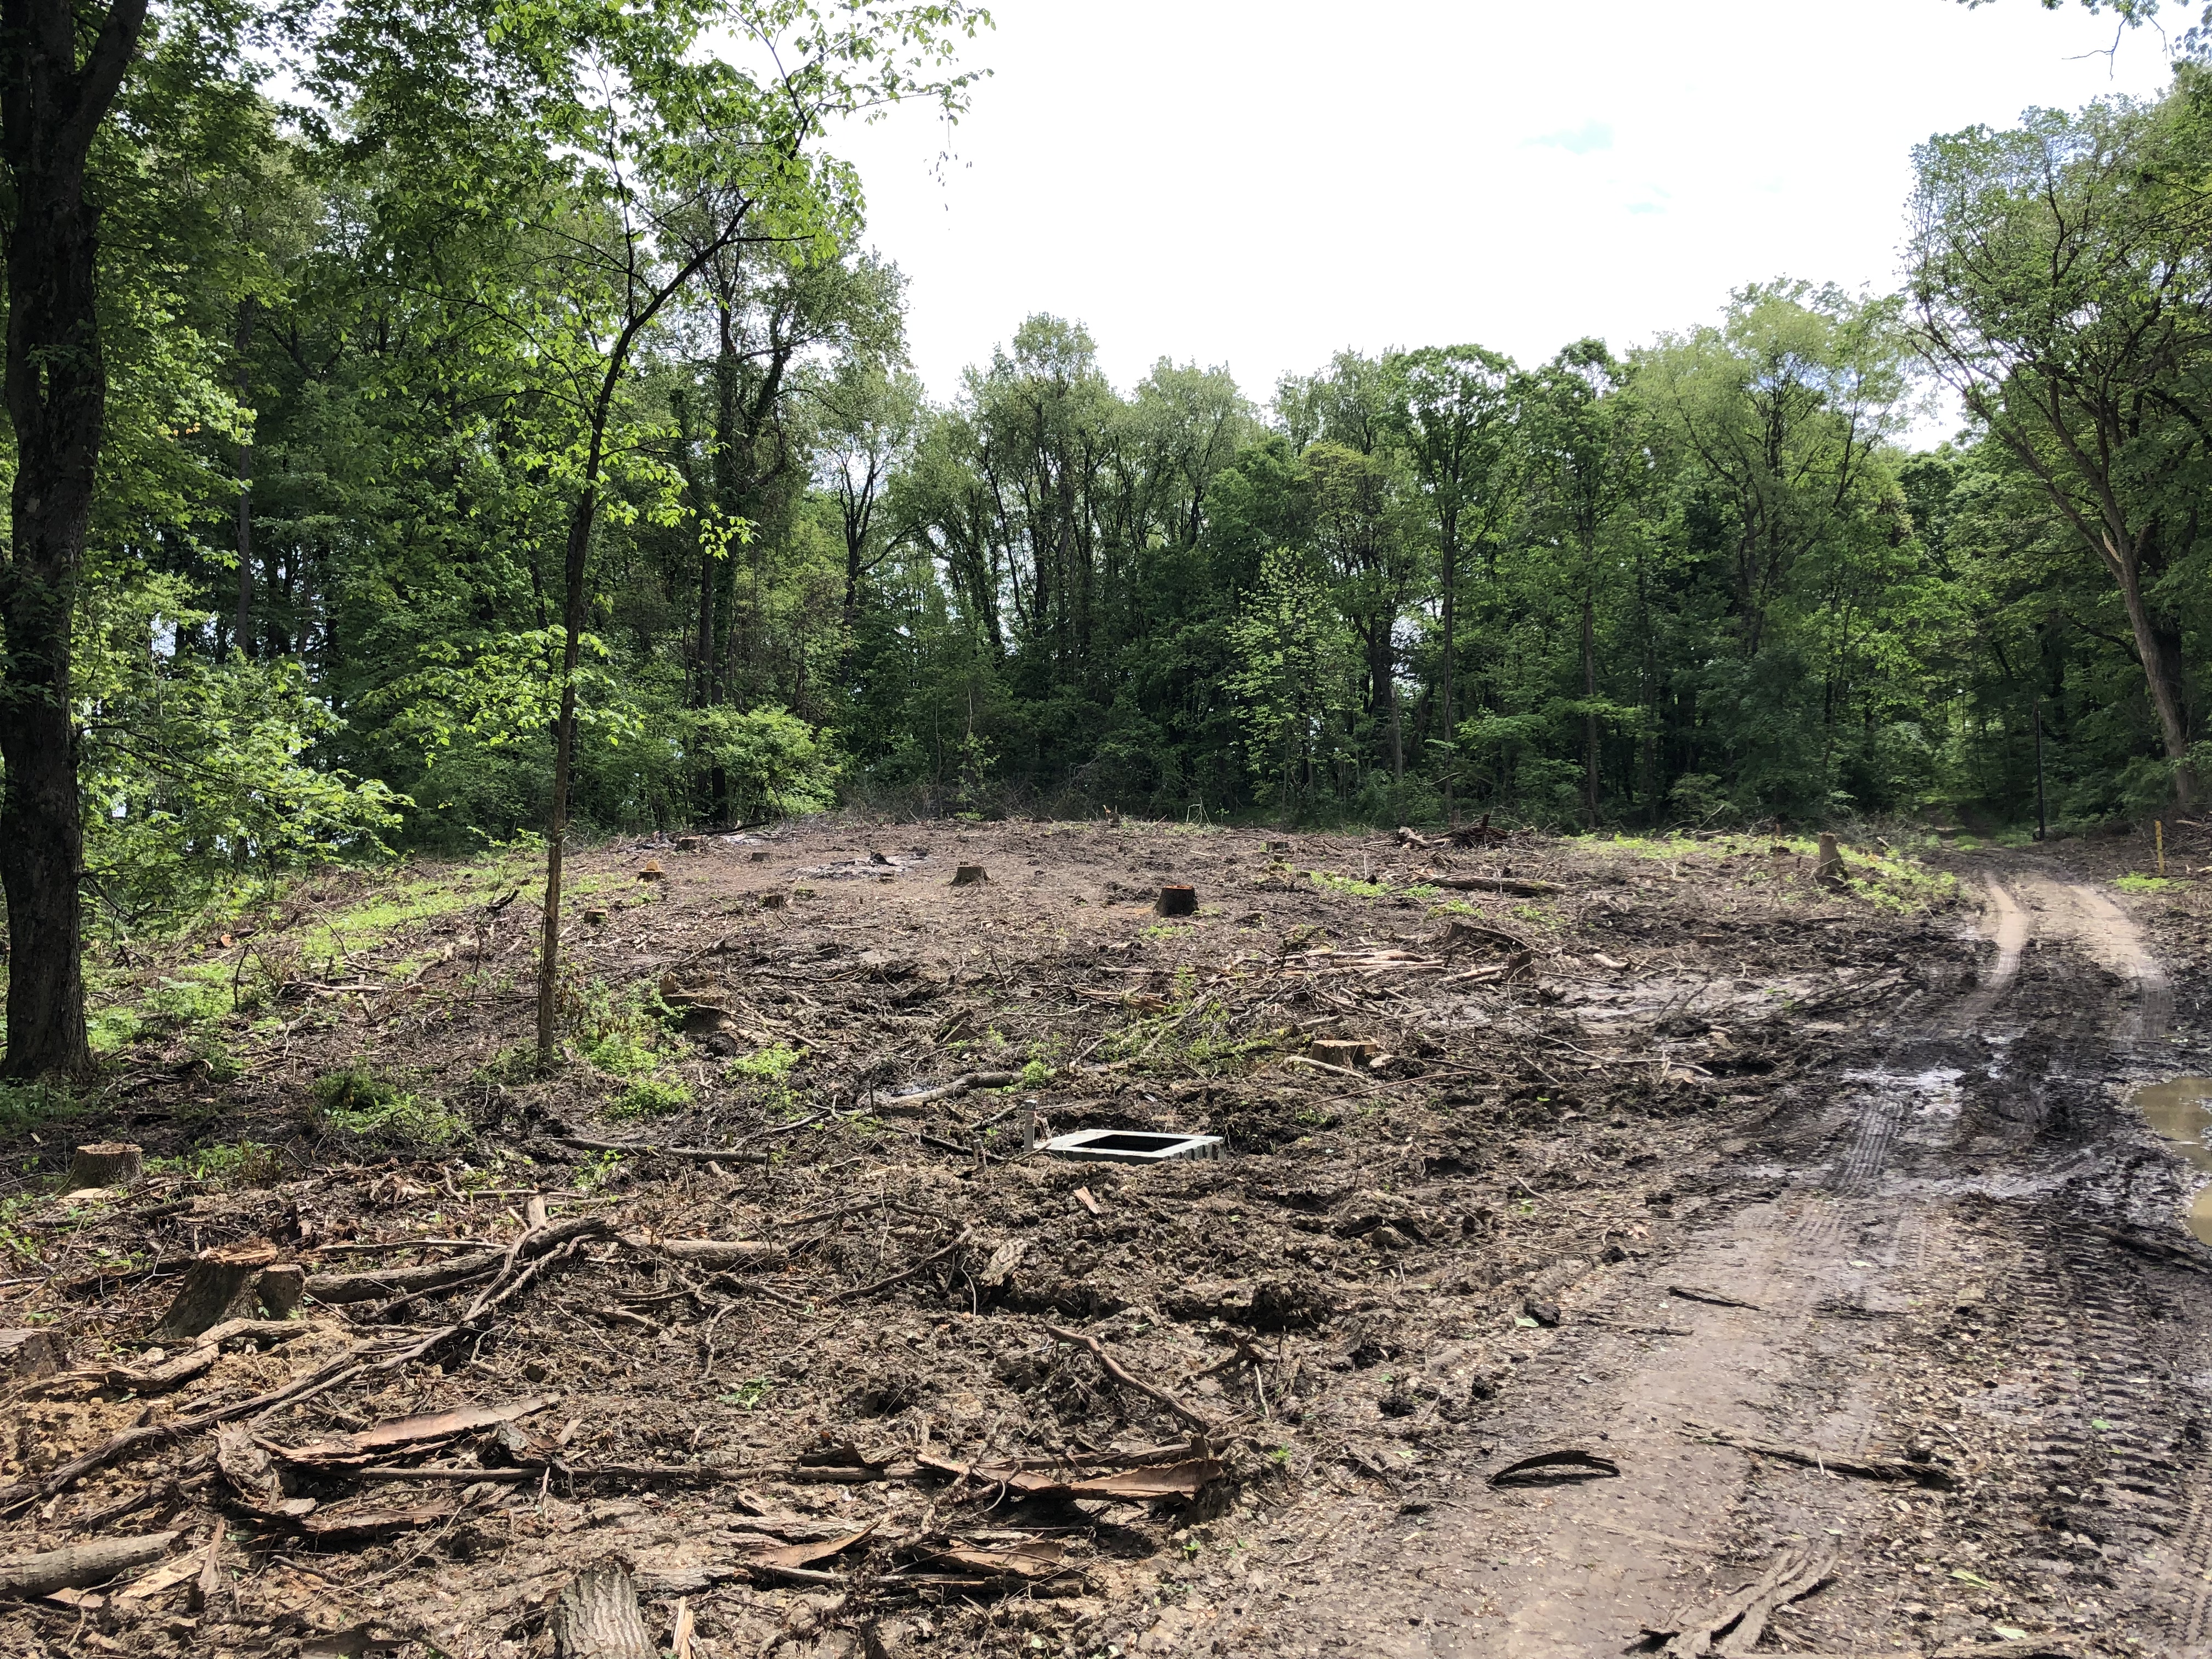
Our property was entirely wooded so before any building could start we had to clear a spot. I chose the house site very carefully based on a number of factors, one of them being that this area appeared to have been cleared before and there weren’t many mature trees. It also sat up on a hill on the North side of the existing driveway which meant we wouldn’t need to clear a very big area to get sunlight on the house.

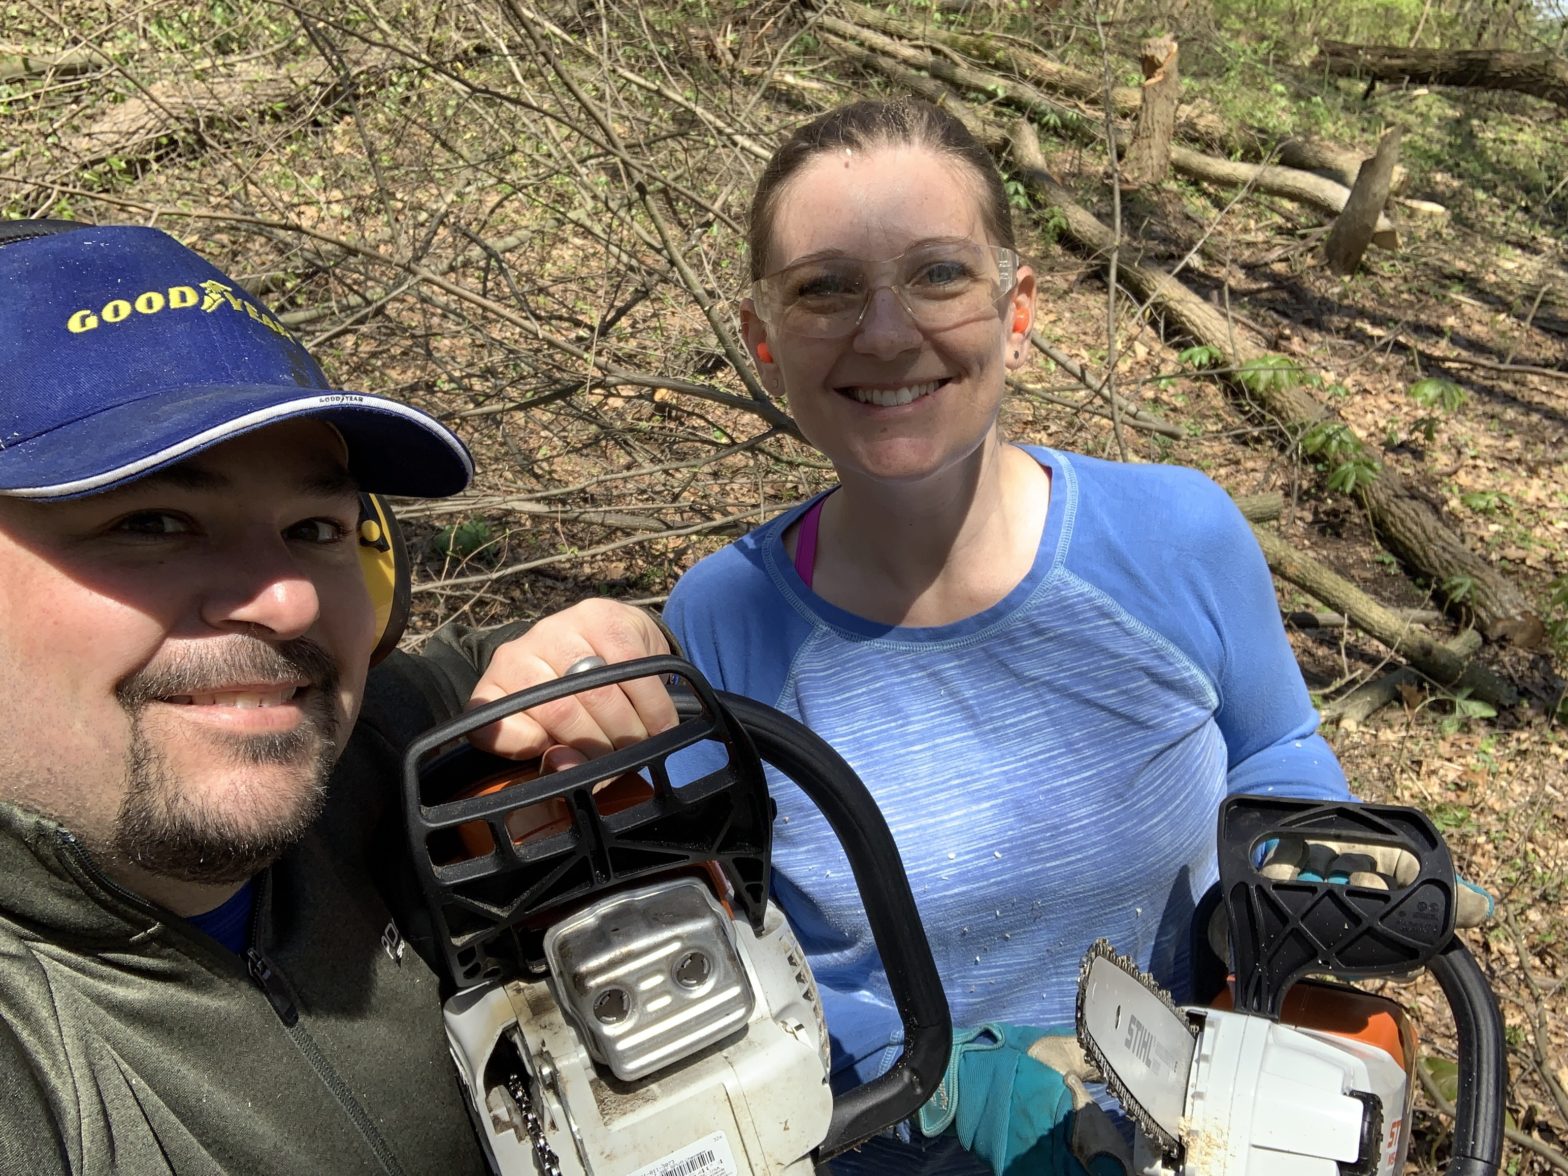
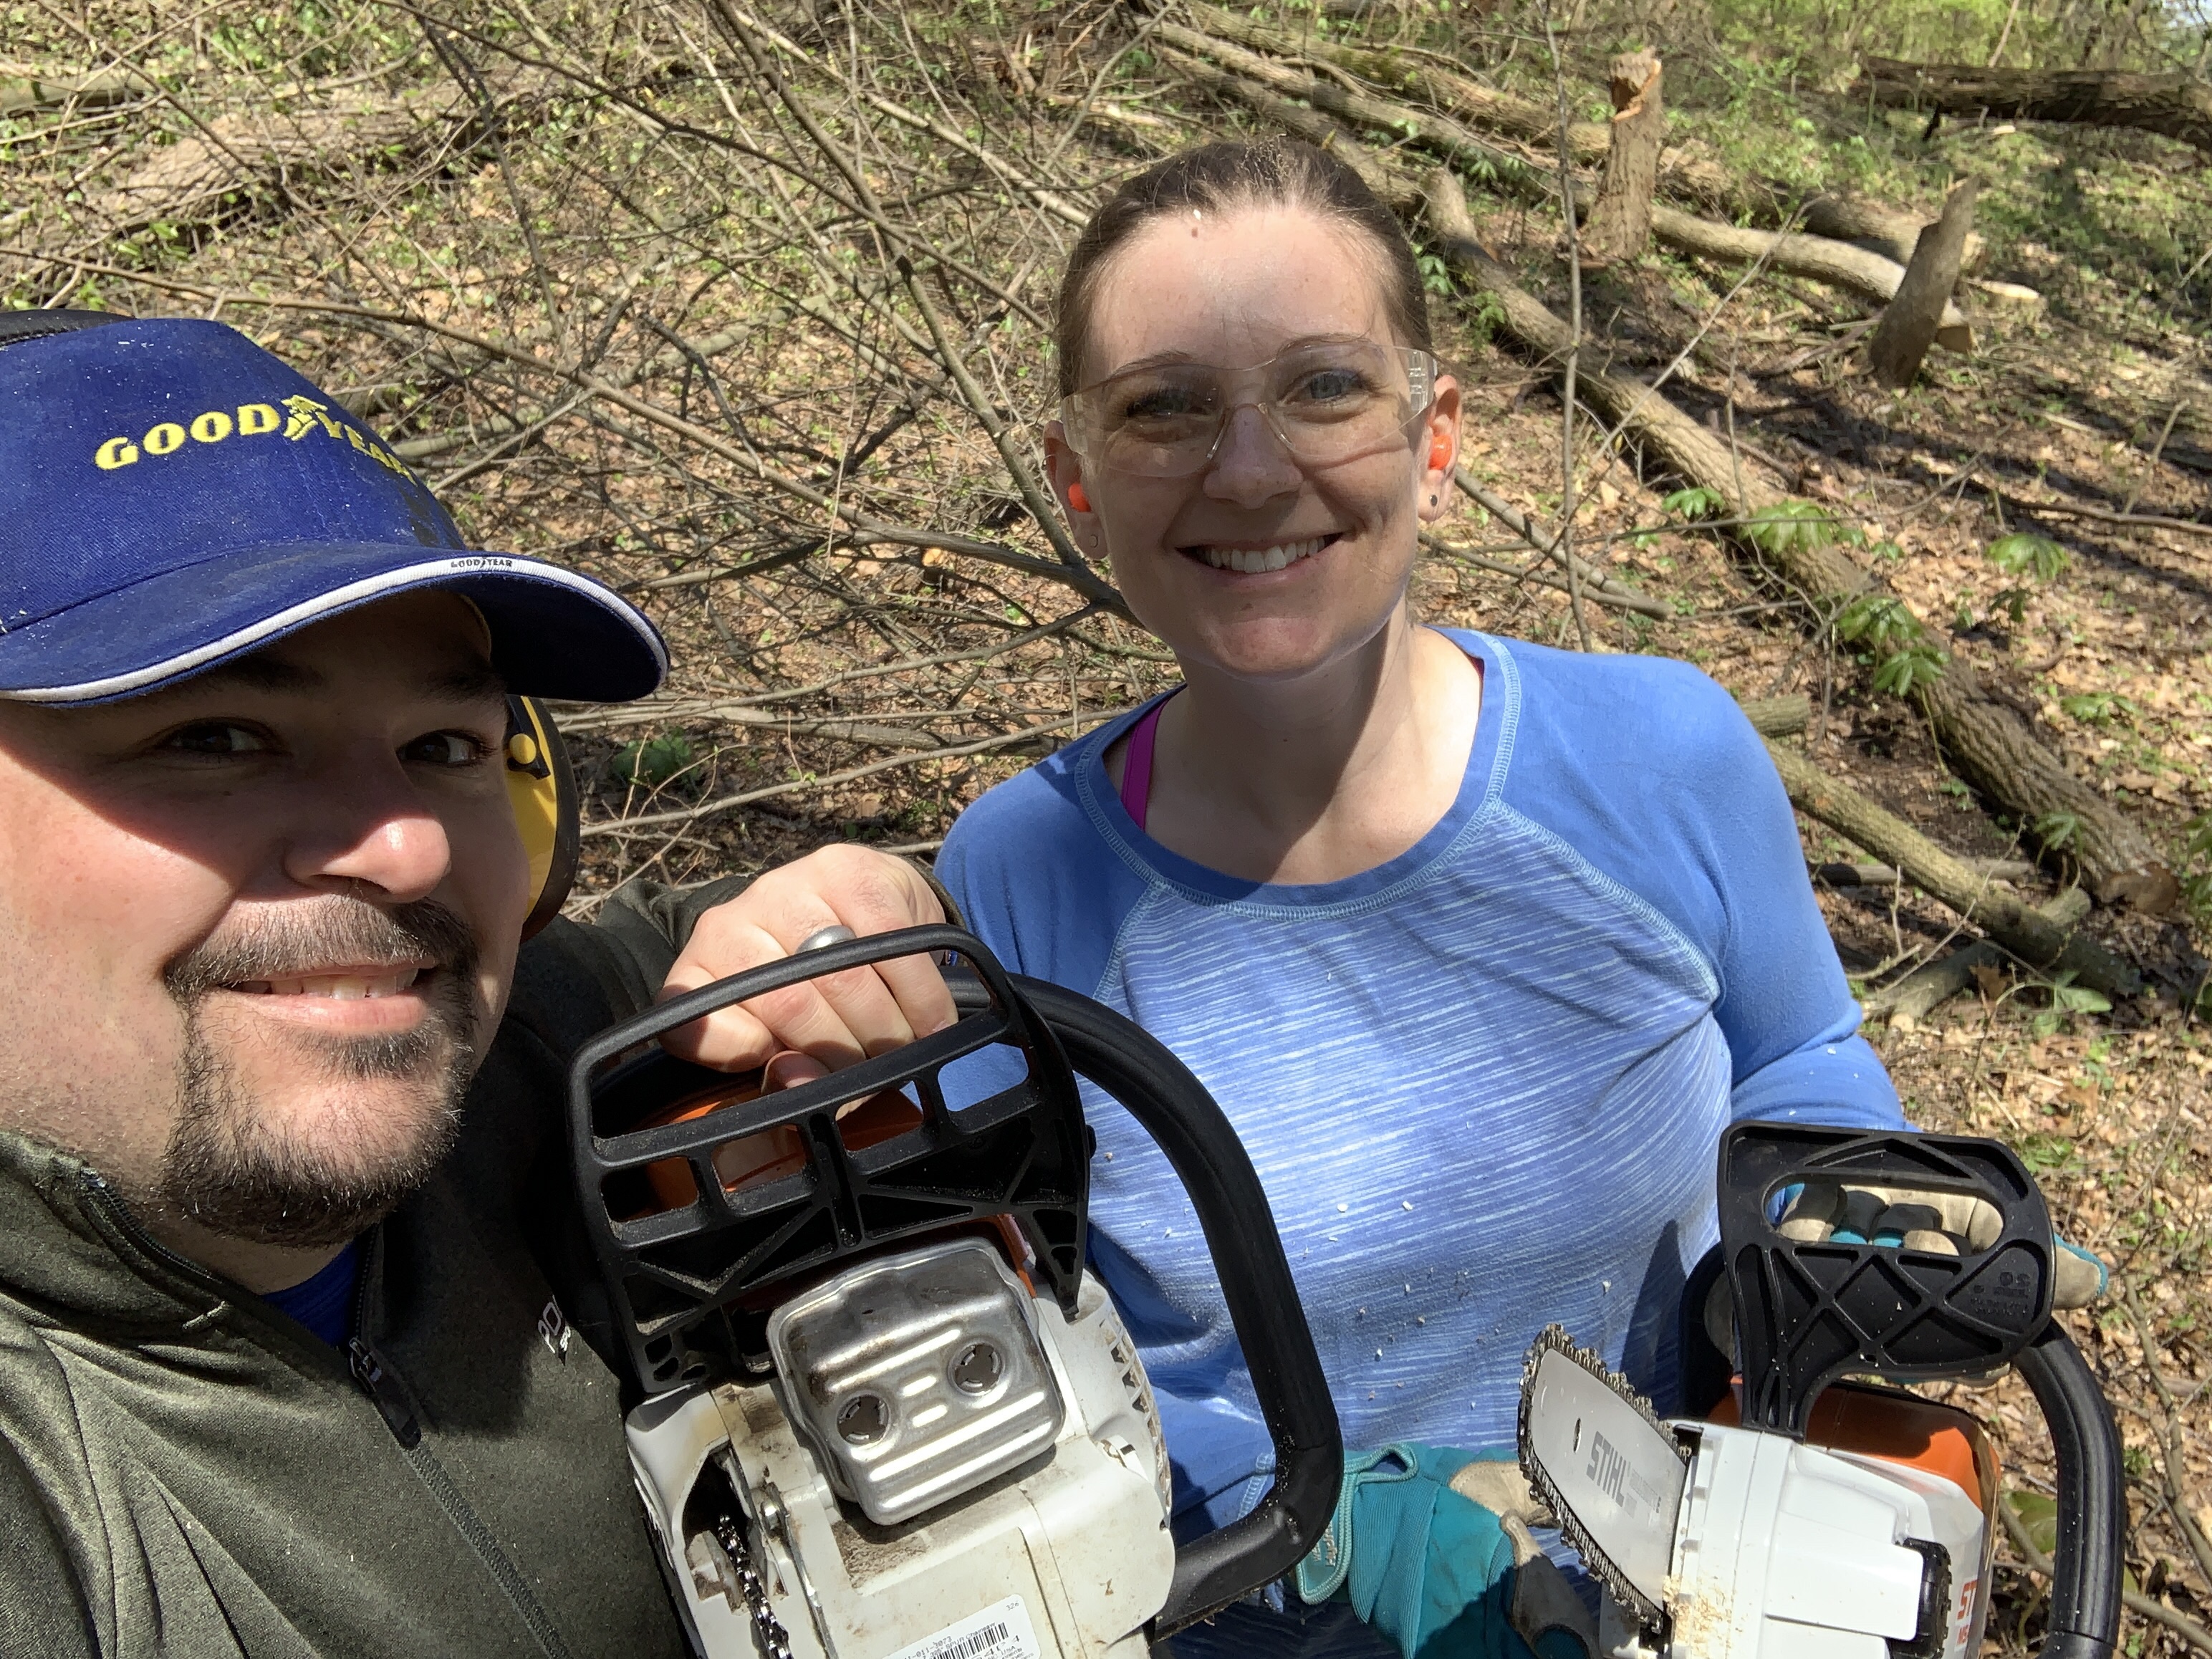
Joe and I have always been ambitious but I am pretty proud of how much of the clearing work we were able to do ourselves. Joe already had a chainsaw that my mom had gotten him as a Christmas gift back when we bought the property. So we set out for our first weekend of work which resulted in a trip to the hardware store by lunchtime. Joe had lost one of the nuts that holds the bar on the chainsaw. I had spent all morning dragging around branches and logs by hand that he had cut. It was a great workout but I quickly realized that I would be much more helpful with a tool of my own! So along with the 75 cent bolt, we picked up a little electric chainsaw that turned out to be perfect for cutting down small trees and for cutting limbs from the large trees that Joe took down. Ironically he found the nut he had lost in some leaves shortly after we got back but it was too late, the trip already cost us an extra $300!

We make a pretty great team and felt accomplished at the end of that first weekend. We had taken down a lot of the small stuff but looking back at it now, we had barely made a dent in what needed to be done.

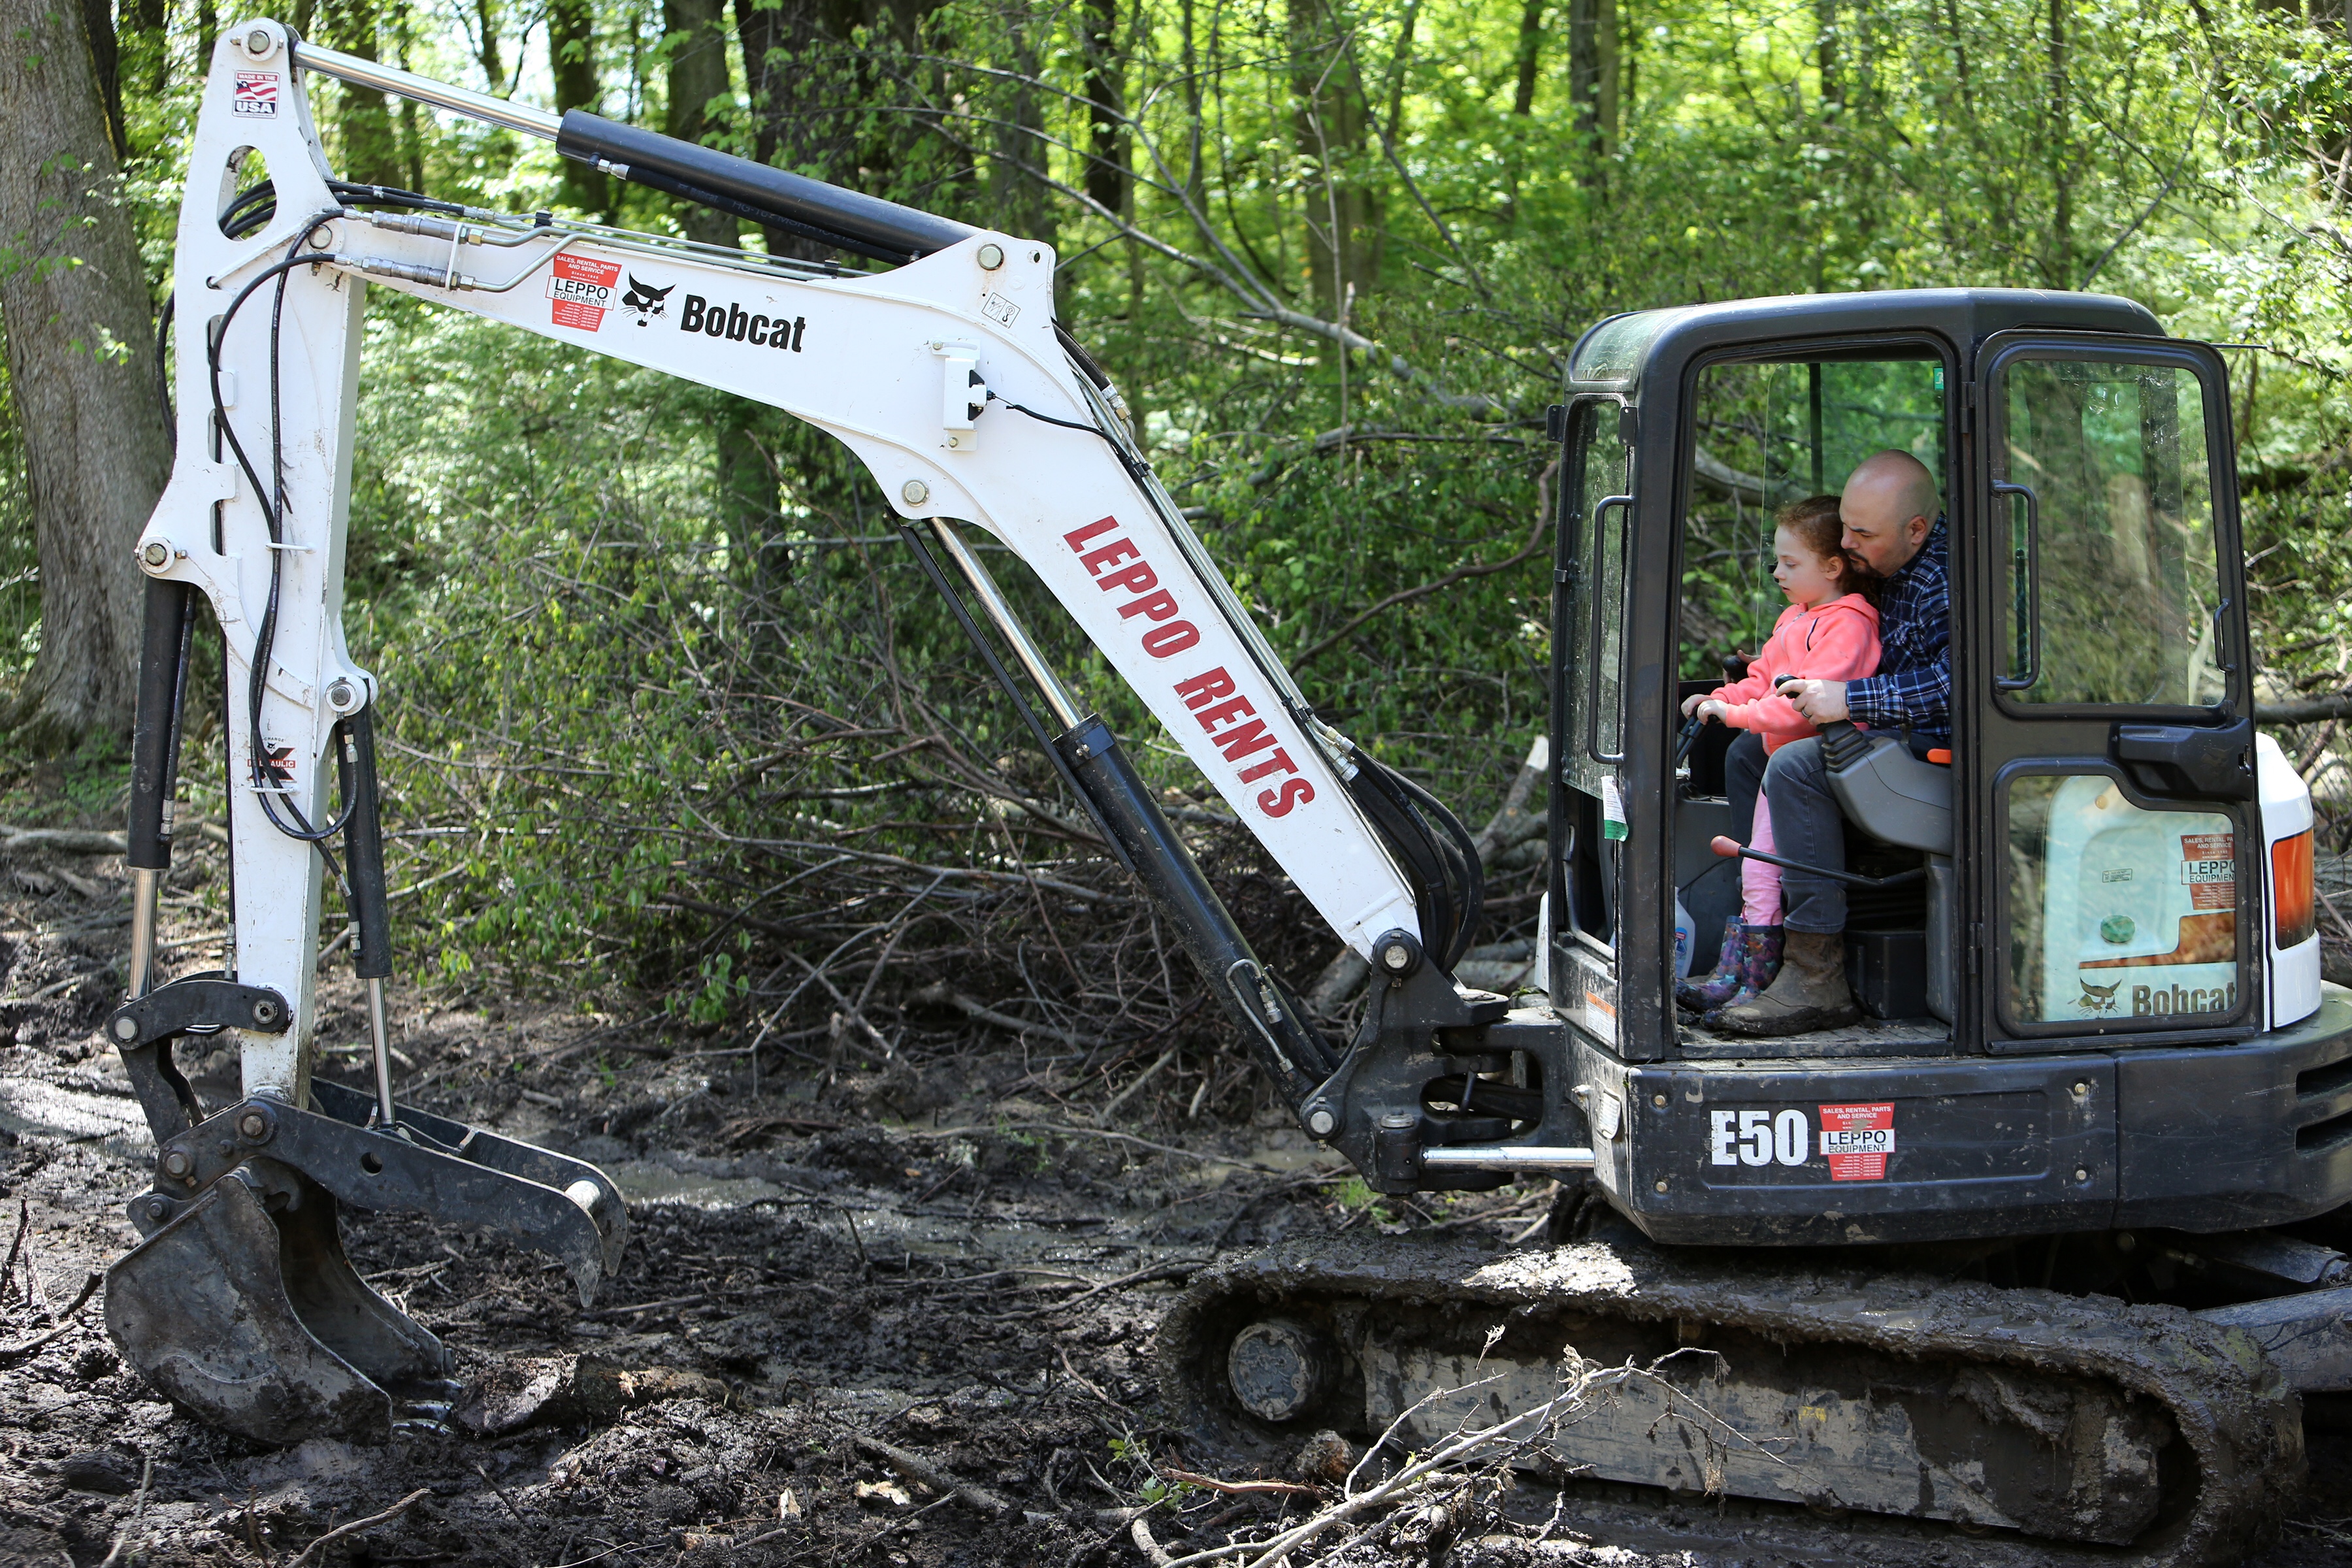
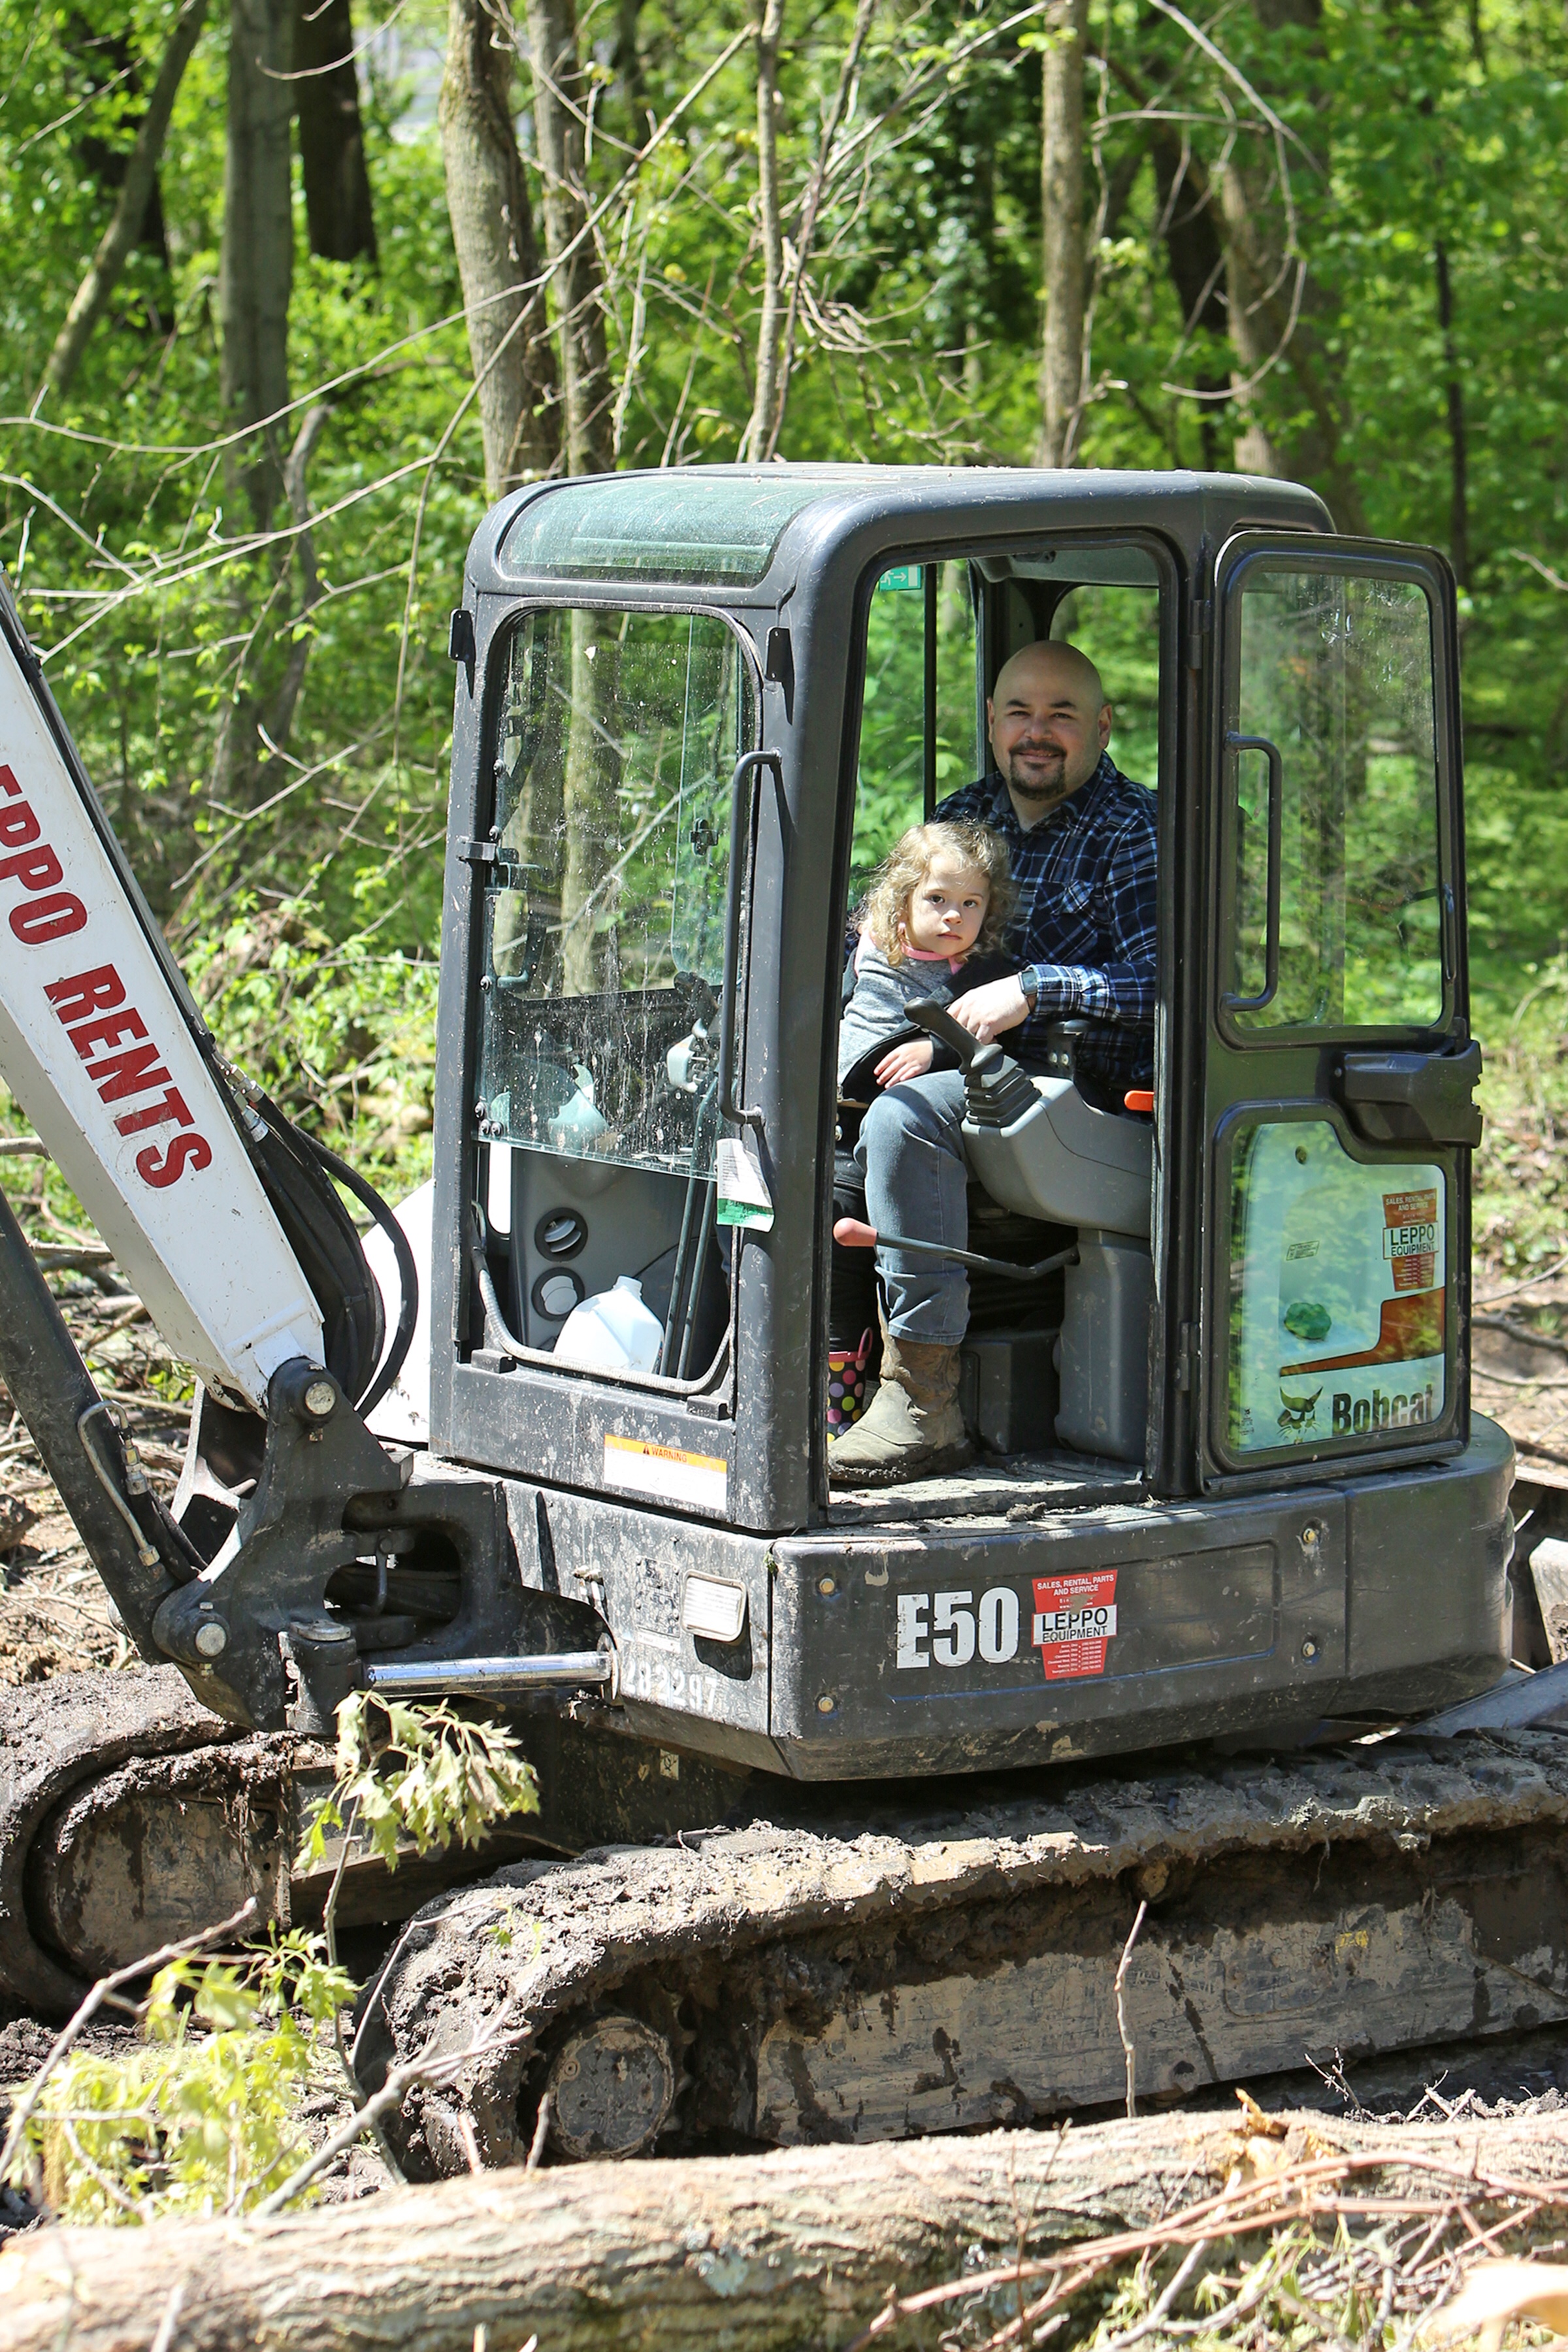
We hired a friend with much more expertise and experience to help us with the heavy clearing. It’s funny how things fall into place so perfectly sometimes. He was someone that Joe had gone to school with that we happened to find out had just helped another friend clear some land. He was not only a hard worker but he really made the whole thing an enjoyable learning experience. I could tell Joe was really having fun and embracing his inner lumberjack because he was out there by his side many evenings and weekends for the next few weeks. We also rented a mini excavator which not only helped increase their productivity but was a lot of fun for all of us.

After a few weekends, many weeknights, a couple close calls, a broken excavator windshield, a few giant fires, and a couple of bad cases of poison ivy, we had pretty well cleared a spot for the house. Ironically this coincided with the closing of our loan so we had not only saved money doing the work ourselves but had also saved some time!

To Build or Not to Build

As ambitious and exciting as this whole process started, there came a point when we almost scrapped the idea of building a house altogether. As I mentioned in my first post we bought the land and took some time to plan, design, and save for the new house. Then I began to realize we only had about a year and a half left before our oldest daughter would be starting kindergarten. This may not seem like a big deal to most people but I still have three good friends that I met in kindergarten so I wanted our kids to have the opportunity to forge the same life-long friendships I had.

So about a year before we were hoping to move into our new house I began my search for a contractor and partner to build it for us. In hindsight, if you are considering building and have big dreams and a limited budget, give yourself more time than we did. It takes time to work through everything. I know other parts of the country are different but in Ohio ‘custom home’ is a loose term. Many contractors claim to build custom homes but they are often really referring to a limited amount of pre-determined options you can pick and choose from. Through volunteer work with Habitat for Humanity I also realized many residential contractors are accustomed to doing things one particular way so all my high performance insulation ideas had the potential to be a deterrent as well. I began researching what options were available to make dream a reality. Being a commercial architect I started in my comfort zone talking to one of my favorite contractors who I knew got his start building houses. He offered a lot of great advice and even offered to build our home for us. It sounded like the perfect fit but like anything I wanted to weigh all the options. I also greatly respected his company and his time and didn’t want to take advantage of a great relationship. So I did some research and reached out to two residential contractors in my area that had come highly recommended.

Our initial decision of who to move forward with was pretty easy. One of the contractors gave us a cost range that was well over our budget without offering any path to move forward. The other contractor was genuinely excited about building a high-performance home and was eager to collaborate with us to make it happen. Up until we talked with him I was still considering either working with a commercial contractor or subcontracting the whole thing out myself…you know, in all my free time. But I was beyond relieved to have found not only a builder but a partner in the process in Darren Shultz with Shultz Design & Construction.

It wasn’t all sunshine and rainbows after that though. Once we decided to move forward they began to reach out to subcontractors and suppliers to put a more firm price together. This process is another example of where the average person could greatly benefit from hiring an architect/designer. They can be someone to put the pricing into perspective, advocate for you, and come up with alternate options as needed. Because I’ve been through this on so many projects, I only slightly hyperventilated when we got some of the initial costs back. Needless to say, they were way over our budget.

The following months were filled with drawing revisions, number crunching, zillow searches, and many conversations about whether we should move forward at all. Each thing we cut out became more and more painful. It gave me a whole new perspective on how this must make our clients feel not only going through it personally but working through it with Joe who I love and respect so deeply. I also prayed a lot that we would make the right decision for our family. At one point I even tried re-designing all together. I was working on a new option that was more ‘traditional’ and ‘cost effective’ one Saturday when Bri, our 5 year old daughter, peered over my shoulder and said “I don’t like it, I like the other one better”. I’m not saying we let her make the decision but it was an unsolicited response and reminder that this decision was really about creating the best possible environment to raise our family in.

Value Engineering List (aka budget cuts)

  • Eliminated heavy timber beams/columns. Substituted with a combination of LVL and steel beams/columns
  • Roof construction changed from structural insulated panels on exposed heavy timber beams to I-joists with insulation between and drywall on underside.
  • Siding changed from cement board to vinyl (ouch)
  • Solar panels are ‘future’
  • Reduced quantity and size of windows & doors.
  • Revised garage to be as cost effective as possible
  • Reduced the size of the house
  • Number of interior material changes

It is now 7 months after I first ‘finished’ drawings and we are on version 4 or 5 of the house but I am happy to announce that we just closed on our loan and construction will be starting on Joe’s birthday!

Joe designed stickers with this abstract logo of the house and gave them to me as a Christmas gift.

Design Goals

Let me start by apologizing for the length of this post. I really tried to keep it brief but design is something I’m obviously passionate about and I thought it was important to share as much as I could…so here it goes:

As a working mother, efficiency is something I strive for in every facet of my life. From getting everyone up and out of the house on time to constantly multi-tasking as I am now, writing this blog while sitting in my daughters chair as she drifts off to sleep. I admit I take it too far sometimes but being a mother and an architect has made it necessary to survive. This yearning for maximum efficiency coupled with my passion for sustainability were really the main drivers behind the design of our house.

The most efficient shape for any building is a cube. It has the least amount of perimeter wall and roof per square foot. Which means less roofing, less wall materials, and less heating and cooling. We tell our clients this all the time so I had to follow my own advice and go with a 2-story plan. I worked the floor plan over and over to right-size spaces for how I envisioned us using them. I knew this was going to be important to hit the energy goals I had and one of the only saving graces when the costs started coming in. It was also important to me to think about the scale of each space and how I wanted them to feel. A lot of houses go with ‘the bigger the better’ mentality which I can tell you is not always good. Even if you aren’t interested in energy conservation or the budget, overly large spaces can lack the intimacy that you may be looking for in a particular room.

In addition to size and arrangement of the house, I also wanted to design a highly insulated envelope (walls, floor, and roof) around it. It amazes me that in Ohio and similar climates that most homes are still being built as they have been for the past century, with fiberglass insulation between the studs and no exterior insulation. This goes without saying for my fellow nerds, but without exterior insulation you end up with a wall with thermal bridging at every stud and an effective R-value far below what your insulation is giving you. For example, in a wall using standard framing practices, 23% of the wall area is framing (solid wood) and 77% of the wall is cavity (insulation). So even though you can get R-20 batt insulation in 2×6 wood framed wall, because of the studs interrupting that insulation every 16 inches your wall actually has an effective R-value of 13.4.

Throughout the process of design and pre-construction the make up of our walls have changed for cost and constructability reasons but the constant has been that there would be as much continuous exterior insulation as possible. I think I’ll take a moment here to talk about how important it is to work with contractors and tradesman to learn as much as we can from one another in order to get the best results possible. I know a lot about building science and what materials are available but I don’t always know how that translates into what tools will be needed and how labor and cost will be affected. We can all learn a lot from one another and I approached my home with the sane collaborative attitude that I do with any of my projects.

All of this leads to our ultimate goal which is to have a net zero home. Through the installation of solar panels (which I now realize won’t be in our initial budget) we hope to generate more energy than we consume in a calendar year. Some other strategies I have incorporated in the house to help facilitate this include: a geothermal heat pump system, insulation under the basement floor slab, house on east-west axis, windows designed to allow spaces to be day-lit, operable windows placed to allow for natural ventilation and cooling, and overhangs to block direct sun on hot summer days yet allow it in on cold winter days. I may dedicate a future post to illustrate the evolution of the materials we ultimately choose to use but for now I’ll move on to discuss the aesthetic goals for the house.

As you can expect, I aimed to achieve all of our energy goals in the best-looking package possible. The apparent lack of architectural influence on the residential building sector in the Midwest is upsetting. I’m not going to try to explain all the reasons why but if you are curious, have a few minutes, and want to have a good laugh, check out mcmansionhell.com. Kate Wagner has it all boiled down and her writing is satirical genius.

We wanted our house to be modern and to fit well with the natural landscape. This meant clean details, a shape that embraced the terrain, and materials that were reminiscent of the surrounding rocks and trees. The house site we chose was sloped and allowed for a walk-out basement. I designed the kitchen and dining area to be one story on top of the walk out basement to keep the house from being too tall at any point. A wrap around deck further breaks down the scale of the house while also allowing us to experience the outdoors as an extension of each interior space. As you move up the hill where the basement is below grade, the house steps up to the two-story portion.

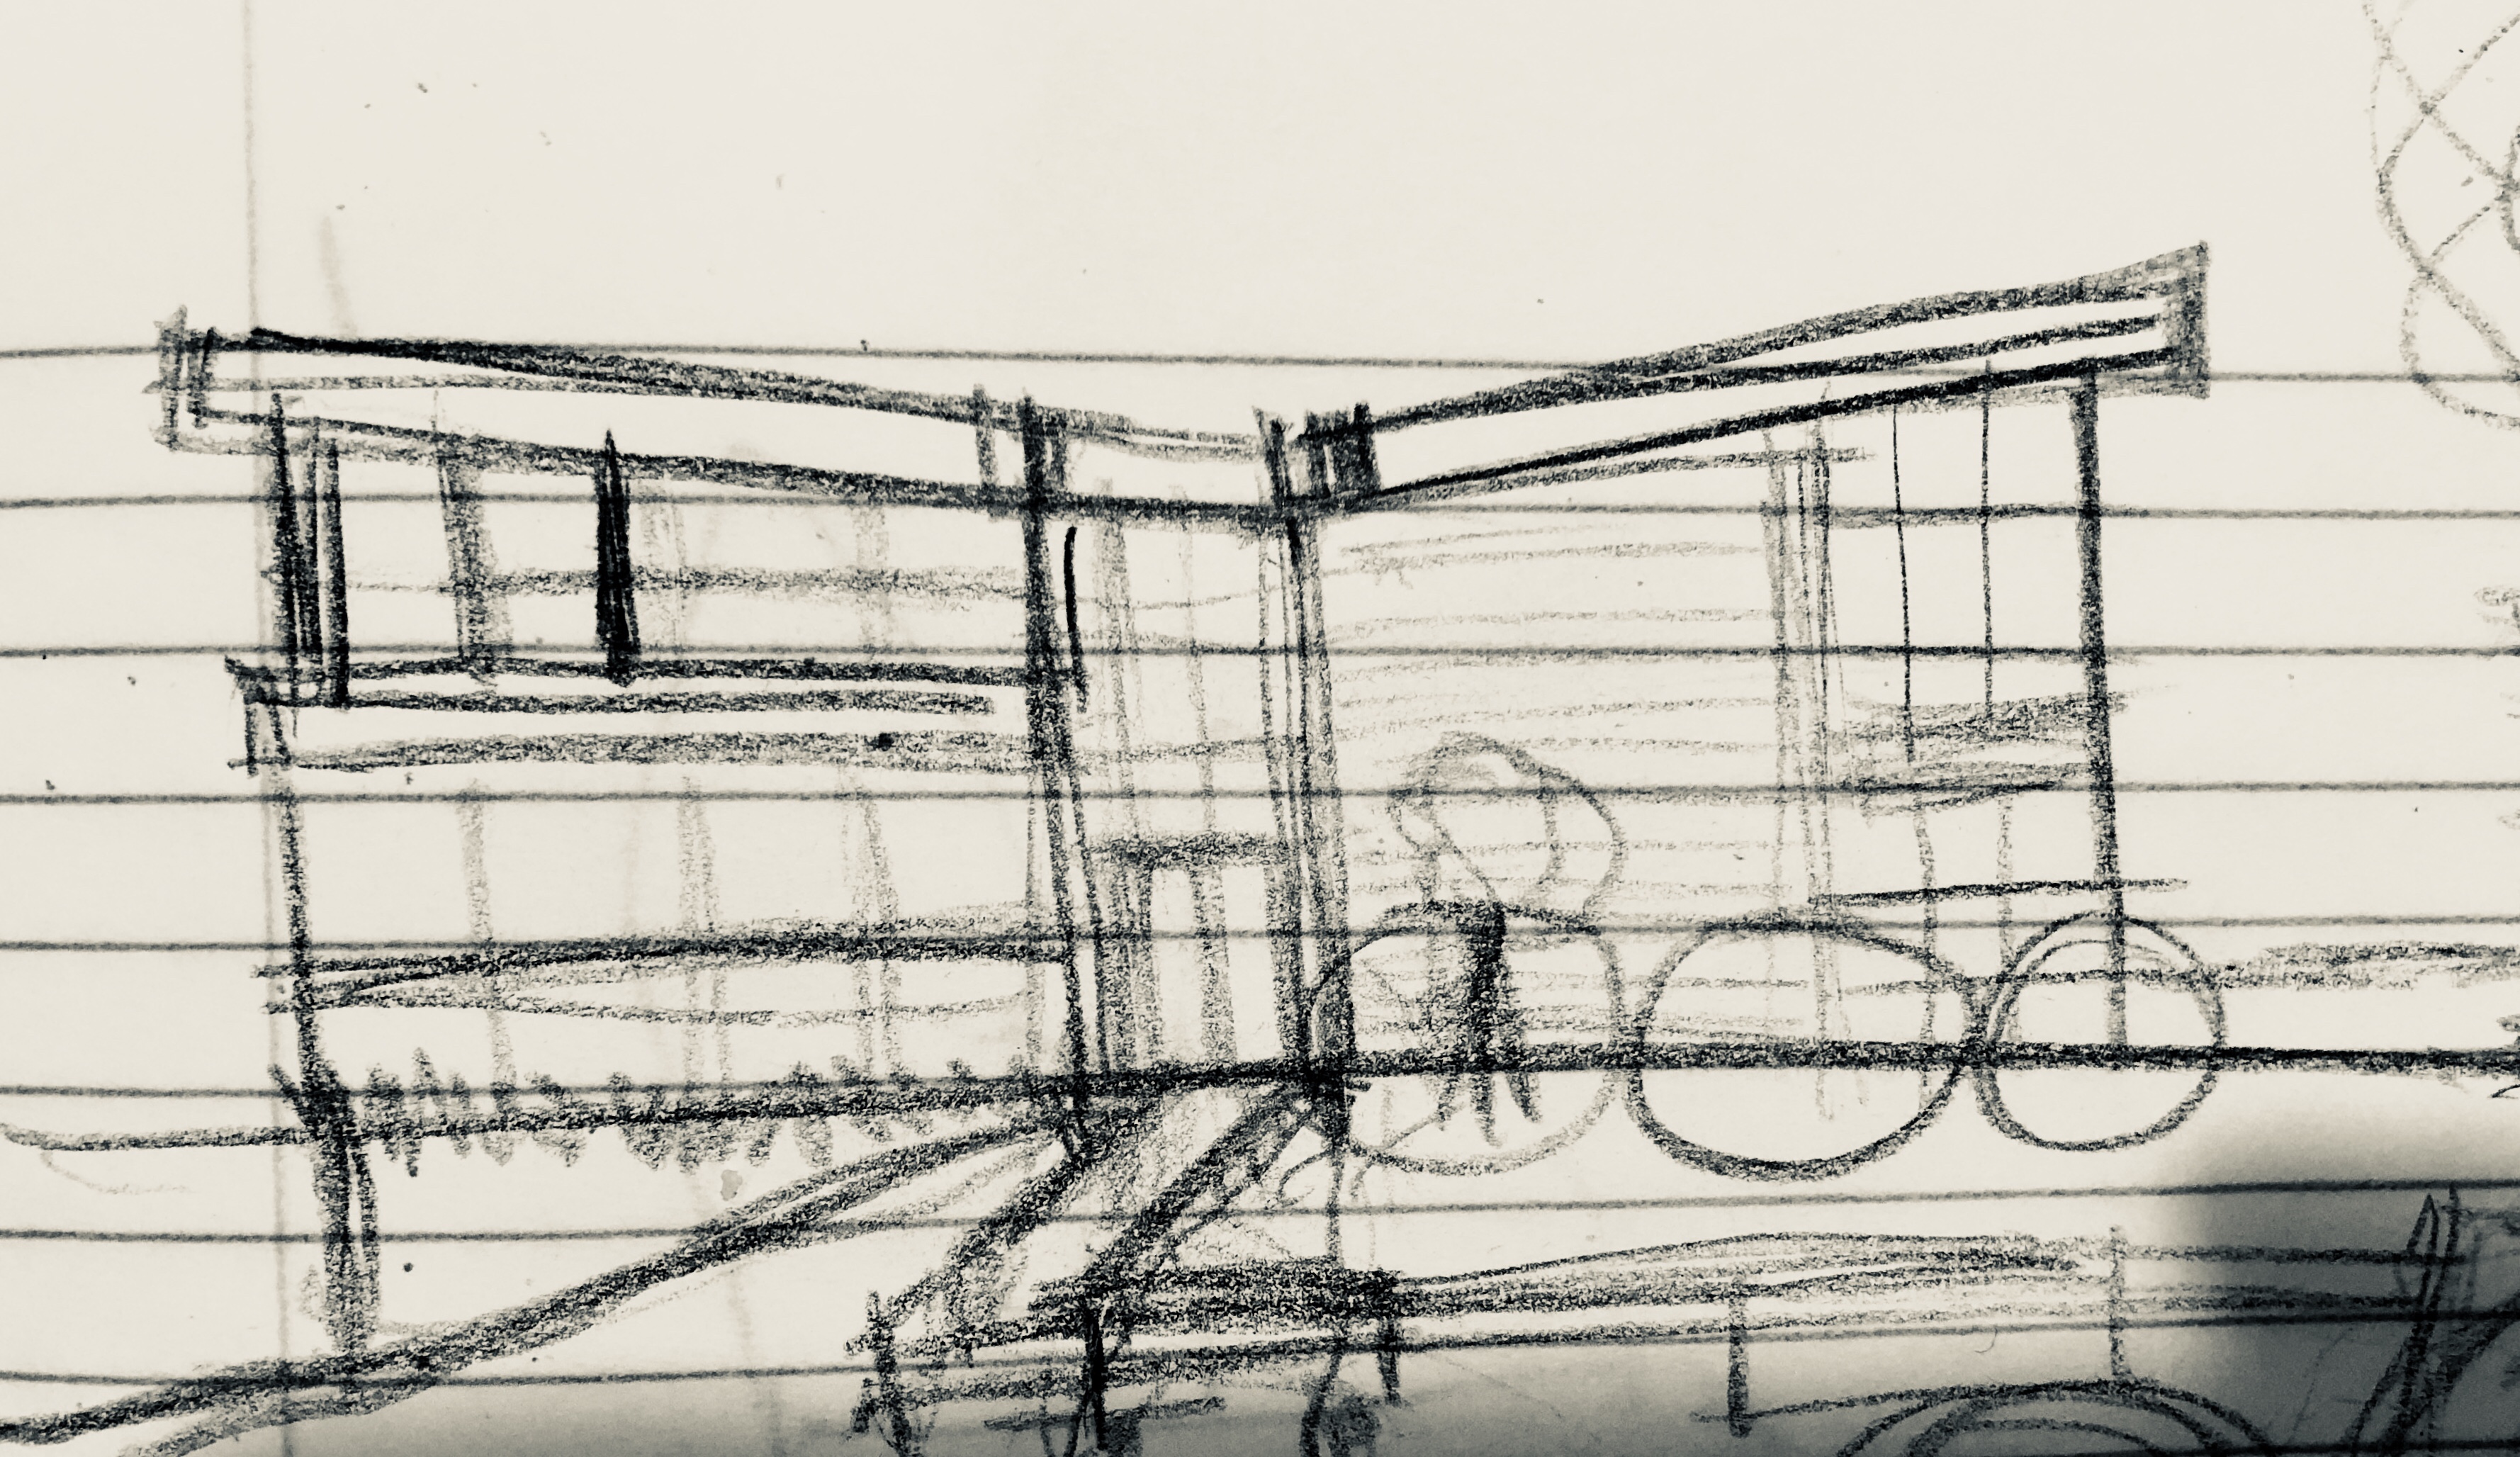
I have always been obsessed with the butterfly roofs used by Le Corbusier(1930) and Palmer & Krisel(1950’s). For those who don’t know, a butterfly roof is an inverted peak or v-shaped roof. This type of roof seemed like a natural fit to help us achieve our goals for daylight and future solar as it allows for high windows and the roof angles can be optimized to boost solar collection. So I chose to top the two-story portion of the house with an elegant butterfly roof along with a band of windows just below it. I’ve proposed a butterfly roof on a couple projects in the past and it never made it so let me just assure you all that the rain will drain off and the snow load will not be an issue. Tapered insulation under the roofing will divert the water to scuppers and downspouts on each end of the valley and the structure will be designed to hold the snow in the winter. I understand why they make people nervous at first glance but with proper details and roofing materials there is no reason to worry.

Here is an early sketch I did during design. (Don’t judge my notebook paper, when you have toddlers you use whatever paper is accessible)

Elevation

As you will find out in coming posts, this is not representative of what the final product will be.

Bri looking for inspiration. I promise I didn’t stage this photo!

The Nine Acre Wood

This is the story of our house in the nine acre wood.

Is it possible to build an entirely custom, modern, sustainable, high performance home in Ohio? This is a blog intended to document our family’s journey to achieve these goals and to pave the way so it’s a little bit easier for the next generation that travels this road.

I suppose it is relevant to mention right away for those who don’t know me personally that I am an architect.  My work has been primarily on educational and recreational buildings but I have always aspired to design my own home.  For me it is more about the function than the form although in true designer fashion I expect to have both.  My husband, Joe, and I have been married for seven and a half years and have been living in a wonderful home in Akron for the past decade.  We have two little girls (3 and 5) and as much as we love our current house and neighborhood, it was time for the next phase of our lives.   
I have been sketching versions of my dream house since I was a kid but when it came down to it, our first step was to find a piece of property that fit our wish list.  After almost a year of casually searching Joe came across nine acres that was entirely wooded that was for sale by owner.  As soon as we walked through it we knew it was where we wanted to be.  And so we purchased the #nineacrewood and the planning (and saving) began.  

Photo taken May 2017
Like any project it started with a vision and site analysis.  We wanted to create a home that was both surrounded by and engrained in nature.  A home that only consumed as much as necessary.  And a home where we could raise our daughters to love and respect nature and design as much as we do.  After walking the property multiple times we found a spot that seemed to seclude us from view of any of the surrounding homes and it included a gentle hill that would allow us to access the outdoors from all levels of the house.  We also chose it because it was the most sparsely wooded area and the trees that were there were being choked out by invasive grapevines.  
Bear with me for a quick side bar.  One of the things I find most upsetting about the way we build homes in the US today is the lack of character and individualization that there is.  Many builders (not all) are replicating the same 5-20 home types over and over. Not to mention, the home styles & designs haven’t changed a whole lot in the past century.  I have a theory that this is why HGTV has become so popular.  Everyone is dying to make their house fit their taste or lifestyle and loves seeing how others achieve it within the vanilla boxes that litter so many of our country’s newer neighborhoods. In many other countries there is a much higher value placed on design and most people wouldn’t think of building or doing a major renovation without hiring an architect or designer.  This is a topic I could chat for hours about but I’ll leave it at that for now.  Now that we had a site and a vision, it was time to start sketching.  As many of my coworkers will tell you, we have become pretty reliant on technology and we use computers for nearly everything we do.  But there is something about sketching in the early part of design that helps you work through ideas and quickly try different things.  It helped me settle on the overall organization of the plan and how the house would fit within the surrounding forest including where the views in and out of the house would be and what the approach would feel like.  While the details of all of this may or may not be interesting to you, I mention it to demonstrate how much thought goes into putting a truly custom home together.  
All in all it took me 4-6 months of ‘free time’ to put together drawings for the house (which of course included a 3D model).  I really thought that most of my hard work was over and that I’d be handing the torch to a builder but I was soon to find out that this was only the beginning.  
My next blog post will include more info about the design and images of version 1.  

#modernarchitecture #customhome #greenbuilding #sustainablehome #bethechange #nineacrewood